Flower Drawing: Step-by-Step Tutorial & Easy Ideas
Learning how to draw a flower is easier than it looks — the whole thing starts with a small circle for the center and simple ovals for petals. This guide walks you through a flower drawing in six clear steps, then hands you a set of flower drawing ideas to keep going: easy versions for beginners, cute and cartoon takes, and variations worth sketching when you want more.
- Difficulty Easy
- Time ~10 min
- Tools Pencil, eraser, paper
- Starts with a small circle for the center and simple ovals for petals
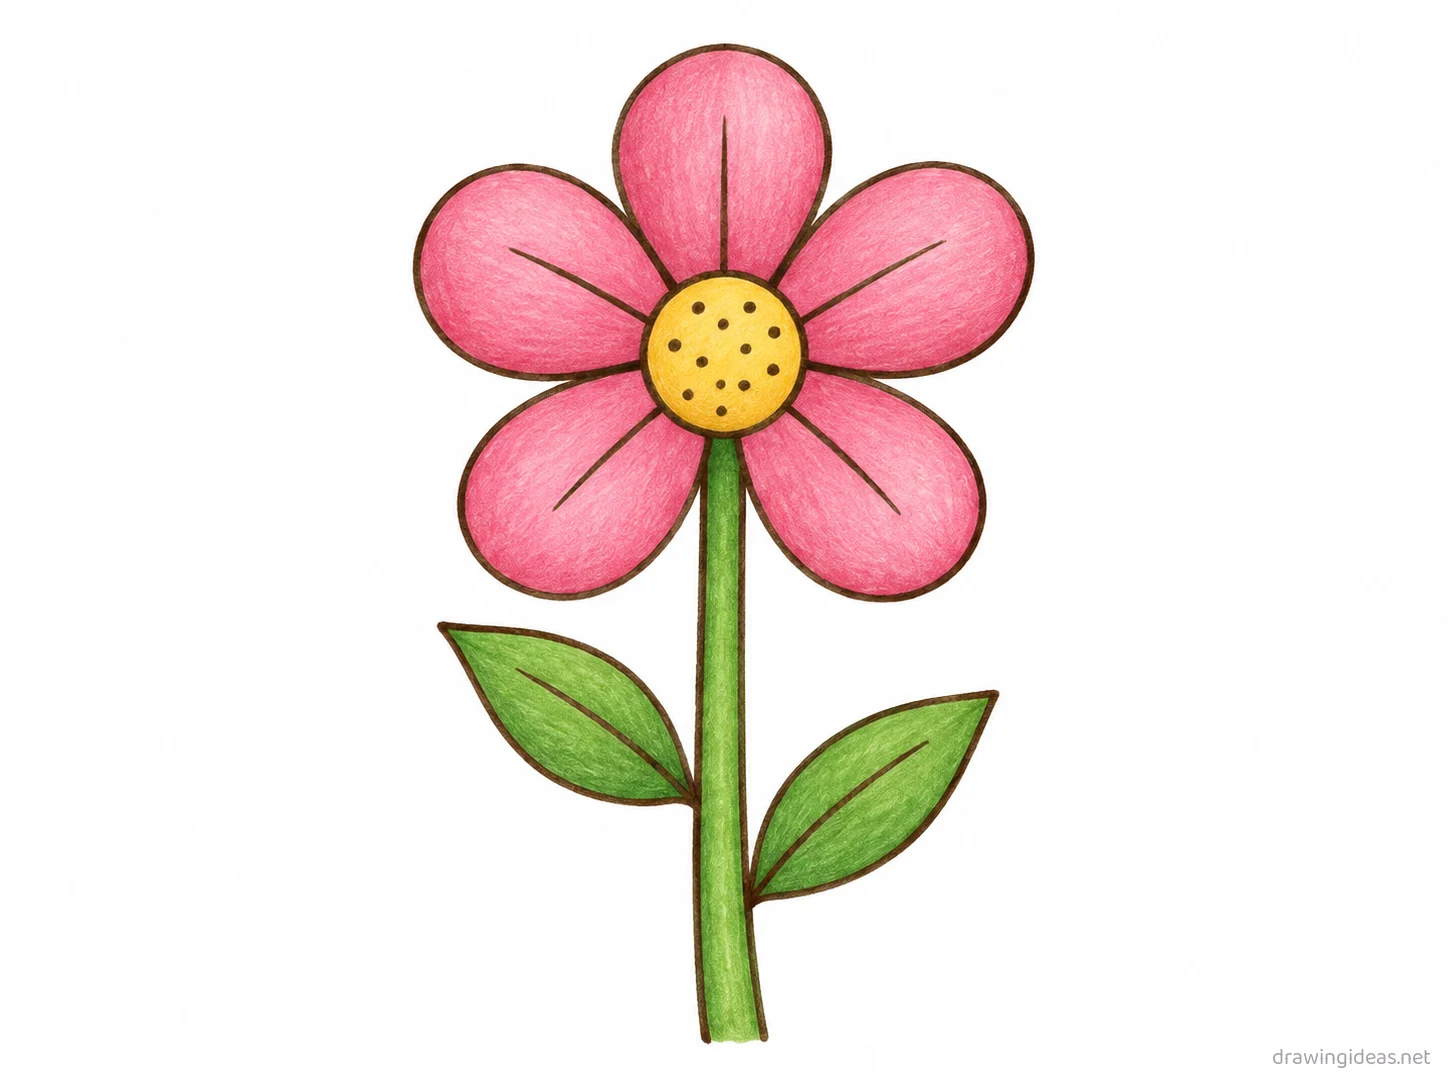
How to Draw a Flower Step by Step
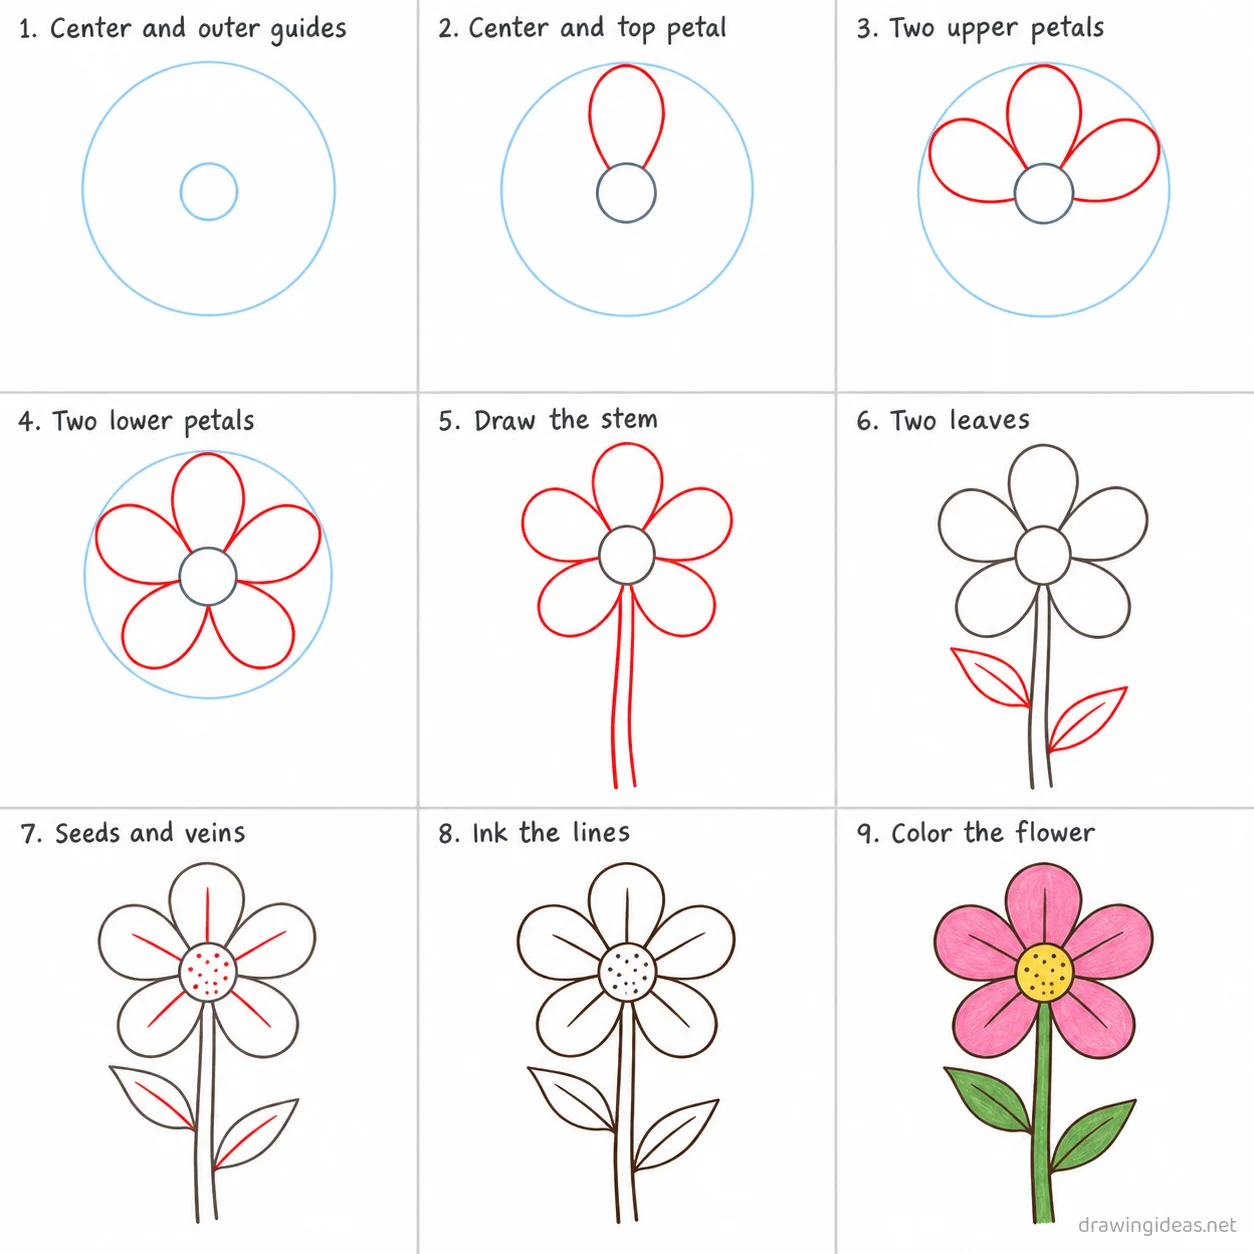
Step 1 of 9
Center and outer guides
Draw a small light circle in the upper middle of the page for the center, then a much larger light circle around it where the petal tips will reach.
-
Center and outer guides
Draw a small light circle in the upper middle of the page for the center, then a much larger light circle around it where the petal tips will reach.
-
Center and top petal
Trace the small circle firmly, then draw one fat rounded petal from the top of the center straight up, its tip touching the outer circle.
-
Two upper petals
Add one petal on each side of the top petal, leaning outward to the upper right and upper left, tips touching the outer circle.
-
Two lower petals
Fill the remaining gaps with two petals angling down to the lower right and lower left, so all five petals are evenly spaced around the center.
-
Draw the stem
From between the two lower petals draw two gently curving parallel lines straight down to near the bottom of the page.
-
Two leaves
Add a pointed leaf on the left side of the stem about halfway down, and a second leaf a little lower on the right side.
-
Seeds and veins
Dot the center with small seeds, then draw one short vein line from the center outward along the middle of each petal and each leaf.
-
Ink the lines
Go over every kept line with dark ink, then erase the light center circle and the large outer guide circle.
-
Color the flower
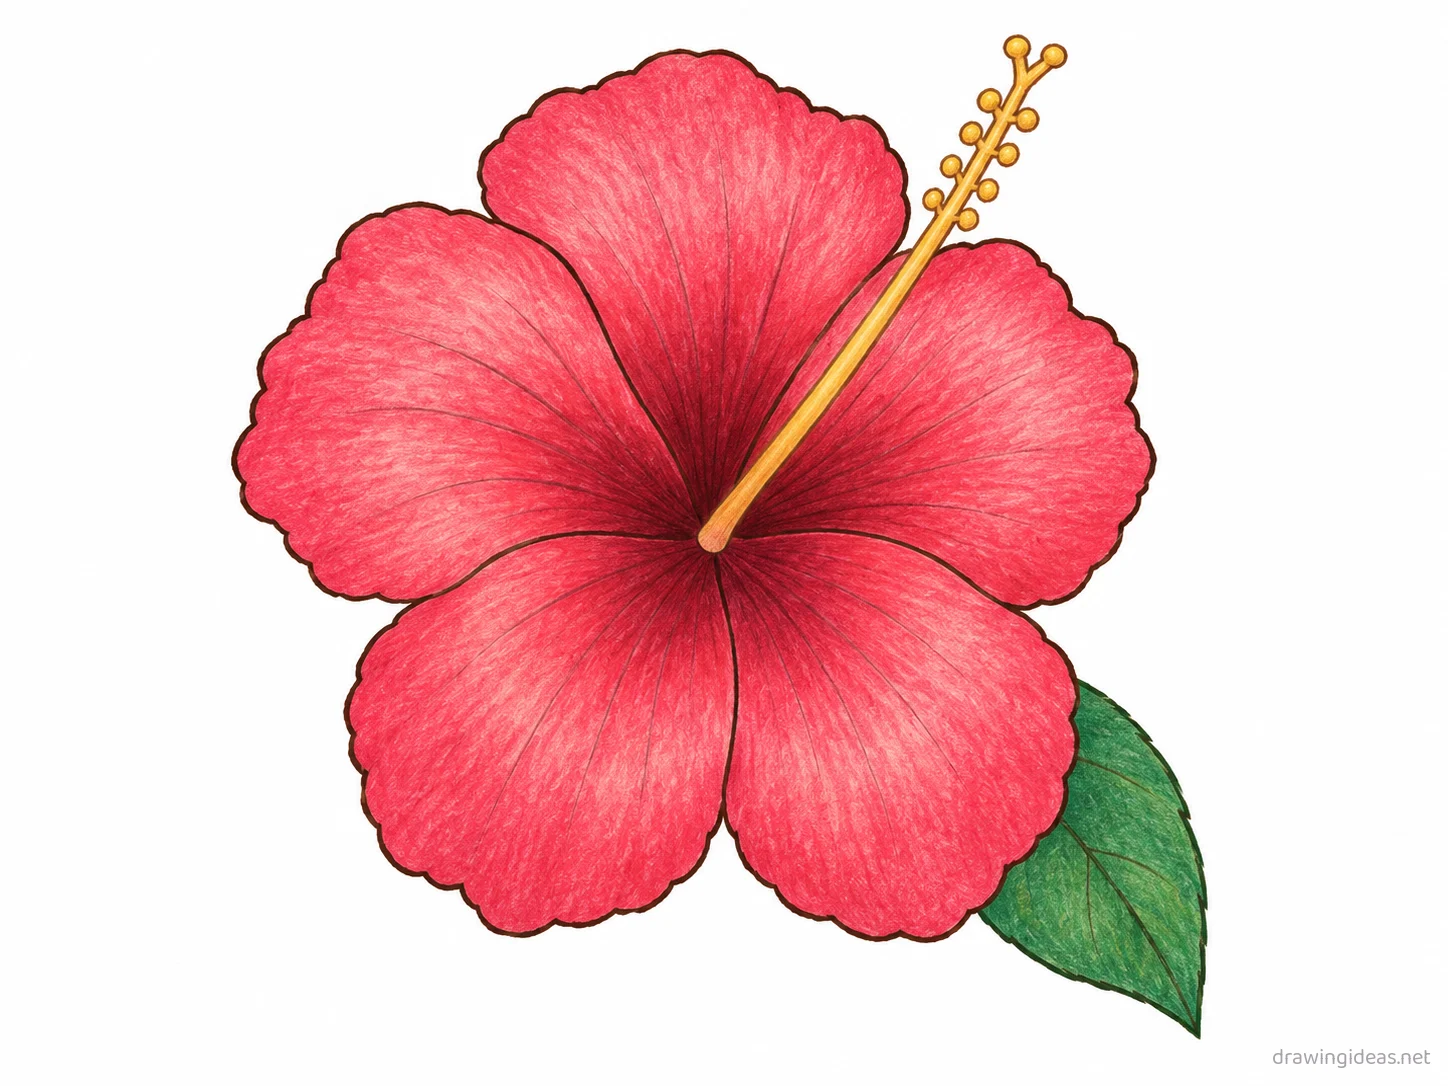
Fill the petals pink, the center yellow, and the stem and leaves green.
Flower Drawing Ideas to Try Next
Once the basic flower clicks, run it through these variations — each one practices a different skill while staying on a subject you already know.
-
A flower growing through a sidewalk crack
One daisy pushing through concrete — a classic hope motif that only needs a straight crack and simple petals.
-
Wildflower bouquet wrapped in paper
Three or four mismatched stems in a paper cone. The wrap hides the tricky stem intersections.
-
The same flower in four seasons
Divide the page into four panels: bud, full bloom, wilting, bare stem in snow.
-
A flower border or corner piece
Grow the flower along a page edge or corner — perfect for journals, cards, and letters.
-
A bee or butterfly visiting your flower
One tiny pollinator turns a plant study into a scene.
-
Flower in a simple vase
Add a basic vessel and you've turned a flower doodle into a still life.
-
A flower wreath
Repeat small versions in a circle guideline — the highest-value use of one flower you've learned.
-
A flower growth cycle strip
Bud, half-open, full bloom in three panels — repetition with a story built in.
-
Line-art flower tattoo design
Single-weight clean outline, no shading — minimalist flash style.
Flower Drawing Styles: Easy, Cute & More
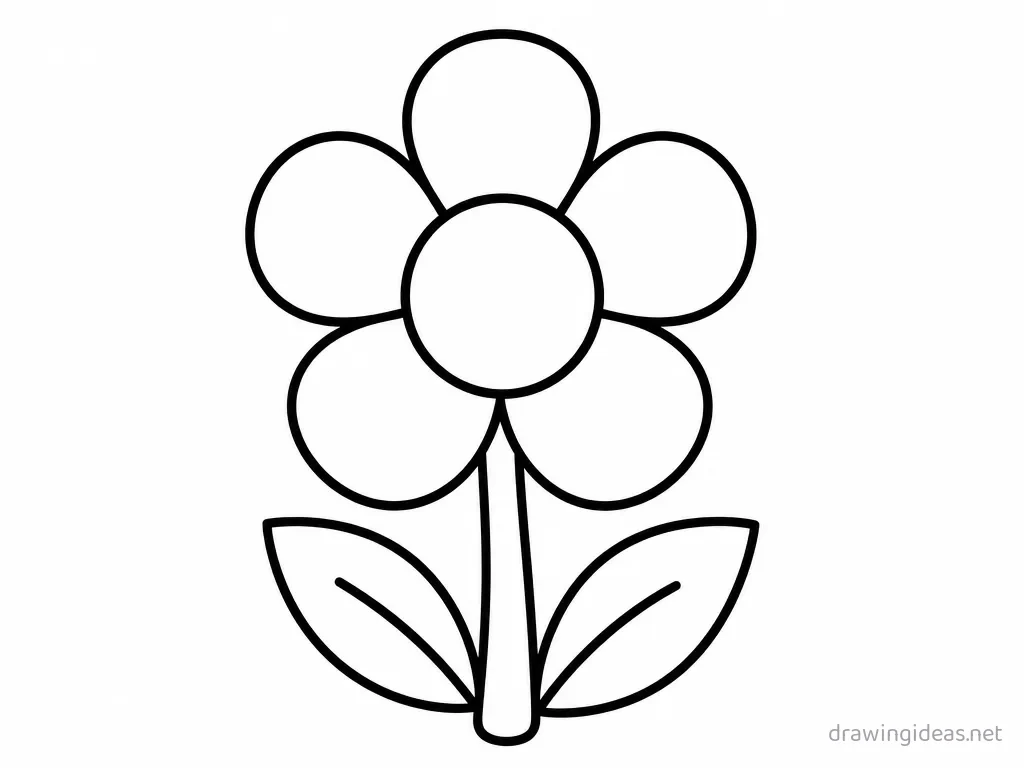
Easy Flower Drawing
Try a simplified version built from basic shapes — perfect for beginners and kids. Same nine steps as above — simply simplify or stylize the final pass.
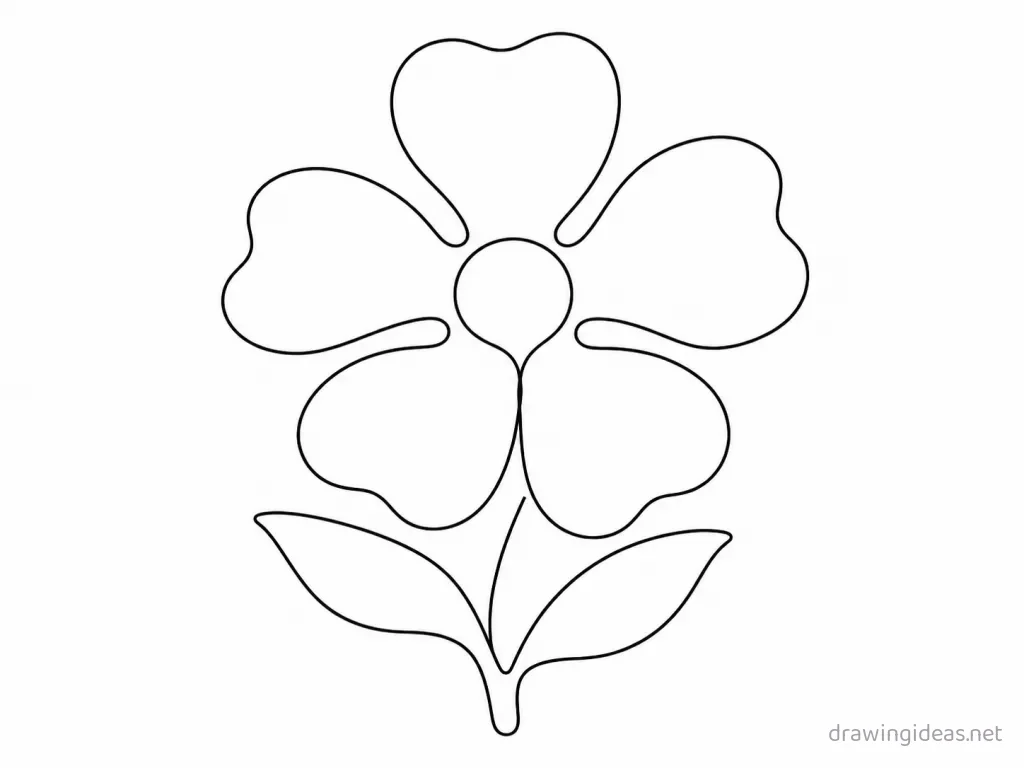
Outline Flower Drawing
Try a single clean contour line — ideal for coloring pages, crafts and tracing. Same nine steps as above — simply simplify or stylize the final pass.
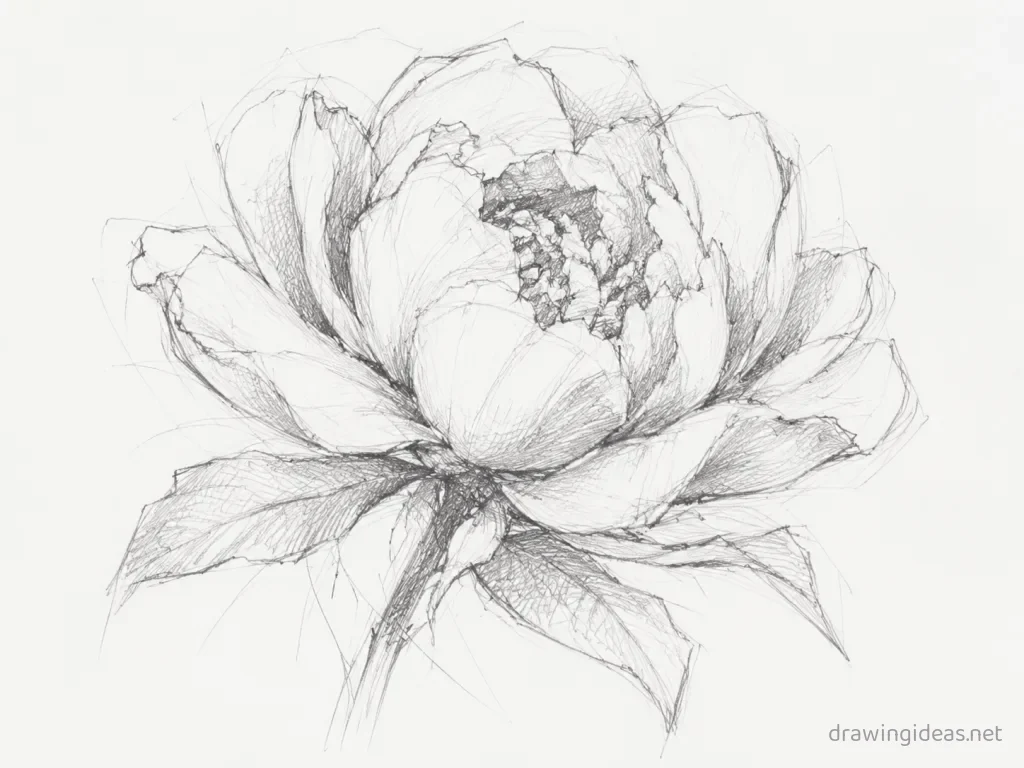
Sketch Flower Drawing
Try loose, energetic pencil strokes that stay visible in the finished piece. Same nine steps as above — simply simplify or stylize the final pass.
Tips for Better Flower Drawings
- Odd-looking petals are normal — real flowers are never symmetrical. If a petal looks off, make its neighbor slightly uneven too and the whole flower reads as natural.
- Nature is never symmetrical — if your flower looks stiff, rotate a few petals, vary their widths, and let one droop. Imperfect petals read as alive.
Not feeling the flower today?
Let the generator pick your next subject — filtered by mood and difficulty.
🎲 Random Drawing GeneratorFlower Drawing FAQ
How do you draw a flower easily?
Start with a small circle for the center and simple ovals for petals, keeping your lines light. Refine the outline, add the defining details, then erase the construction shapes. The nine-step method above breaks this down — most people get a recognizable flower on their very first try with it.
How long should it take to draw a flower?
A simple flower drawing takes about 10 minutes following this tutorial. A quick doodle version can be done in two or three minutes, while a detailed, fully-shaded study might take an hour. Speed comes with repetition — the second attempt is always faster than the first.
What supplies do I need for flower drawings?
Just a pencil, an eraser, and any paper. An HB pencil for construction lines and a 2B for final outlines is a nice upgrade, and colored pencils or markers finish it off — but nothing on this page requires special supplies.
Can kids draw a flower?
Yes — the flower is one of the friendlier subjects for beginners, and this method was written for first-timers. Kids can follow the same steps; just expect wobblier lines and more charm.