Tree Drawing: Step-by-Step Tutorial & Easy Ideas
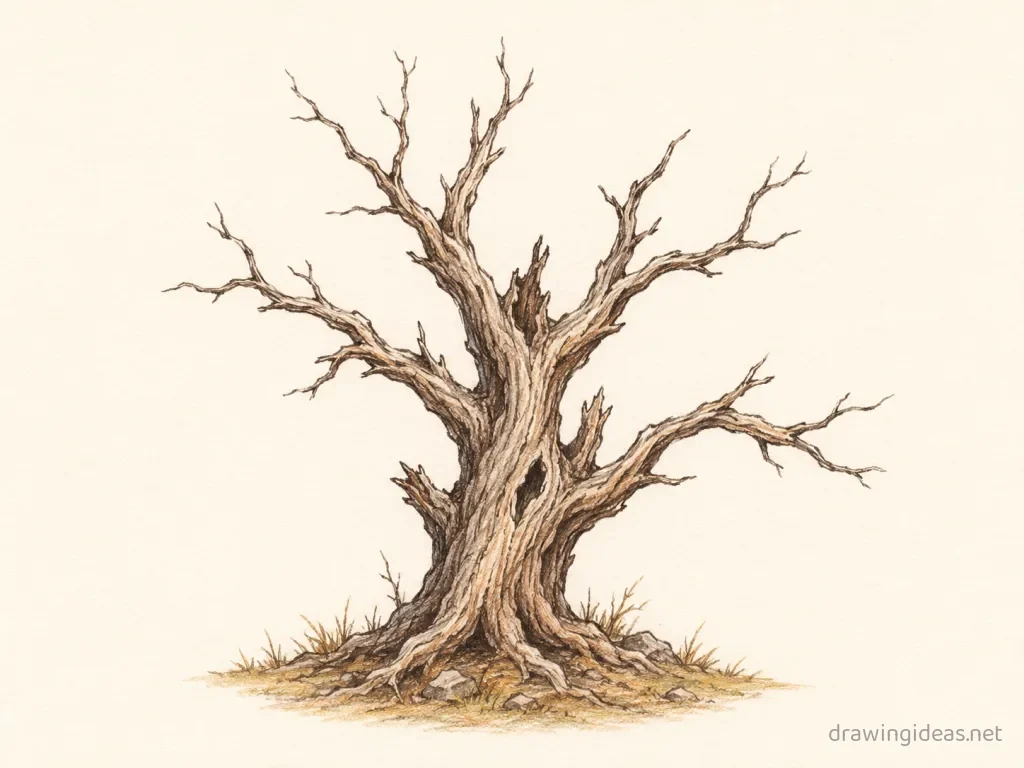
Tree drawings are one of the most-loved sketching subjects, and for good reason — the basic version comes together from a flared trunk with a cloud-shaped canopy in just a few minutes. Follow the nine steps below to get the foundations right, then browse the ideas list for your next tree sketch.
- Difficulty Easy
- Time ~12 min
- Tools Pencil, eraser, paper
- Starts with a flared trunk with a cloud-shaped canopy
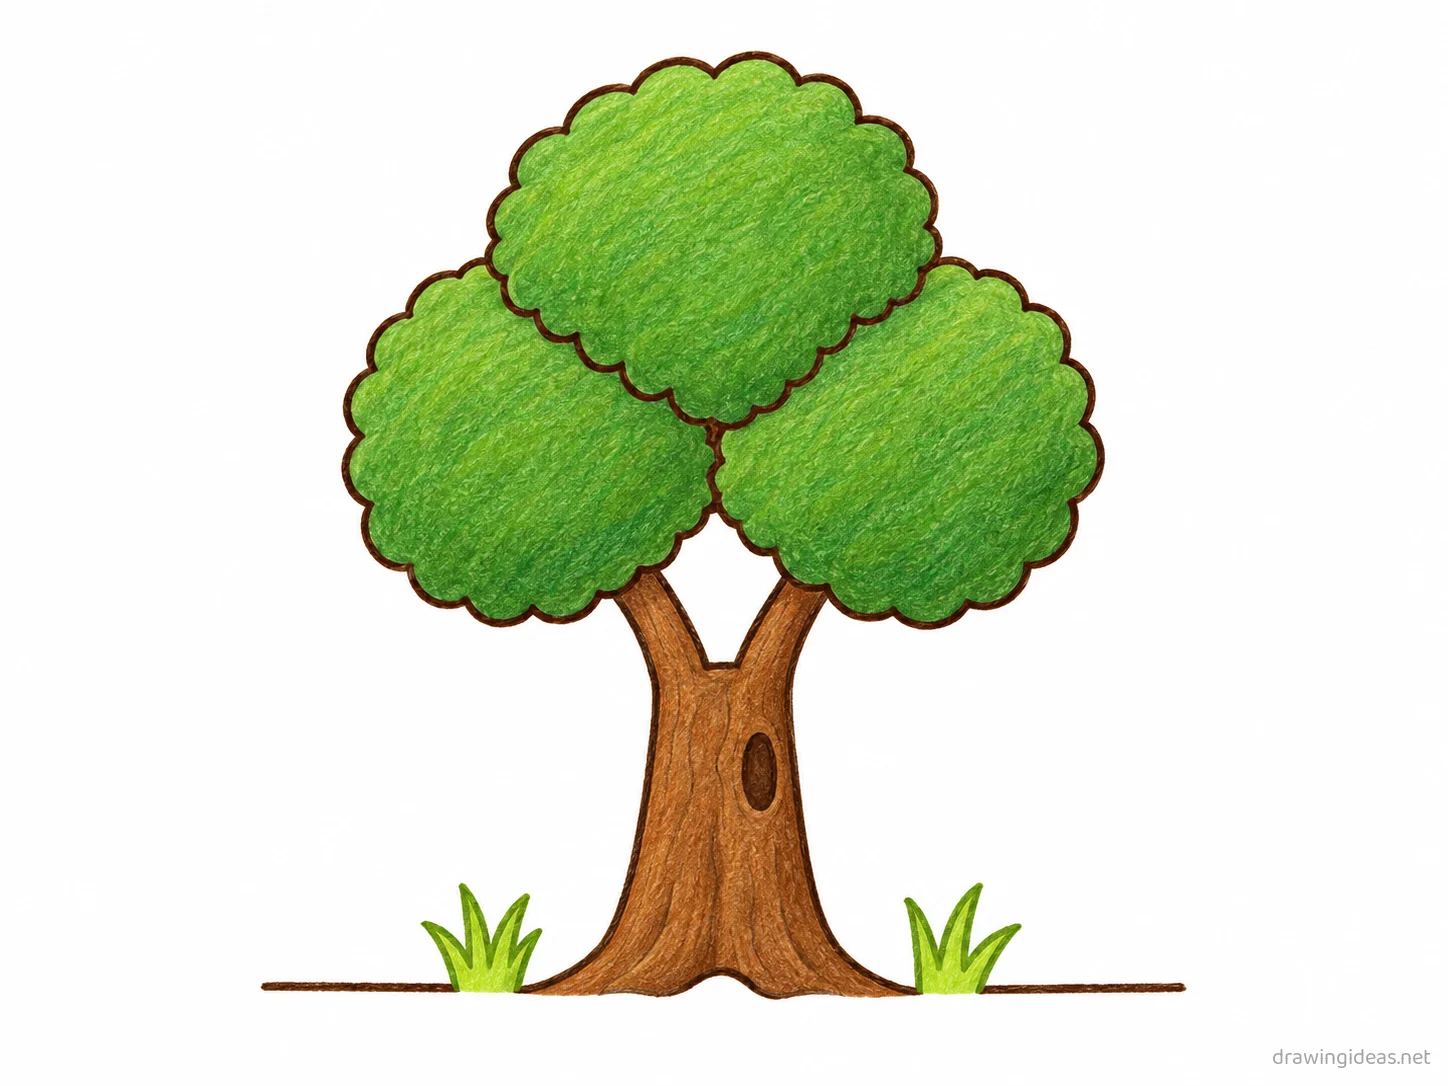
How to Draw a Tree Step by Step
Step 1 of 9
Crown and trunk guides
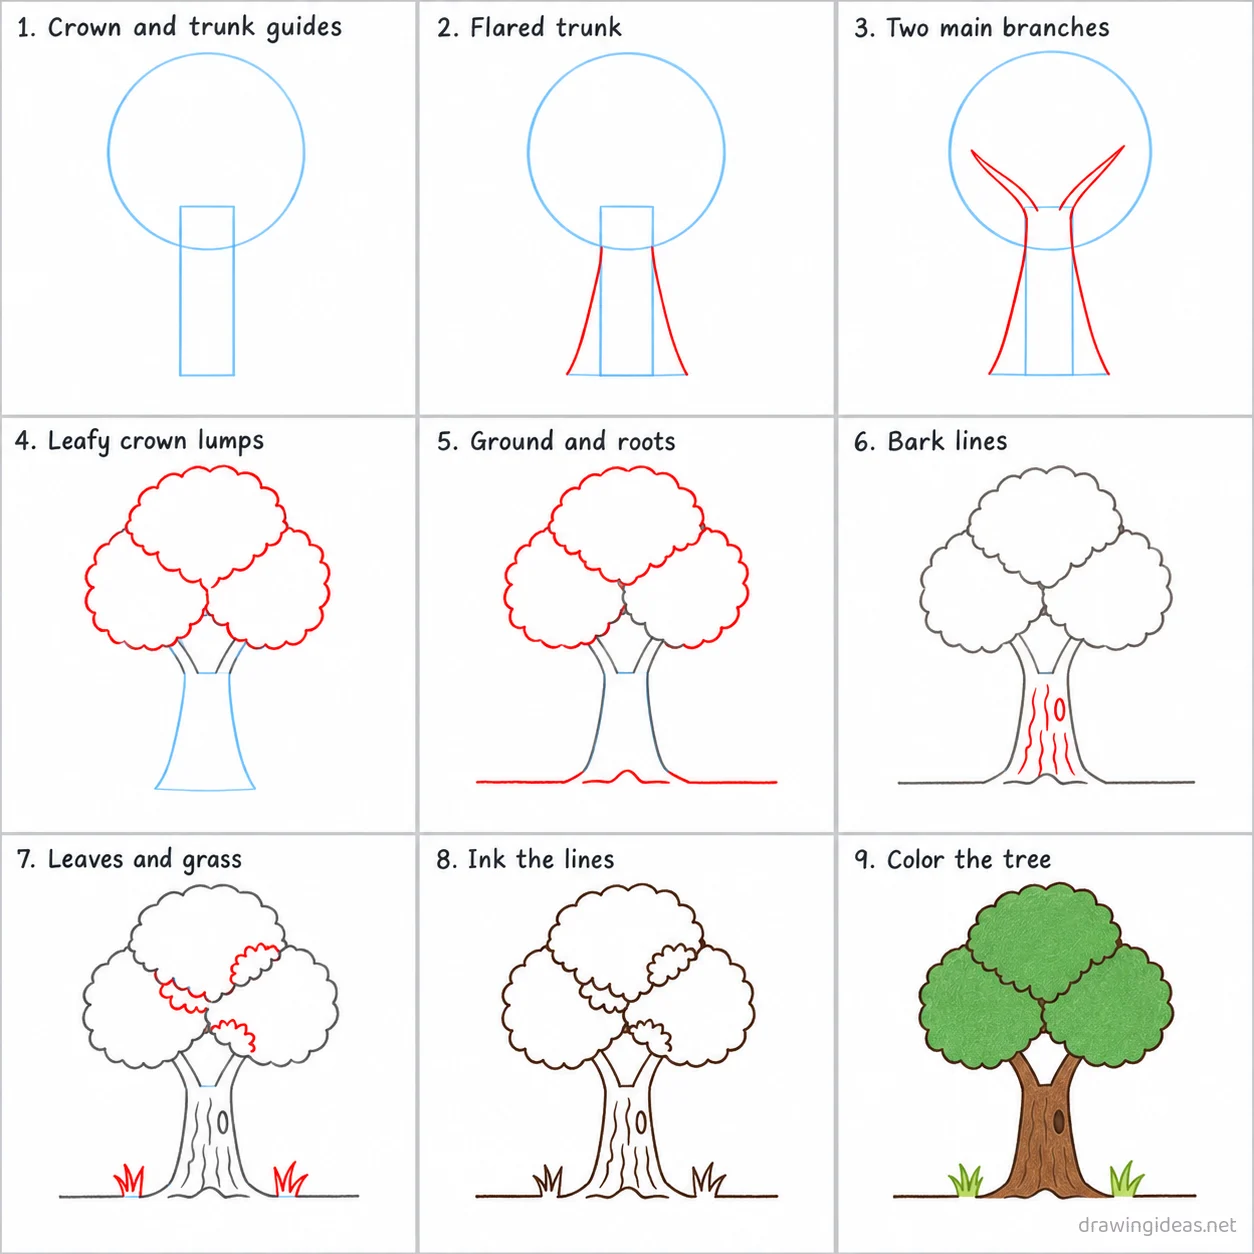
Draw a big light circle in the upper middle of the page for the crown, then a light tall rectangle below it for the trunk, overlapping the circle's bottom.
-
Crown and trunk guides
Draw a big light circle in the upper middle of the page for the crown, then a light tall rectangle below it for the trunk, overlapping the circle's bottom.
-
Flared trunk
Inside the rectangle draw two trunk lines that start just under the crown and flare apart toward the bottom like a bell.
-
Two main branches
From each top corner of the trunk draw a thick branch of two lines rising into the crown circle, one up-left and one up-right, thinner toward the tip.
-
Leafy crown lumps
Draw three bumpy cloud-shaped lumps on the crown circle: one on top, one lower left and one lower right, overlapping so the branch tips are hidden.
-
Ground and roots
Draw a horizontal ground line through the trunk base across most of the page, then three root bumps where the trunk meets the ground.
-
Bark lines
Inside the trunk draw five short wavy vertical lines following the flare, plus a small oval knot hole on the right side of the trunk.
-
Leaves and grass
Add three clusters of short scalloped leaf strokes inside the crown where the lumps overlap, and a spiky grass tuft on the ground each side of the trunk.
-
Ink the lines
Go over every kept line with dark ink, then erase the light crown circle and trunk rectangle.
-
Color the tree
Fill the crown green, the trunk, branches and roots brown, the knot dark brown, and the grass light green.
Tree Drawing Ideas to Try Next
Once the basic tree clicks, run it through these variations — each one practices a different skill while staying on a subject you already know.
-
A tree in four seasons
Four panels, same tree: spring blossoms, summer green, autumn orange with falling leaves, winter bare branches.
-
A tiny house in a big tree
Draw the tree first, then tuck a little house with a ladder among the branches.
-
Roots mirroring branches
Show the tree above ground and its root system below, drawn as a mirrored reflection — a favorite symbolic piece.
-
A tree border or corner piece
Grow the tree along a page edge or corner — perfect for journals, cards, and letters.
-
Tree in a simple vase
Add a basic vessel and you've turned a flower doodle into a still life.
-
Line-art tree tattoo design
Single-weight clean outline, no shading — minimalist flash style.
-
Pressed-flower style flat tree
Draw it perfectly flat and symmetrical like a pressed specimen, with a handwritten label beneath.
-
A tree wreath
Repeat small versions in a circle guideline — the highest-value use of one flower you've learned.
-
A tree growth cycle strip
Bud, half-open, full bloom in three panels — repetition with a story built in.
Tree Drawing Styles: Easy, Cute & More
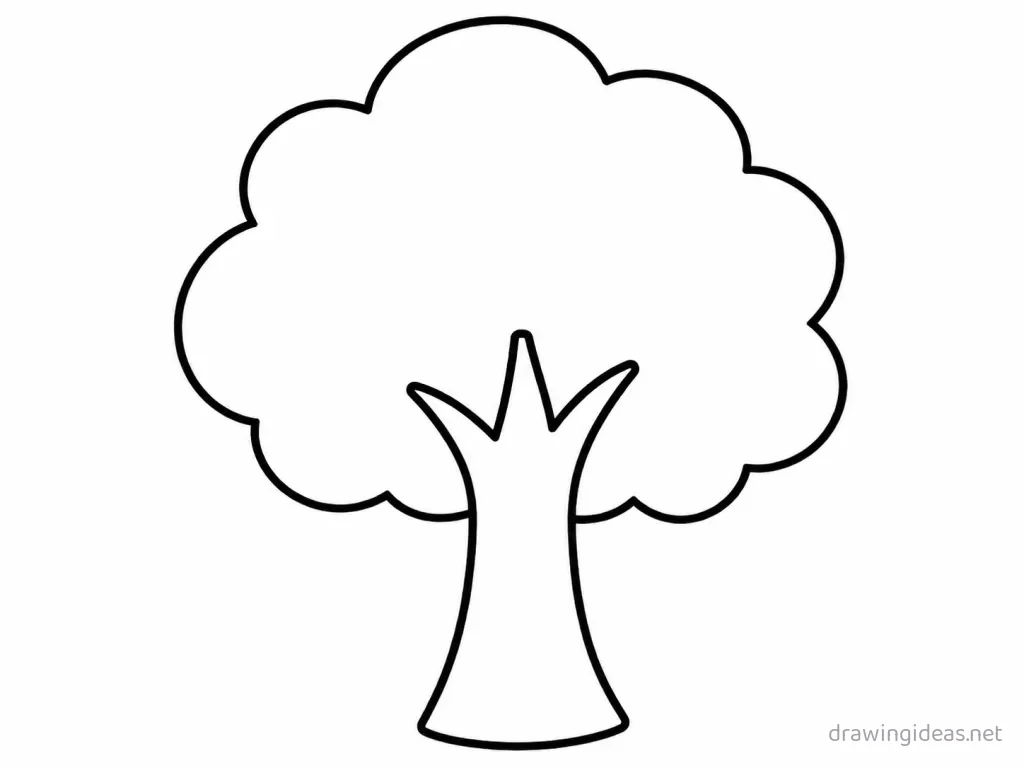
Easy Tree Drawing
Try a simplified version built from basic shapes — perfect for beginners and kids. Same nine steps as above — simply simplify or stylize the final pass.
Tips for Better Tree Drawings
- Branches get thinner at every fork — if a branch stays the same width after splitting, the tree instantly looks fake. Total width before a fork should roughly equal total width after.
- Nature is never symmetrical — if your flower looks stiff, rotate a few petals, vary their widths, and let one droop. Imperfect petals read as alive.
Not feeling the tree today?
Let the generator pick your next subject — filtered by mood and difficulty.
🎲 Random Drawing GeneratorTree Drawing FAQ
How do you draw a tree easily?
Start with a flared trunk with a cloud-shaped canopy, keeping your lines light. Refine the outline, add the defining details, then erase the construction shapes. The nine-step method above breaks this down — most people get a recognizable tree on their very first try with it.
How long does a tree drawing take?
A simple tree drawing takes about 12 minutes following this tutorial. A quick doodle version can be done in two or three minutes, while a detailed, fully-shaded study might take an hour. Speed comes with repetition — the second attempt is always faster than the first.
What do I need to draw a tree?
Just a pencil, an eraser, and any paper. An HB pencil for construction lines and a 2B for final outlines is a nice upgrade, and colored pencils or markers finish it off — but nothing on this page requires special supplies.
Can kids draw a tree?
Yes — the tree is one of the friendlier subjects for beginners, and this method was written for first-timers. Kids can follow the same steps; just expect wobblier lines and more charm.