Tsunami Drawing: Step-by-Step Tutorial & Easy Ideas
Learning how to draw a tsunami is easier than it looks — the whole thing starts with a horizon line and two or three big simple shapes. This guide walks you through a tsunami drawing in six clear steps, then hands you a set of tsunami drawing ideas to keep going: easy versions for beginners, cute and cartoon takes, and variations worth sketching when you want more.
- Difficulty Medium
- Time ~15 min
- Tools Pencil, eraser, paper
- Starts with a horizon line and two or three big simple shapes
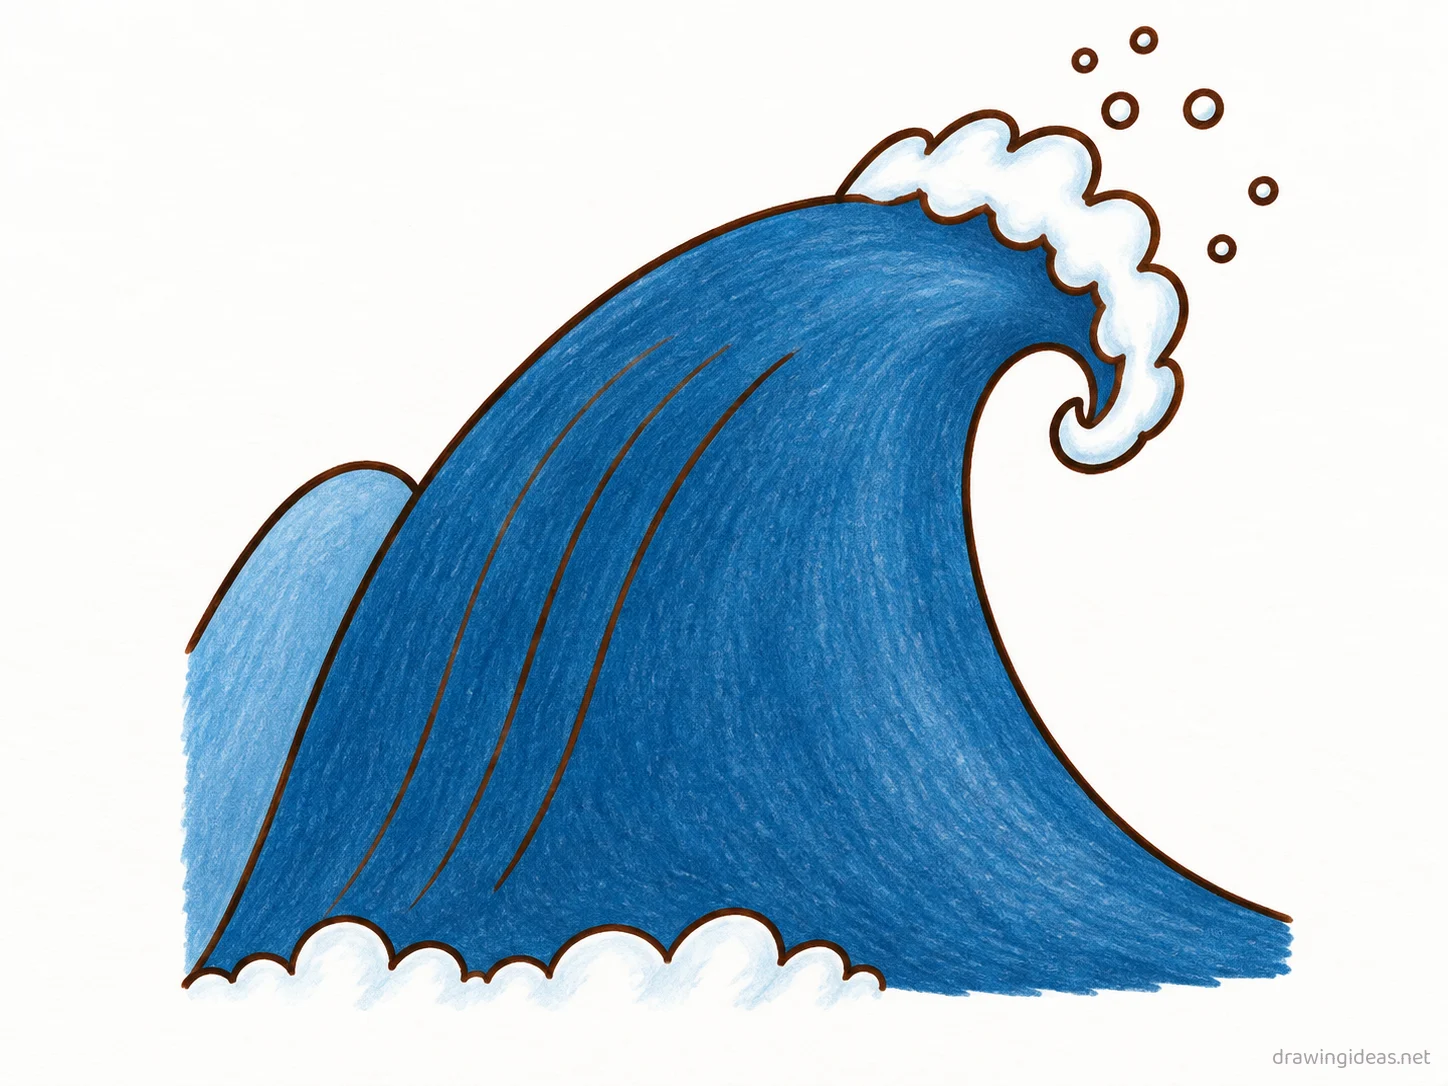
How to Draw a Tsunami Step by Step
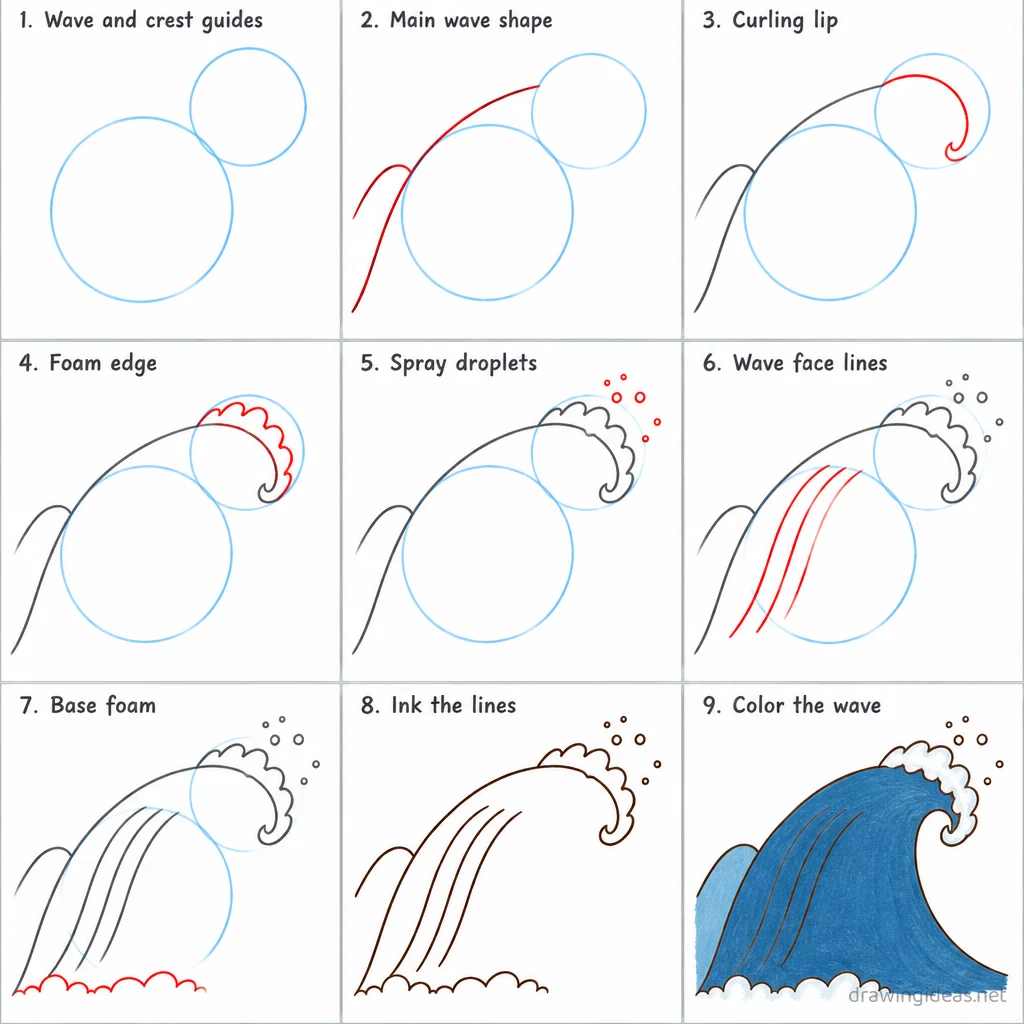
Step 1 of 9
Wave and crest guides
Draw a large light circle in the lower left for the wave's body, then a smaller light circle to its upper right for the curling crest.
-
Wave and crest guides
Draw a large light circle in the lower left for the wave's body, then a smaller light circle to its upper right for the curling crest.
-
Main wave shape
Trace the main wave outline rising from the lower left over the body circle, and add a smaller swell bump tucked behind it.
-
Curling lip
On the crest circle draw the curling lip of the wave sweeping over and hooking down toward a tip.
-
Foam edge
Add a jagged foam edge of small pointed bumps following the curling lip.
-
Spray droplets
Add a scattered cluster of small round droplets flying off above the curling tip.
-
Wave face lines
Draw three long curved lines flowing down the face of the main wave to show its slope and motion.
-
Base foam
Add a ragged line of small rounded foam bumps along the bottom base of the wave.
-
Ink the lines
Go over every kept line with dark ink, then erase the light wave body and crest guides.
-
Color the wave
Fill the main wave deep blue, the swell lighter blue, and the foam and spray white.
Tsunami Drawing Ideas to Try Next
Once the basic tsunami clicks, run it through these variations — each one practices a different skill while staying on a subject you already know.
-
Tsunami through a window frame
Draw a simple window and place the tsunami outside it — built-in composition and cozy mood.
-
A tiny tsunami in a glass jar
The miniature-world trend: your tsunami scene bottled with a cork on top.
-
A postcard-style tsunami
Frame it in a rectangle with a hand-lettered greeting — vintage travel poster energy.
-
A minimalist one-line tsunami scene
Reduce the tsunami to its simplest continuous line — modern, framable, and fast.
-
Tsunami at golden hour
Same drawing, warm palette, long shadows — light does the heavy lifting.
-
Day and night split tsunami
Divide the page down the middle and render the same tsunami in both lightings.
-
Tsunami with a wanderer figure
One tiny silhouette person gazing at your big tsunami — instant scale and story.
Tips for Better Tsunami Drawings
- Detail only the focal area and let the edges stay loose. The viewer’s eye goes where the detail is; detail everywhere means focus nowhere.
- Squint at your reference until it blurs into 3–4 big shapes — draw those shapes first. Every landscape that "looks off" skipped this step.
Not feeling the tsunami today?
Let the generator pick your next subject — filtered by mood and difficulty.
🎲 Random Drawing GeneratorTsunami Drawing FAQ
What is the easiest way to draw a tsunami?
Start with a horizon line and two or three big simple shapes, keeping your lines light. Refine the outline, add the defining details, then erase the construction shapes. The nine-step method above breaks this down — most people get a recognizable tsunami on their very first try with it.
How long should it take to draw a tsunami?
A simple tsunami drawing takes about 15 minutes following this tutorial. A quick doodle version can be done in two or three minutes, while a detailed, fully-shaded study might take an hour. Speed comes with repetition — the second attempt is always faster than the first.
What supplies do I need for tsunami drawings?
Just a pencil, an eraser, and any paper. An HB pencil for construction lines and a 2B for final outlines is a nice upgrade, and colored pencils or markers finish it off — but nothing on this page requires special supplies.
Can kids draw a tsunami?
Yes — the tsunami is very manageable once you use construction shapes, and this method was written for first-timers. Kids can follow the same steps; just expect wobblier lines and more charm.