Fire Drawing: Step-by-Step Tutorial & Easy Ideas
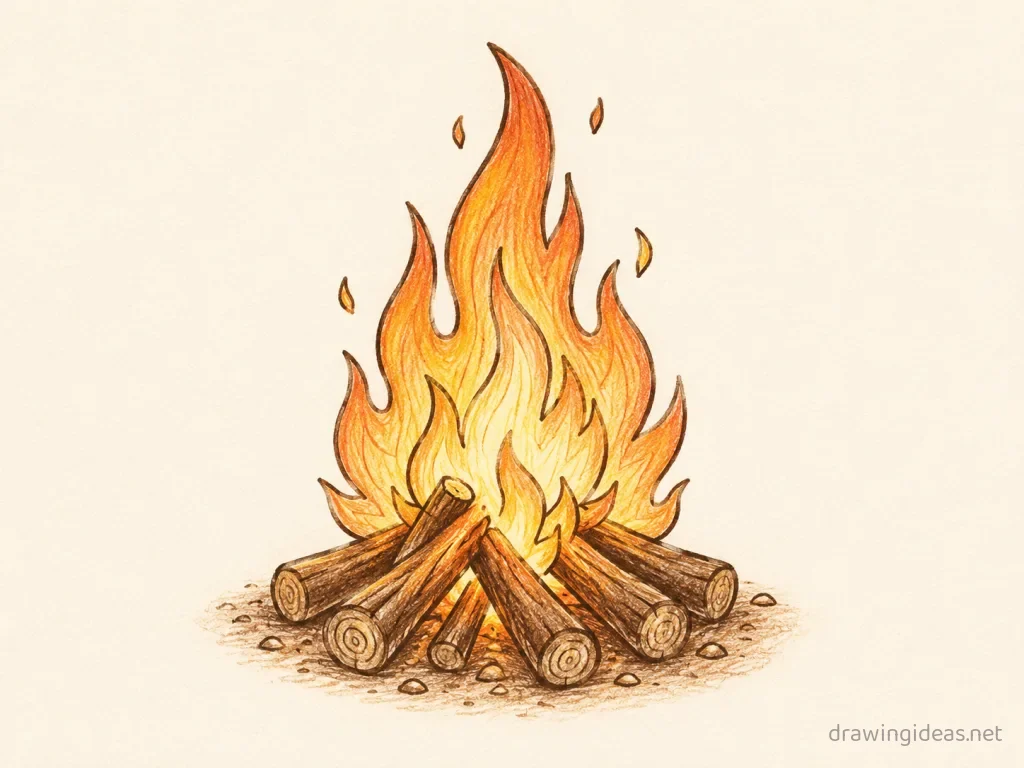
Fire drawings are one of the most-loved sketching subjects, and for good reason — the basic version comes together from stacked teardrops with wavy edges in just a few minutes. Follow the six steps below to get the foundations right, then browse the ideas list for your next fire sketch.
- Difficulty Medium
- Time ~15 min
- Tools Pencil, eraser, paper
- Starts with stacked teardrops with wavy edges
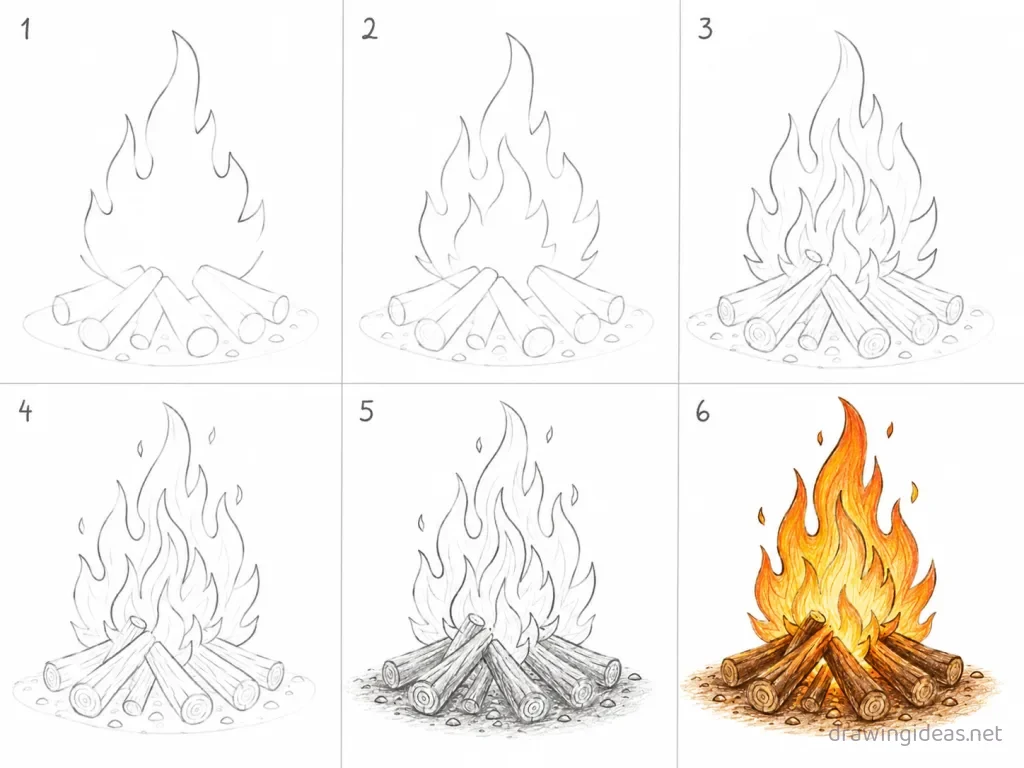
How to Draw Fire Step by Step
-
Draw the outer flame
A large teardrop shape with a wavy, flickering outline — the tip should lean slightly to one side, never straight up.
-
Add a second tongue
Draw a smaller flame licking off one side of the main one, splitting from it partway up. Fire is never one clean shape.
-
Nest the middle layer
Inside the outer flame, draw a smaller teardrop following the same lean but with its own independent waves.
-
Add the core
One more small teardrop at the base center — this is the hottest part and stays almost white.
-
Detail the base
Add what's burning: a couple of log shapes crossed at the bottom, with small flame tongues curling around them.
-
Color from the inside out
White or pale yellow core, orange middle, red-orange outer edge, and a few floating sparks drifting up. Never outline fire in black — use dark red.
Fire Drawing Ideas to Try Next
Once the basic fire clicks, run it through these variations — each one practices a different skill while staying on a subject you already know.
-
A campfire with marshmallow sticks
The full cozy scene: crossed logs, three-layer flames, two sticks with melting marshmallows leaning in.
-
A candle flame close-up
One perfect teardrop with a blue base ring and a glowing halo — the calmest version of fire practice.
-
A phoenix feather catching fire
A single detailed feather whose tip dissolves into flame tongues and sparks.
-
A minimalist one-line fire scene
Reduce fire to its simplest continuous line — modern, framable, and fast.
-
Fire through a window frame
Draw a simple window and place fire outside it — built-in composition and cozy mood.
-
Fire with a wanderer figure
One tiny silhouette person gazing at your big fire — instant scale and story.
-
Fire at golden hour
Same drawing, warm palette, long shadows — light does the heavy lifting.
-
Day and night split fire
Divide the page down the middle and render the same fire in both lightings.
-
A tiny fire in a glass jar
The miniature-world trend: your fire scene bottled with a cork on top.
Fire Drawing Styles: Easy, Cute & More
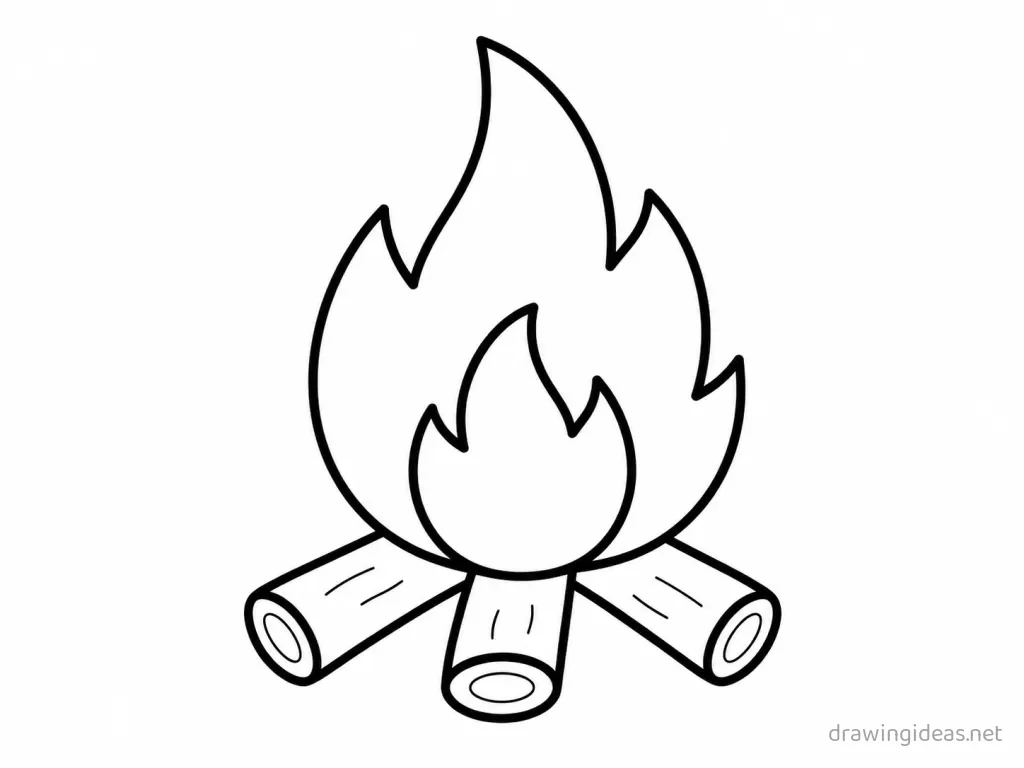
Easy Fire Drawing
Try a simplified version built from basic shapes — perfect for beginners and kids. Same six steps as above — simply simplify or stylize the final pass.
Tips for Better Fire Drawings
- Fire's realism lives in asymmetry and layers: three nested teardrops that each wave differently, tip always leaning. If your flame is symmetrical, it reads as an ice-cream cone.
- Squint at your reference until it blurs into 3–4 big shapes — draw those shapes first. Every landscape that "looks off" skipped this step.
Not feeling fire today?
Let the generator pick your next subject — filtered by mood and difficulty.
🎲 Random Drawing GeneratorFire Drawing FAQ
How do you draw fire easily?
Start with stacked teardrops with wavy edges, keeping your lines light. Refine the outline, add the defining details, then erase the construction shapes. The six-step method above breaks this down — most people get a recognizable fire on their very first try with it.
How long should it take to draw fire?
A simple fire drawing takes about 15 minutes following this tutorial. A quick doodle version can be done in two or three minutes, while a detailed, fully-shaded study might take an hour. Speed comes with repetition — the second attempt is always faster than the first.
What do I need to draw fire?
Just a pencil, an eraser, and any paper. An HB pencil for construction lines and a 2B for final outlines is a nice upgrade, and colored pencils or markers finish it off — but nothing on this page requires special supplies.
Can kids draw fire?
Yes — fire is very manageable once you use construction shapes, and this method was written for first-timers. Kids can follow the same steps; just expect wobblier lines and more charm.