Poppy Drawing: Step-by-Step Tutorial & Easy Ideas
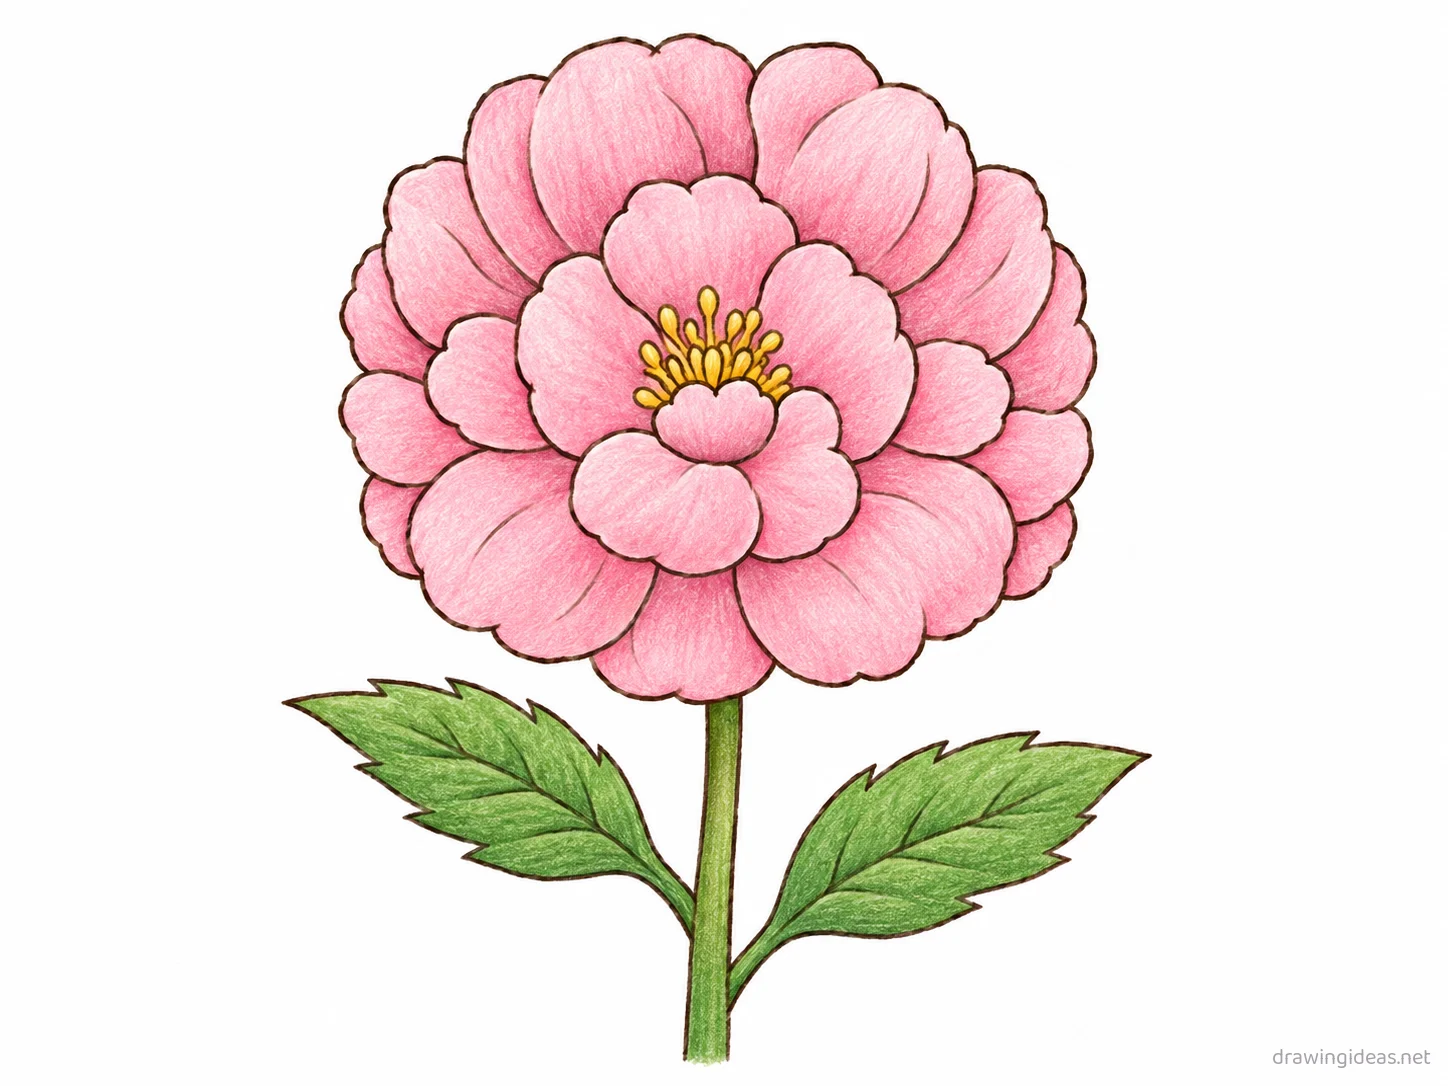
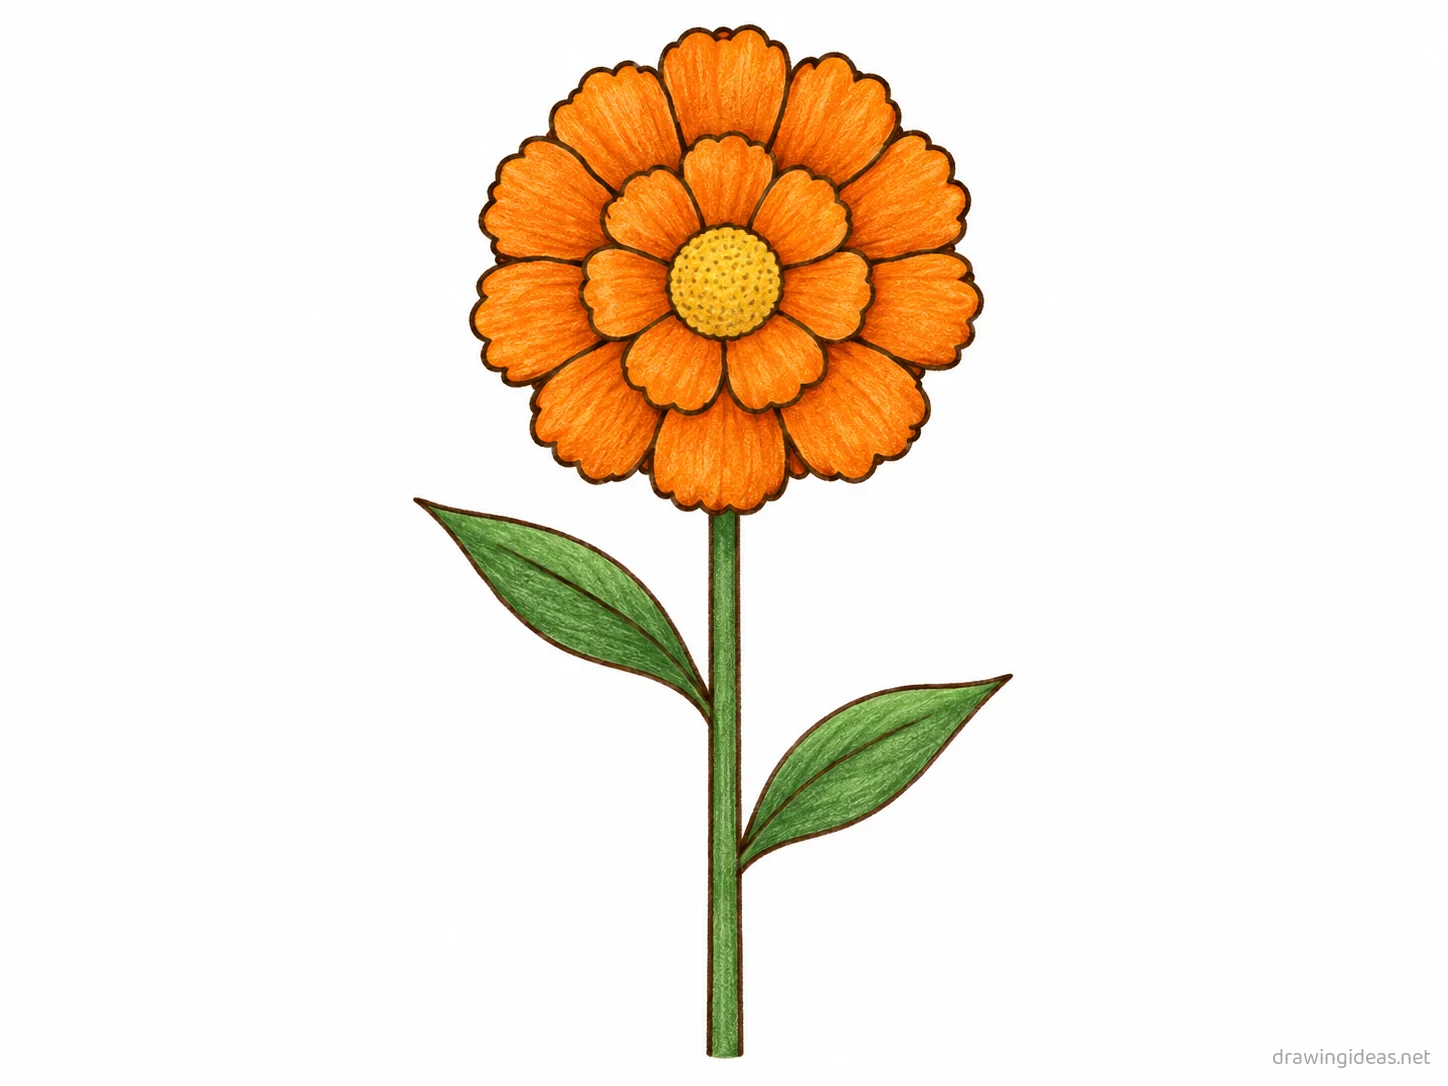
Want to draw a poppy that actually looks right? Start with a simple center with petal or leaf shapes around it and build from there. This page covers the full process — nine steps from first line to finished drawing — followed by poppy drawing ideas in every style: easy, cute, realistic, and a few you probably haven't tried.
- Difficulty Easy
- Time ~12 min
- Tools Pencil, eraser, paper
- Starts with a simple center with petal or leaf shapes around it
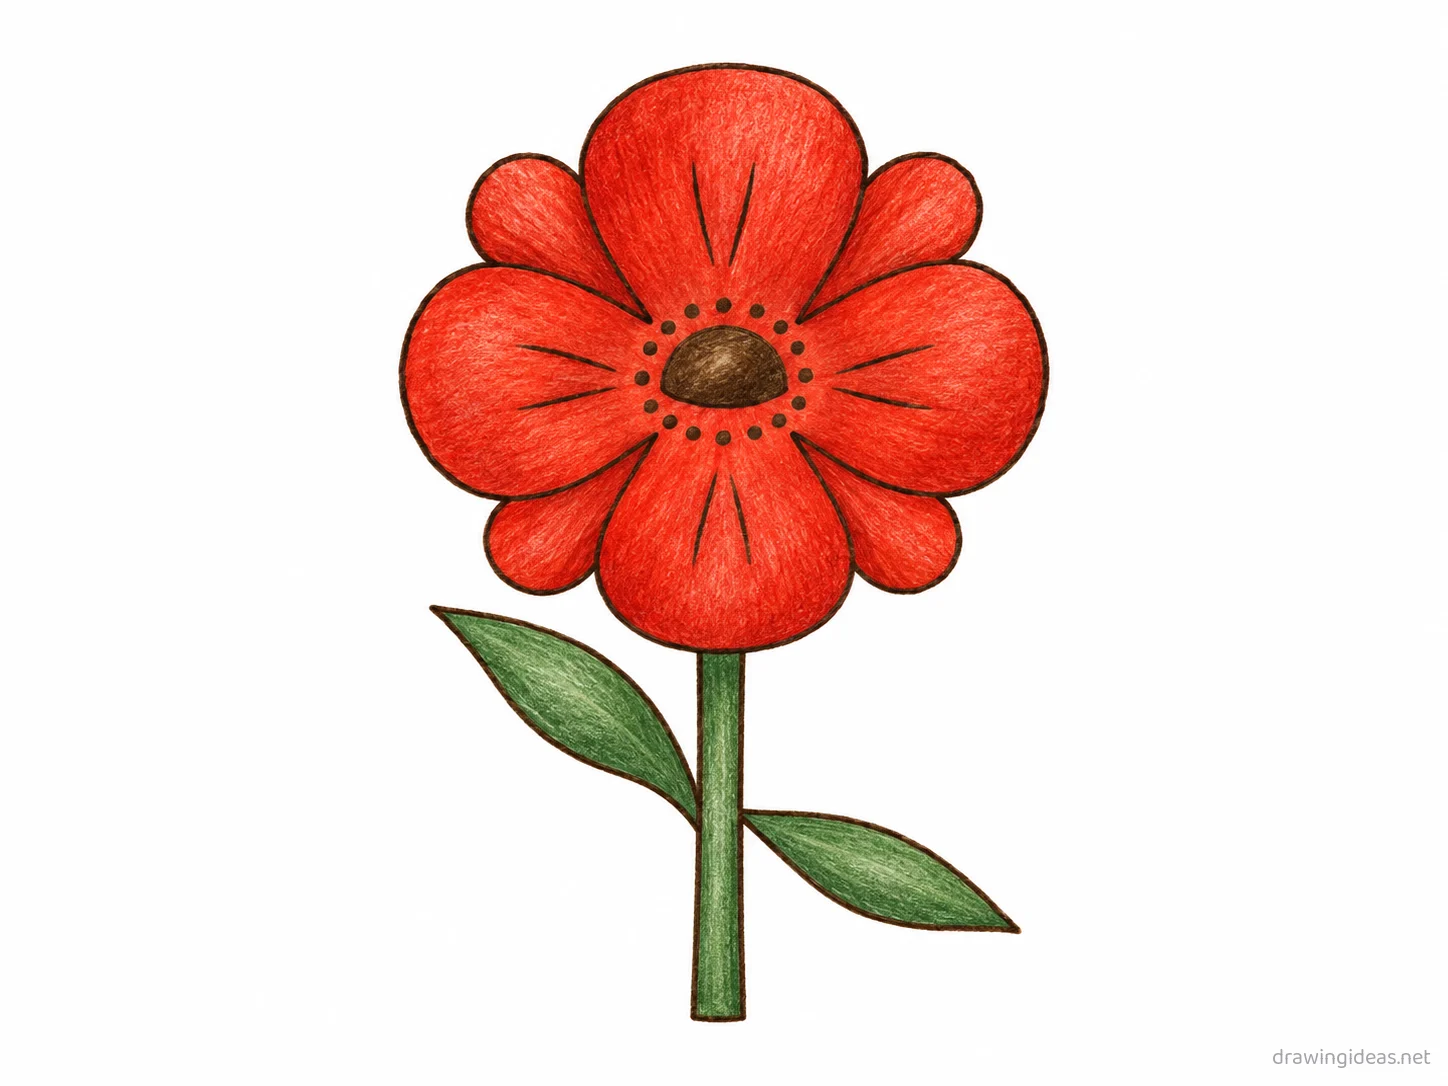
How to Draw a Poppy Step by Step
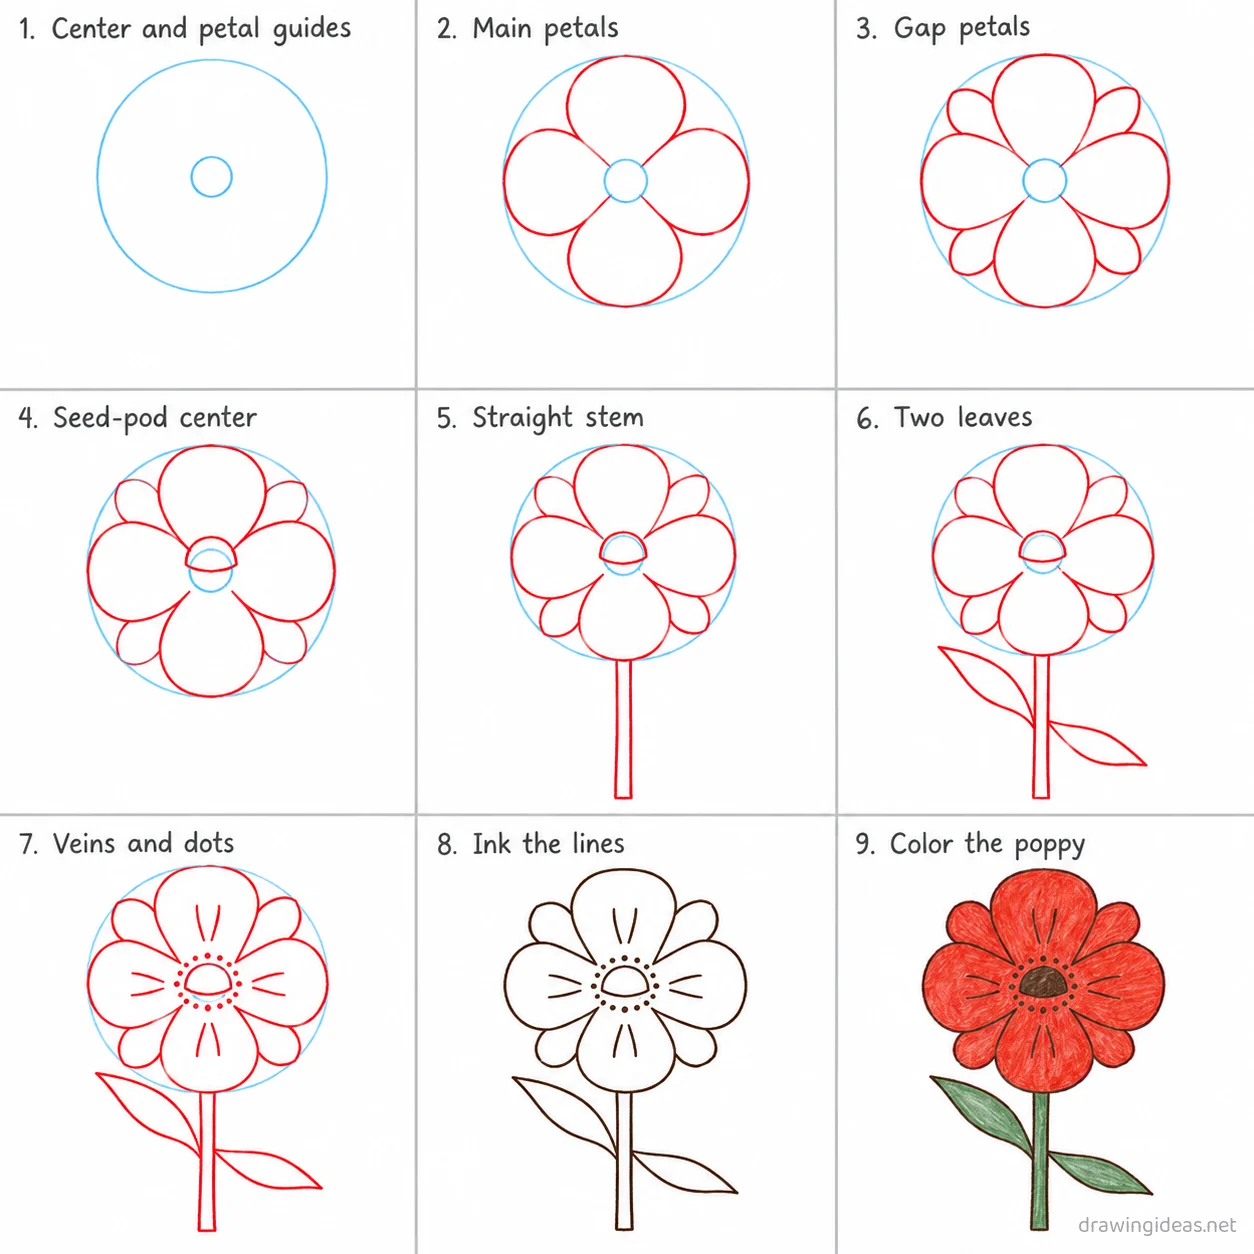
Step 1 of 9
Center and petal guides
Draw one small light circle in the upper middle of the page for the center, then a larger circle around it marking the petal edge.
-
Center and petal guides
Draw one small light circle in the upper middle of the page for the center, then a larger circle around it marking the petal edge.
-
Main petals
Draw four large rounded petals reaching from the center out to the outer guide, pointing up, down, left and right.
-
Gap petals
Fill the gaps between the main petals with four smaller petals on the diagonals.
-
Seed-pod center
Trace the small circle into a flattened dome shape for the dark seed-pod center.
-
Straight stem
From the base of the flower draw one straight thick stem down to the bottom of the page.
-
Two leaves
Add one long pointed leaf reaching left from the upper stem, and one reaching right lower down.
-
Veins and dots
Add two short curved veins on each main petal, then a ring of small dots around the seed-pod center.
-
Ink the lines
Go over every kept line with dark ink, then erase the light center and outer petal guide circles.
-
Color the poppy
Fill the petals bright red, the seed-pod center dark brown, and the stem and leaves green.
Poppy Drawing Ideas to Try Next
Once the basic poppy clicks, run it through these variations — each one practices a different skill while staying on a subject you already know.
-
A bee or butterfly visiting your poppy
One tiny pollinator turns a plant study into a scene.
-
Poppy in a simple vase
Add a basic vessel and you've turned a flower doodle into a still life.
-
A single poppy study
One bloom, centered, drawn slowly from life or photo — the classic botanical exercise that always ends frameable.
-
Line-art poppy tattoo design
Single-weight clean outline, no shading — minimalist flash style.
-
A poppy wreath
Repeat small versions in a circle guideline — the highest-value use of one flower you've learned.
-
Pressed-flower style flat poppy
Draw it perfectly flat and symmetrical like a pressed specimen, with a handwritten label beneath.
-
A poppy growth cycle strip
Bud, half-open, full bloom in three panels — repetition with a story built in.
-
A poppy border or corner piece
Grow the poppy along a page edge or corner — perfect for journals, cards, and letters.
Tips for Better Poppy Drawings
- Draw petals from the center outward, letting each one overlap a neighbor. Overlap is what separates a flower from a pinwheel.
- Nature is never symmetrical — if your flower looks stiff, rotate a few petals, vary their widths, and let one droop. Imperfect petals read as alive.
Not feeling the poppy today?
Let the generator pick your next subject — filtered by mood and difficulty.
🎲 Random Drawing GeneratorPoppy Drawing FAQ
How do you draw a poppy easily?
Start with a simple center with petal or leaf shapes around it, keeping your lines light. Refine the outline, add the defining details, then erase the construction shapes. The nine-step method above breaks this down — most people get a recognizable poppy on their very first try with it.
How long does a poppy drawing take?
A simple poppy drawing takes about 12 minutes following this tutorial. A quick doodle version can be done in two or three minutes, while a detailed, fully-shaded study might take an hour. Speed comes with repetition — the second attempt is always faster than the first.
What do I need to draw a poppy?
Just a pencil, an eraser, and any paper. An HB pencil for construction lines and a 2B for final outlines is a nice upgrade, and colored pencils or markers finish it off — but nothing on this page requires special supplies.
Is a poppy easy to draw for beginners?
Yes — the poppy is one of the friendlier subjects for beginners, and this method was written for first-timers. Kids can follow the same steps; just expect wobblier lines and more charm.