Base Drawing: Step-by-Step Tutorial & Easy Ideas
Learning how to draw a base is easier than it looks — the whole thing starts with a proportioned mannequin of ovals and cylinders. This guide walks you through a base drawing in six clear steps, then hands you a set of base drawing ideas to keep going: easy versions for beginners, cute and cartoon takes, and variations worth sketching when you want more.
- Difficulty Medium
- Time ~20 min
- Tools Pencil, eraser, paper
- Starts with a proportioned mannequin of ovals and cylinders
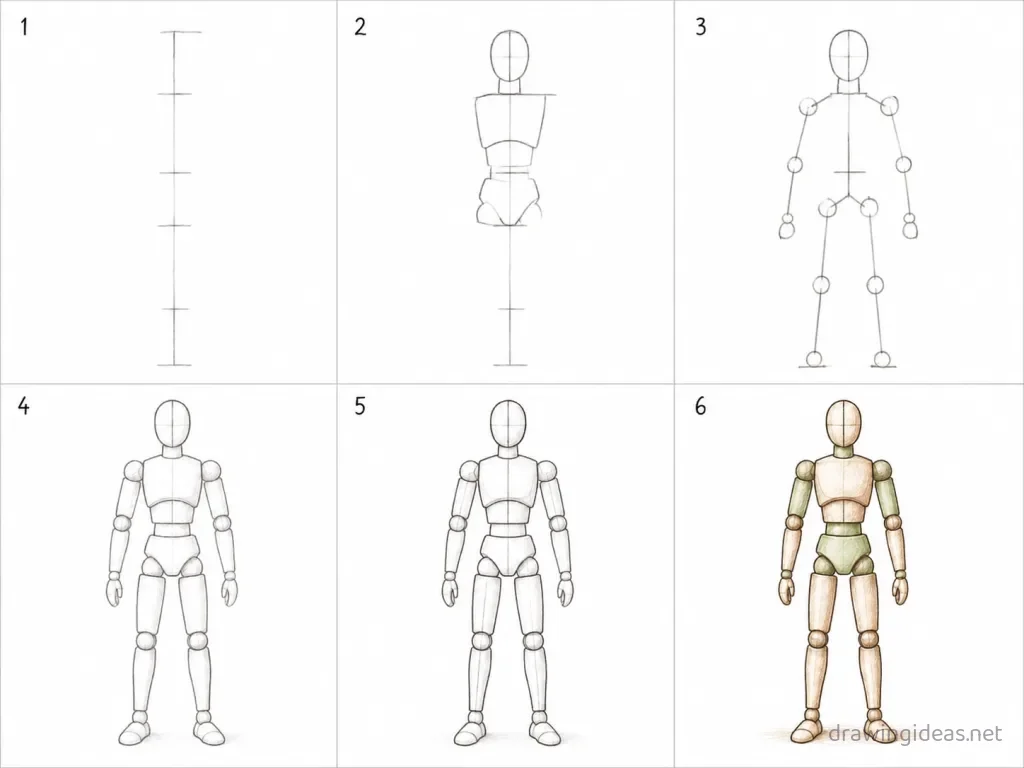
How to Draw a Base Step by Step
-
Set the height ruler
Draw a vertical line divided into 7.5 head-units (6 units for anime-style bases). Mark chin at 1, chest at 2, waist at 3, hips at 4, knees at 5.5, ankles at 7.25.
-
Frame the torso
A rounded box from marks 1–3 for the ribcage, a second box at 3.5–4.5 for the pelvis, connected by a flexible waist gap — tilt these boxes to pose the figure.
-
Wire the limbs
Stick lines for arms and legs with joint circles: shoulders, elbows at waist height, wrists at hip height, knees and ankles per your ruler.
-
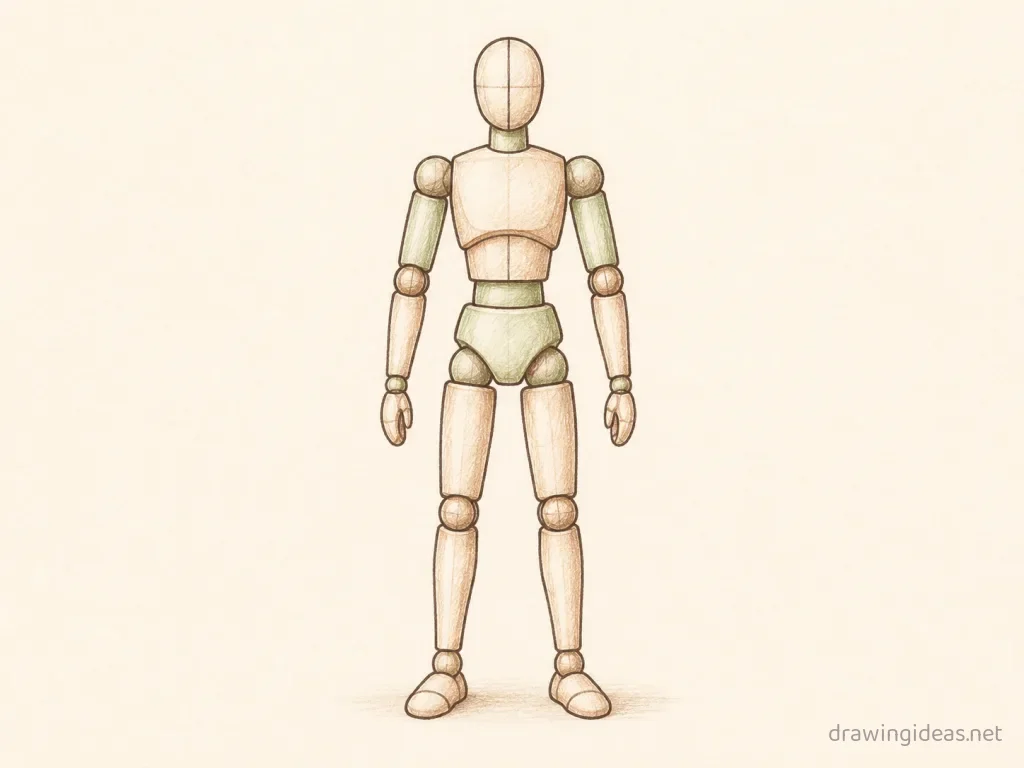
Inflate to volumes
Cylinders over the limb wires (thigh thicker than calf, upper arm thicker than forearm), spheres at joints, and simple mitten hands and wedge feet.
-
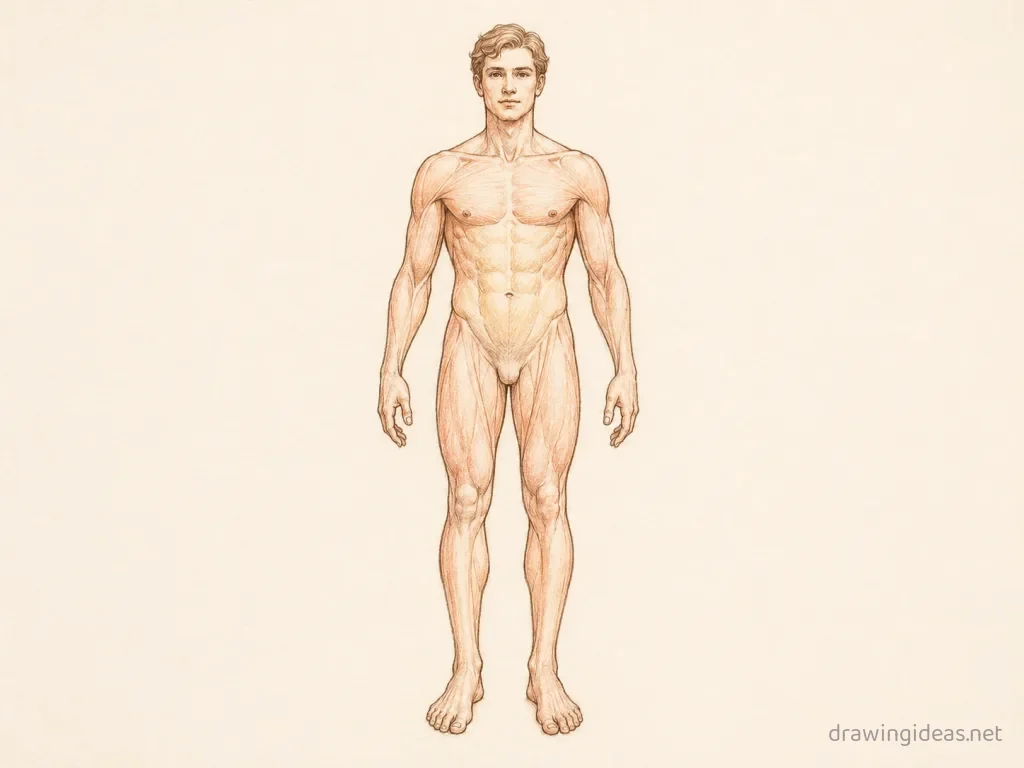
Carve the connection lines
Draw one continuous silhouette around the volumes — in at the waist, out at hips, in above the knee — turning mannequin into body.
-
Pose test
Trace your finished base three times and try different arm/head positions on each — a base is a tool; the whole point is reuse.
Base Drawing Ideas to Try Next
Once the basic base clicks, run it through these variations — each one practices a different skill while staying on a subject you already know.
-
A chibi base (2.5 heads tall)
The same construction squashed: head is nearly half the figure, limbs are cones — the most-requested base style.
-
Couple base holding hands
Two bases with one connected mitten — the interaction template journals request most.
-
An action lunge base
Tilt the ribcage and pelvis boxes against each other and stretch the back leg — dynamic from two rotations.
-
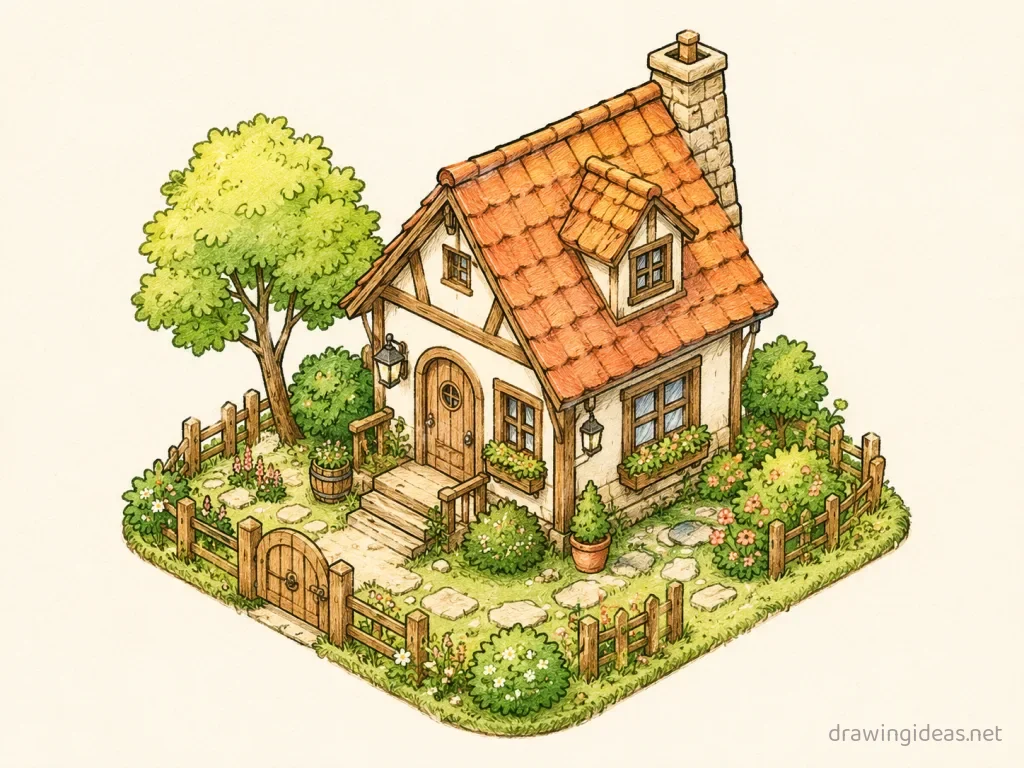
Apply base to a simple still life
Use the technique on a mug and a book from your desk — real objects make practice stick.
-
A before/after base comparison
Draw the same subject with and without the technique side by side — proof of what you've learned.
-
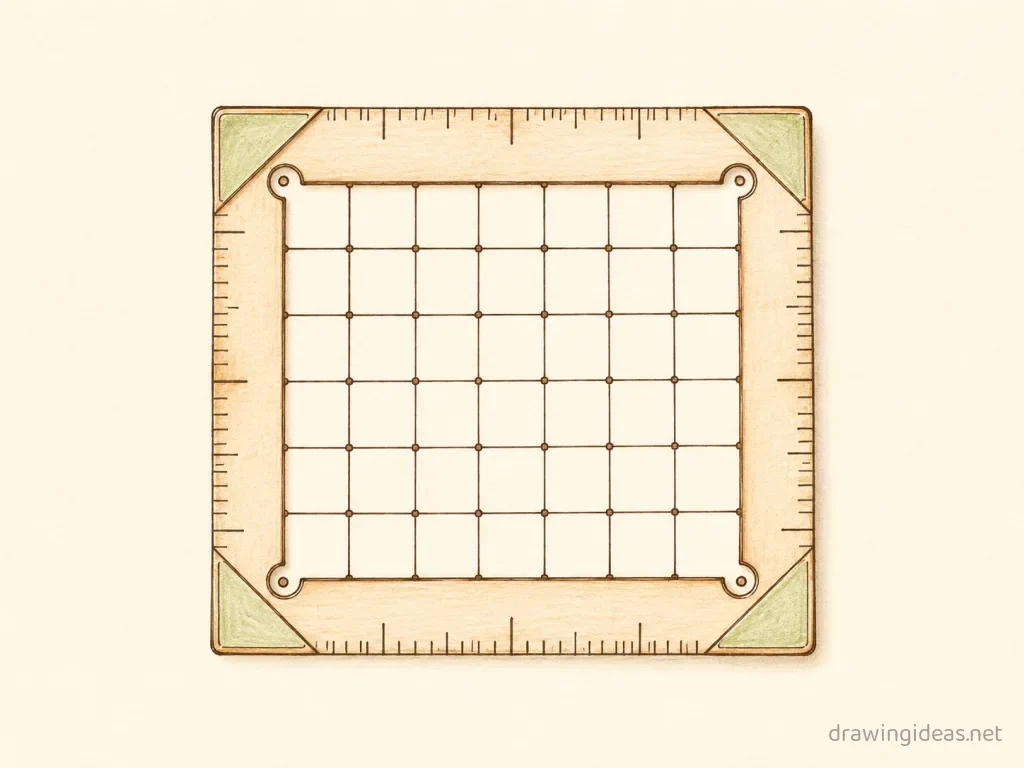
A practice grid of base studies
Divide the page into six boxes and repeat the exercise with one variation each — visible progress on a single page.
-
A timed base challenge
The same exercise at 5 minutes, 1 minute, and 30 seconds — speed reveals what you truly know.
Base Drawing Styles: Easy, Cute & More

Cute Base Drawing
Try the kawaii treatment: rounder shapes, bigger eyes, tiny proportions and soft colors. Same six steps as above — simply simplify or stylize the final pass.

Easy Base Drawing
Try a simplified version built from basic shapes — perfect for beginners and kids. Same six steps as above — simply simplify or stylize the final pass.
Tips for Better Base Drawings
- Make the joint circles BIG while learning — oversized shoulder and hip spheres force you to think in 3D volumes instead of flat outlines, and they're trivial to erase later.
- Change exactly one variable per repetition — new angle, new size, new subject. That’s how practice compounds into skill.
Not feeling the base today?
Let the generator pick your next subject — filtered by mood and difficulty.
🎲 Random Drawing GeneratorBase Drawing FAQ
What is the easiest way to draw a base?
Start with a proportioned mannequin of ovals and cylinders, keeping your lines light. Refine the outline, add the defining details, then erase the construction shapes. The six-step method above breaks this down — most people get a recognizable base on their very first try with it.
How long should it take to draw a base?
A simple base drawing takes about 20 minutes following this tutorial. A quick doodle version can be done in two or three minutes, while a detailed, fully-shaded study might take an hour. Speed comes with repetition — the second attempt is always faster than the first.
What supplies do I need for base drawings?
Just a pencil, an eraser, and any paper. An HB pencil for construction lines and a 2B for final outlines is a nice upgrade, and colored pencils or markers finish it off — but nothing on this page requires special supplies.
Is a base easy to draw for beginners?
Yes — the base is very manageable once you use construction shapes, and this method was written for first-timers. Kids can follow the same steps; just expect wobblier lines and more charm.