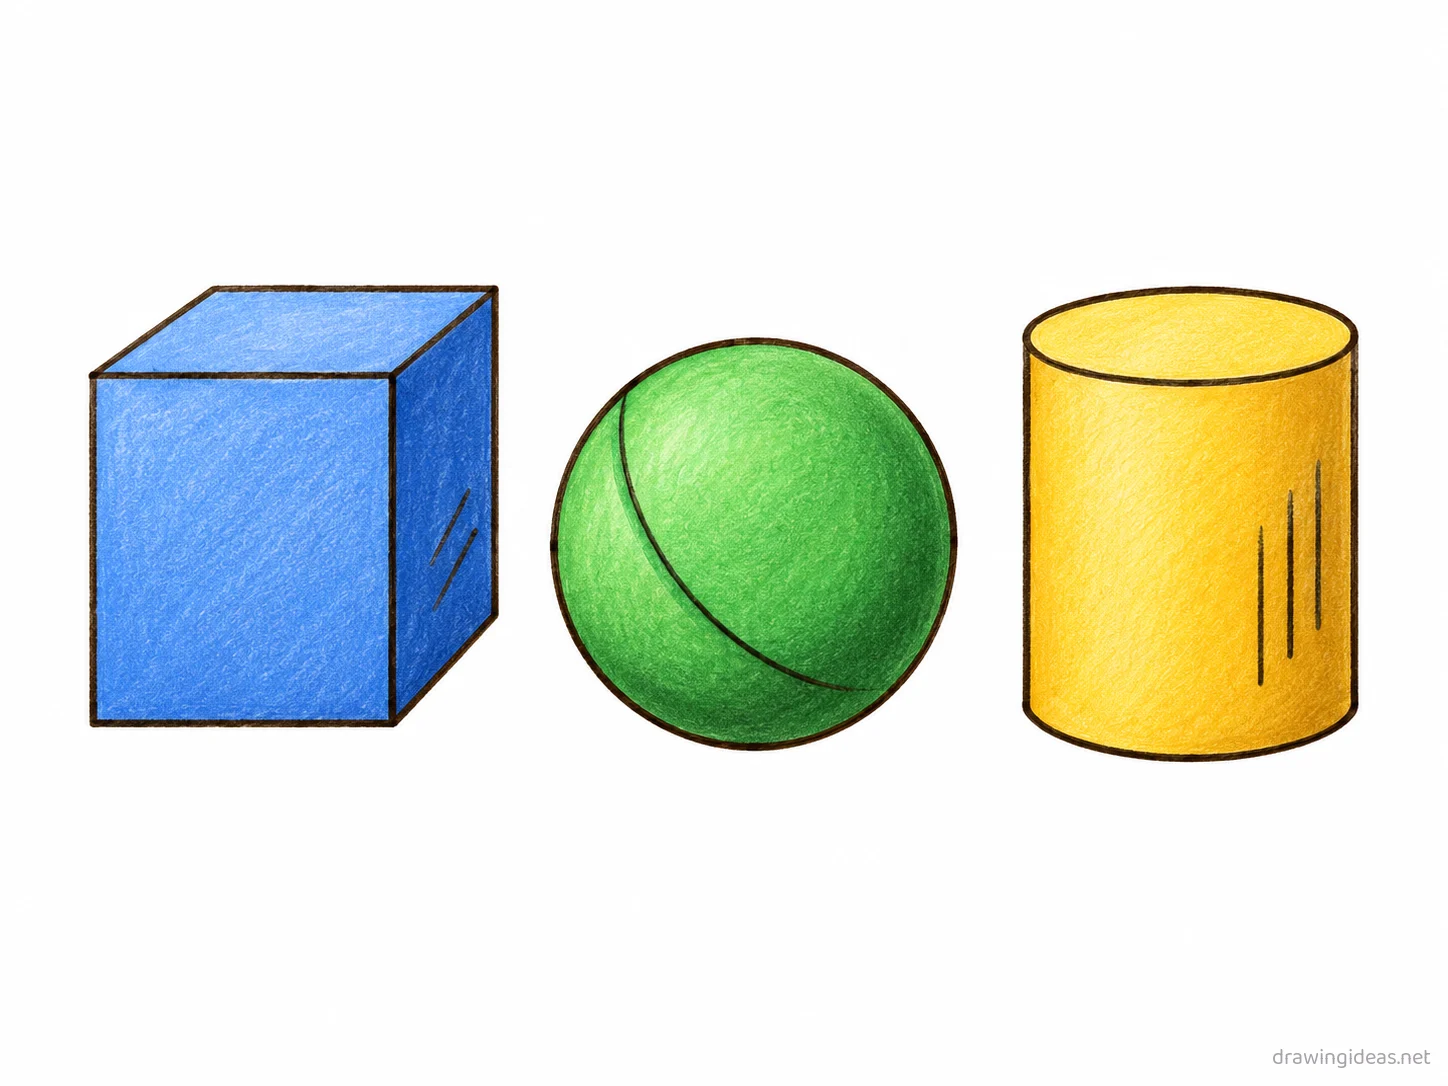
Isometric Drawing: Step-by-Step Tutorial & Easy Ideas
Every good isometric drawing starts the same way: light guidelines, refined step by step into a finished piece. Below you'll find a complete step-by-step tutorial you can follow with any pencil and paper, plus easy isometric drawing ideas — from quick five-minute doodles to more detailed studies.
- Difficulty Medium
- Time ~20 min
- Tools Pencil, eraser, paper
- Starts with light guidelines
How to Draw Isometric Step by Step
Step 1 of 9
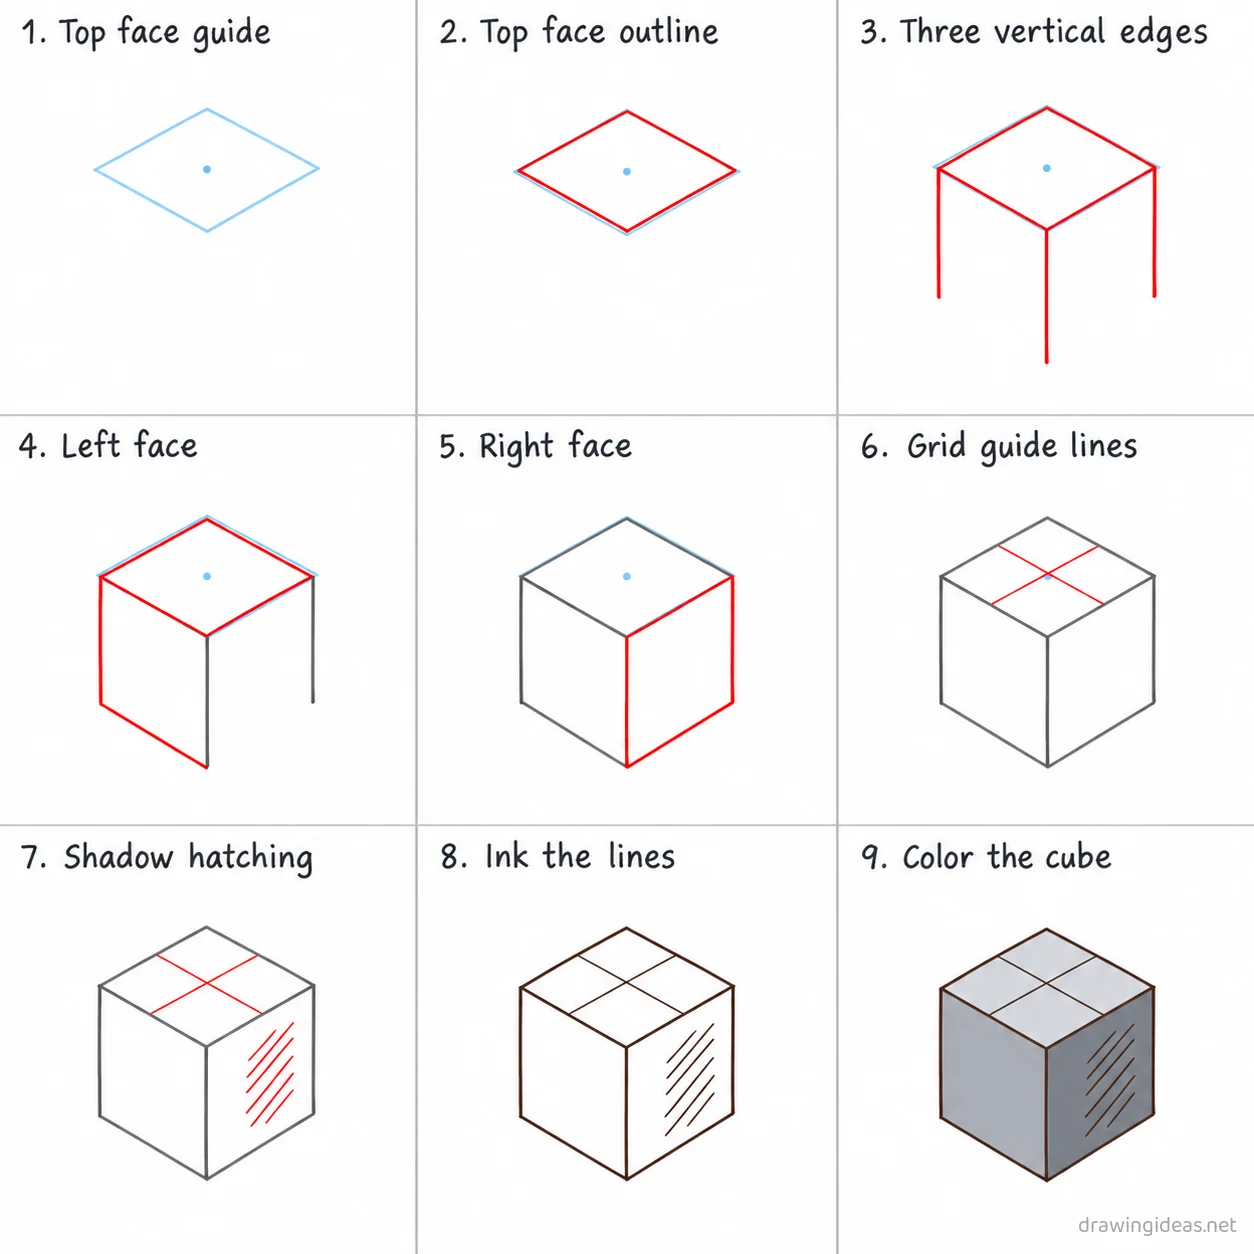
Top face guide
Mark a small center point in the upper middle of the page, then draw a light diamond around it for the cube's top face.
-
Top face guide
Mark a small center point in the upper middle of the page, then draw a light diamond around it for the cube's top face.
-
Top face outline
Trace the top face outline on the diamond so it has four straight equal edges.
-
Three vertical edges
From the left, right, and bottom points of the top face, draw three straight vertical lines dropping down the same distance.
-
Left face
Connect the bottoms of the left and front vertical edges with two more lines matching the top face angles to close the left face.
-
Right face
Connect the bottoms of the right and front vertical edges the same way to close the right face.
-
Grid guide lines
Add two faint diagonal lines across the top face parallel to its edges to show the isometric grid.
-
Shadow hatching
Add a few short diagonal hatch lines inside the right face to suggest shading on the darker side.
-
Ink the lines
Go over every kept line with dark ink, then erase the light center point and diamond guide.
-
Color the cube
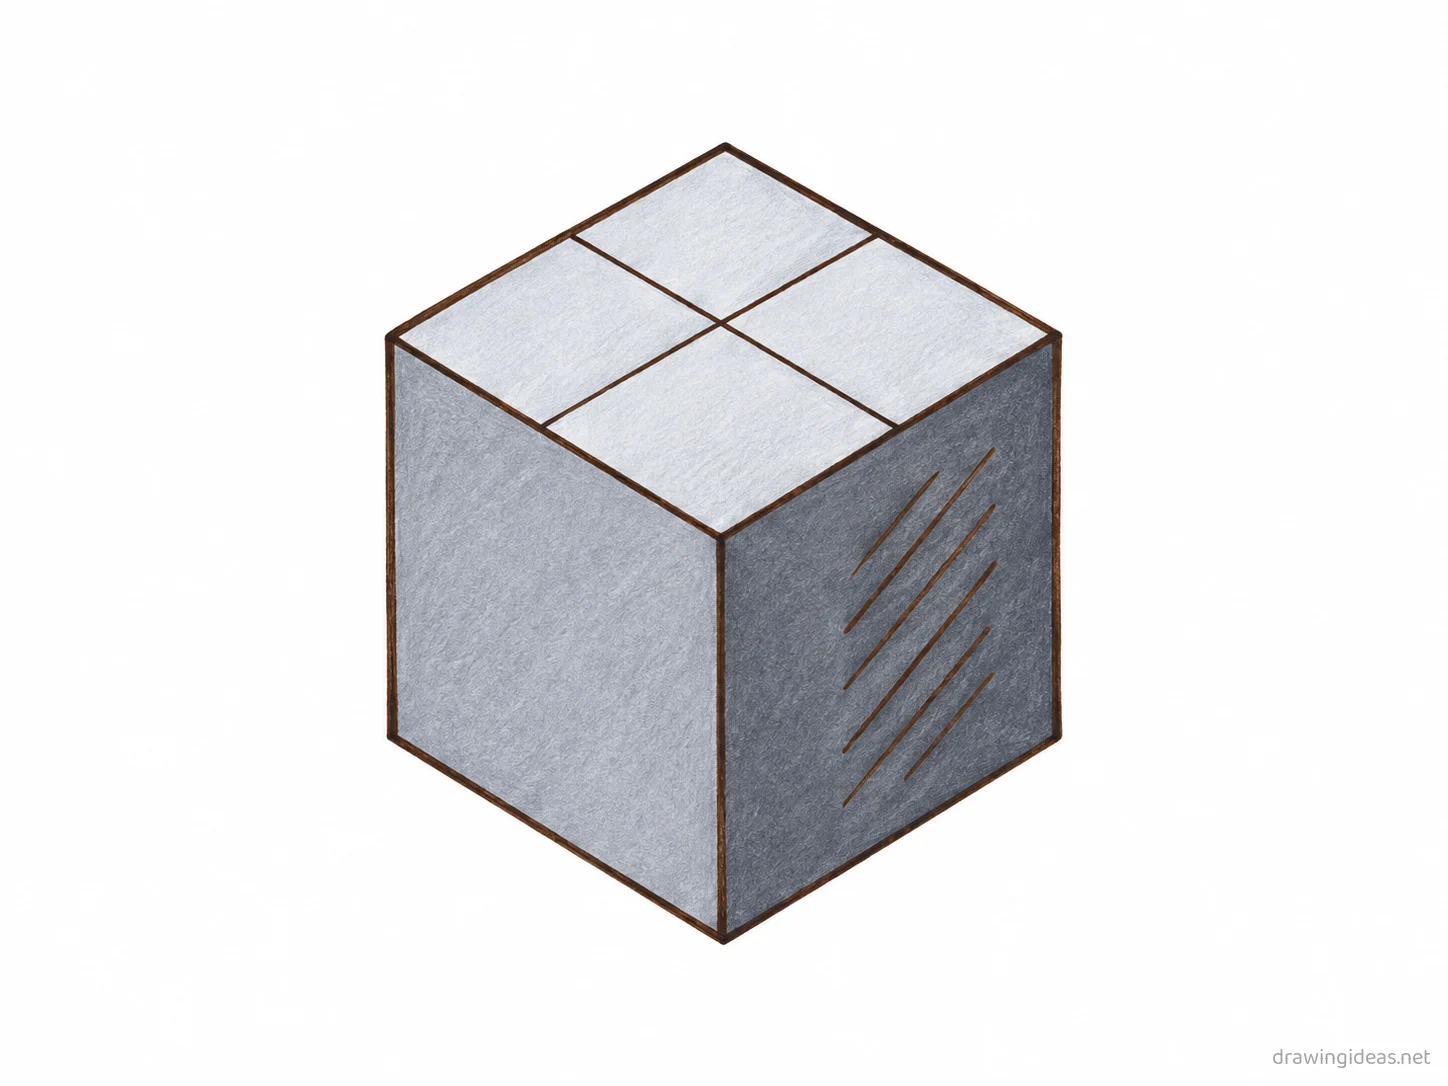
Fill the top face light gray, the left face medium gray, and the right face dark gray to show three sides of light.
Isometric Drawing Ideas to Try Next
Once the basic isometric clicks, run it through these variations — each one practices a different skill while staying on a subject you already know.
-
A practice grid of isometric studies
Divide the page into six boxes and repeat the exercise with one variation each — visible progress on a single page.
-
A before/after isometric comparison
Draw the same subject with and without the technique side by side — proof of what you've learned.
-
Apply isometric to a simple still life
Use the technique on a mug and a book from your desk — real objects make practice stick.
-
A timed isometric challenge
The same exercise at 5 minutes, 1 minute, and 30 seconds — speed reveals what you truly know.
Tips for Better Isometric Drawings
- Change exactly one variable per repetition — new angle, new size, new subject. That’s how practice compounds into skill.
- Slow is smooth and smooth is fast: technique practice done deliberately beats ten rushed repetitions.
Not feeling isometric today?
Let the generator pick your next subject — filtered by mood and difficulty.
🎲 Random Drawing GeneratorIsometric Drawing FAQ
How do you draw isometric easily?
Start with light guidelines, keeping your lines light. Refine the outline, add the defining details, then erase the construction shapes. The nine-step method above breaks this down — most people get a recognizable isometric on their very first try with it.
How long should it take to draw isometric?
A simple isometric drawing takes about 20 minutes following this tutorial. A quick doodle version can be done in two or three minutes, while a detailed, fully-shaded study might take an hour. Speed comes with repetition — the second attempt is always faster than the first.
What supplies do I need for isometric drawings?
Just a pencil, an eraser, and any paper. An HB pencil for construction lines and a 2B for final outlines is a nice upgrade, and colored pencils or markers finish it off — but nothing on this page requires special supplies.
Is isometric easy to draw for beginners?
Yes — isometric is very manageable once you use construction shapes, and this method was written for first-timers. Kids can follow the same steps; just expect wobblier lines and more charm.