Sand Drawing: Step-by-Step Tutorial & Easy Ideas
Every good sand drawing starts the same way: a horizon line and two or three big simple shapes, refined step by step into a finished piece. Below you'll find a complete step-by-step tutorial you can follow with any pencil and paper, plus easy sand drawing ideas — from quick five-minute doodles to more detailed studies.
- Difficulty Medium
- Time ~15 min
- Tools Pencil, eraser, paper
- Starts with a horizon line and two or three big simple shapes
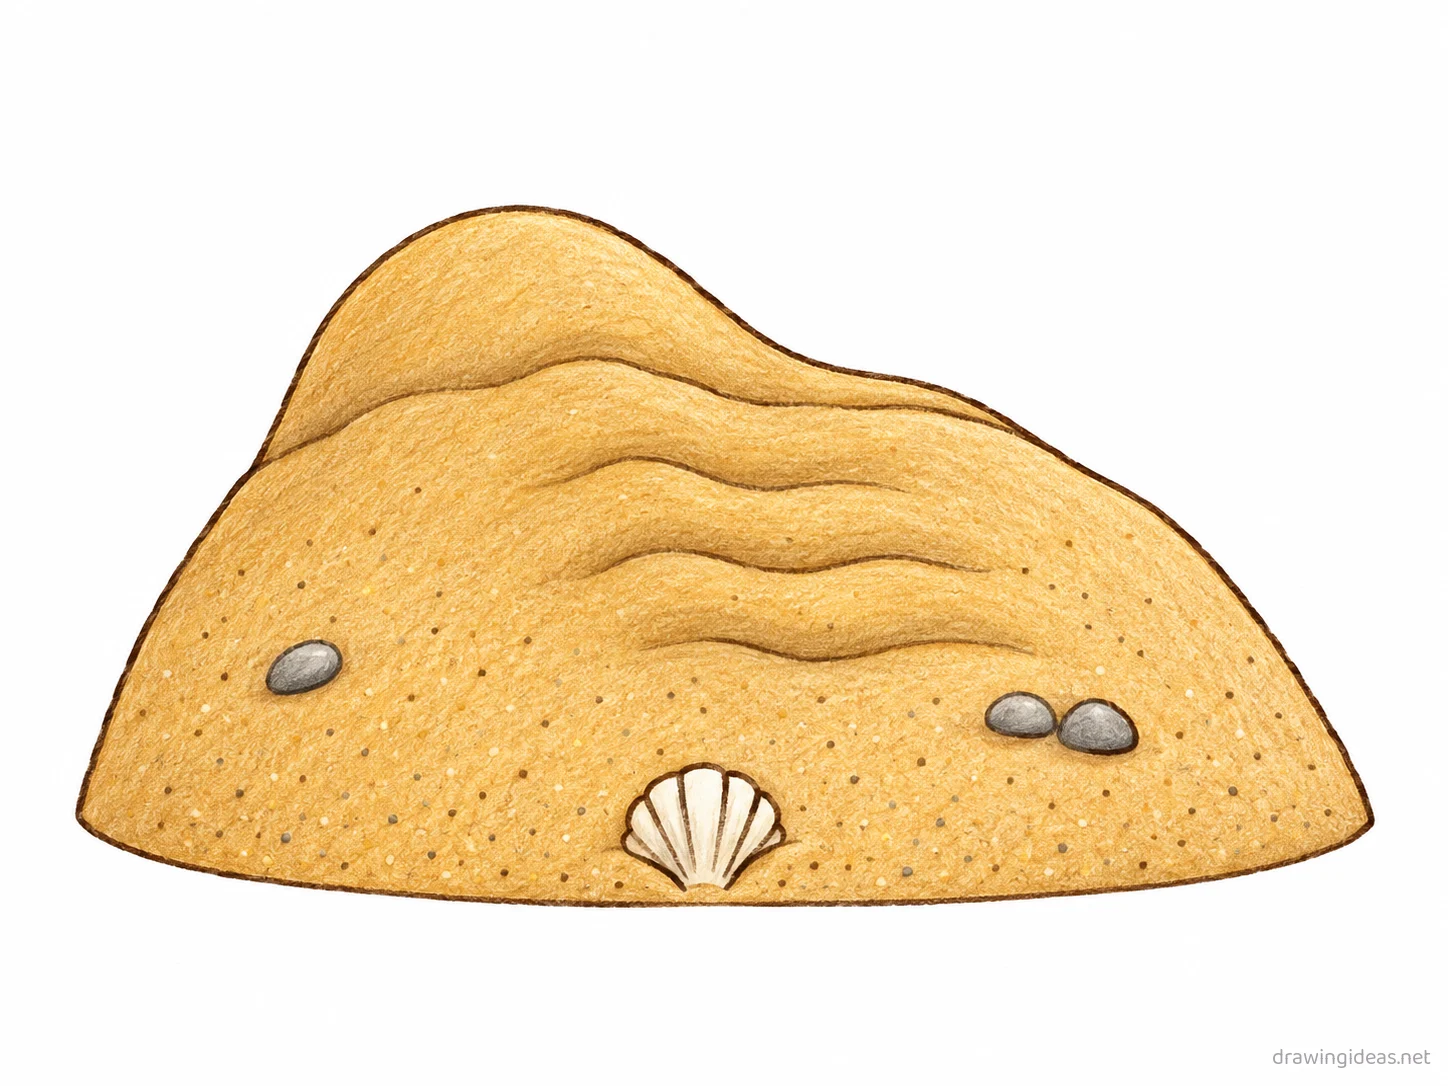
How to Draw Sand Step by Step
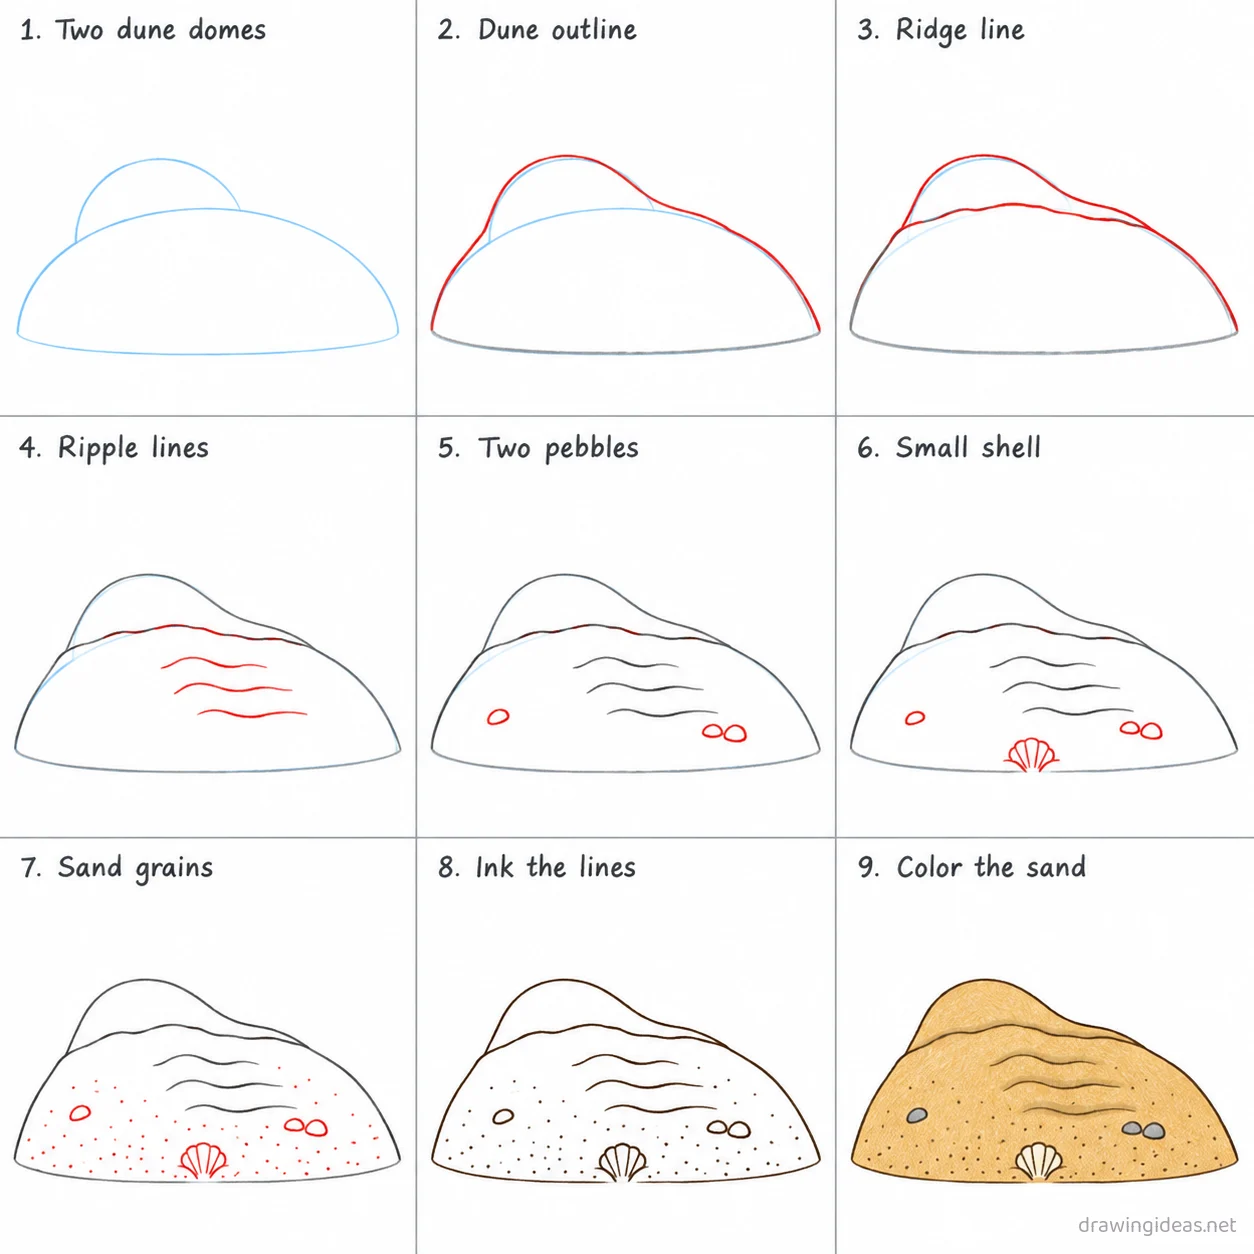
Step 1 of 9
Two dune domes
Draw one wide low dome across the bottom of the page for the sand pile, then a smaller dome on its upper left for the peak.
-
Two dune domes
Draw one wide low dome across the bottom of the page for the sand pile, then a smaller dome on its upper left for the peak.
-
Dune outline
Trace a wavy outline over both domes so the pile has one soft rounded peak on the left sloping down to the right.
-
Ridge line
Draw one long wavy line across the upper part of the mound to mark where the slope changes direction.
-
Ripple lines
Add three short wavy lines going down the slope below the ridge, evenly spaced, to show wind ripples.
-
Two pebbles
Place one small pebble on the left side of the mound and two pebbles together on the right side.
-
Small shell
Add a small fan shaped shell with a few ridge lines, half sunk into the sand near the bottom middle.
-
Sand grains
Scatter small dots across the lower half of the mound to suggest loose sand grains.
-
Ink the lines
Go over every kept line with dark ink, then erase the two light dune domes.
-
Color the sand
Fill the mound warm tan, the ripple lines a darker tan, the shell cream, and the pebbles gray.
Sand Drawing Ideas to Try Next
Once the basic sand clicks, run it through these variations — each one practices a different skill while staying on a subject you already know.
-
A postcard-style sand
Frame it in a rectangle with a hand-lettered greeting — vintage travel poster energy.
-
Sand through a window frame
Draw a simple window and place sand outside it — built-in composition and cozy mood.
-
A minimalist one-line sand scene
Reduce sand to its simplest continuous line — modern, framable, and fast.
-
Day and night split sand
Divide the page down the middle and render the same sand in both lightings.
-
Sand with a wanderer figure
One tiny silhouette person gazing at your big sand — instant scale and story.
-
Sand at golden hour
Same drawing, warm palette, long shadows — light does the heavy lifting.
-
A tiny sand in a glass jar
The miniature-world trend: your sand scene bottled with a cork on top.
Tips for Better Sand Drawings
- Squint at your reference until it blurs into 3–4 big shapes — draw those shapes first. Every landscape that "looks off" skipped this step.
- Detail only the focal area and let the edges stay loose. The viewer’s eye goes where the detail is; detail everywhere means focus nowhere.
Not feeling sand today?
Let the generator pick your next subject — filtered by mood and difficulty.
🎲 Random Drawing GeneratorSand Drawing FAQ
What is the easiest way to draw sand?
Start with a horizon line and two or three big simple shapes, keeping your lines light. Refine the outline, add the defining details, then erase the construction shapes. The nine-step method above breaks this down — most people get a recognizable sand on their very first try with it.
How long does sand drawing take?
A simple sand drawing takes about 15 minutes following this tutorial. A quick doodle version can be done in two or three minutes, while a detailed, fully-shaded study might take an hour. Speed comes with repetition — the second attempt is always faster than the first.
What supplies do I need for sand drawings?
Just a pencil, an eraser, and any paper. An HB pencil for construction lines and a 2B for final outlines is a nice upgrade, and colored pencils or markers finish it off — but nothing on this page requires special supplies.
Is sand easy to draw for beginners?
Yes — sand is very manageable once you use construction shapes, and this method was written for first-timers. Kids can follow the same steps; just expect wobblier lines and more charm.