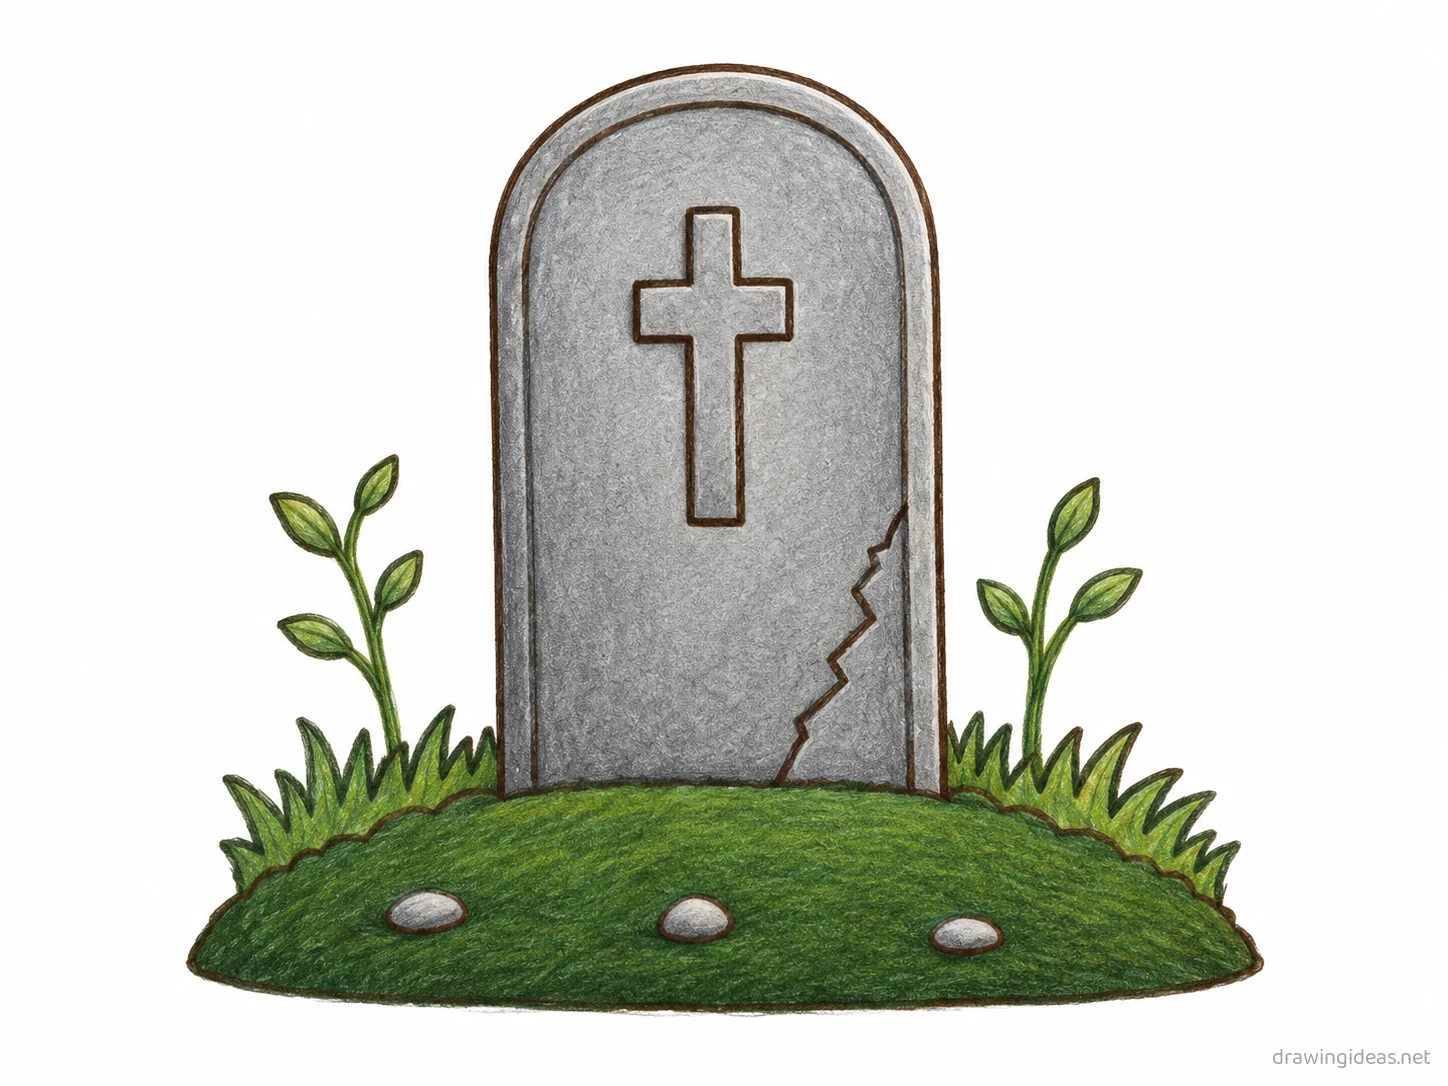
Grave Drawing: Step-by-Step Tutorial & Easy Ideas
Learning how to draw a grave is easier than it looks — the whole thing starts with two or three simple geometric shapes. This guide walks you through a grave drawing in six clear steps, then hands you a set of grave drawing ideas to keep going: easy versions for beginners, cute and cartoon takes, and variations worth sketching when you want more.
- Difficulty Easy
- Time ~12 min
- Tools Pencil, eraser, paper
- Starts with two or three simple geometric shapes
How to Draw a Grave Step by Step
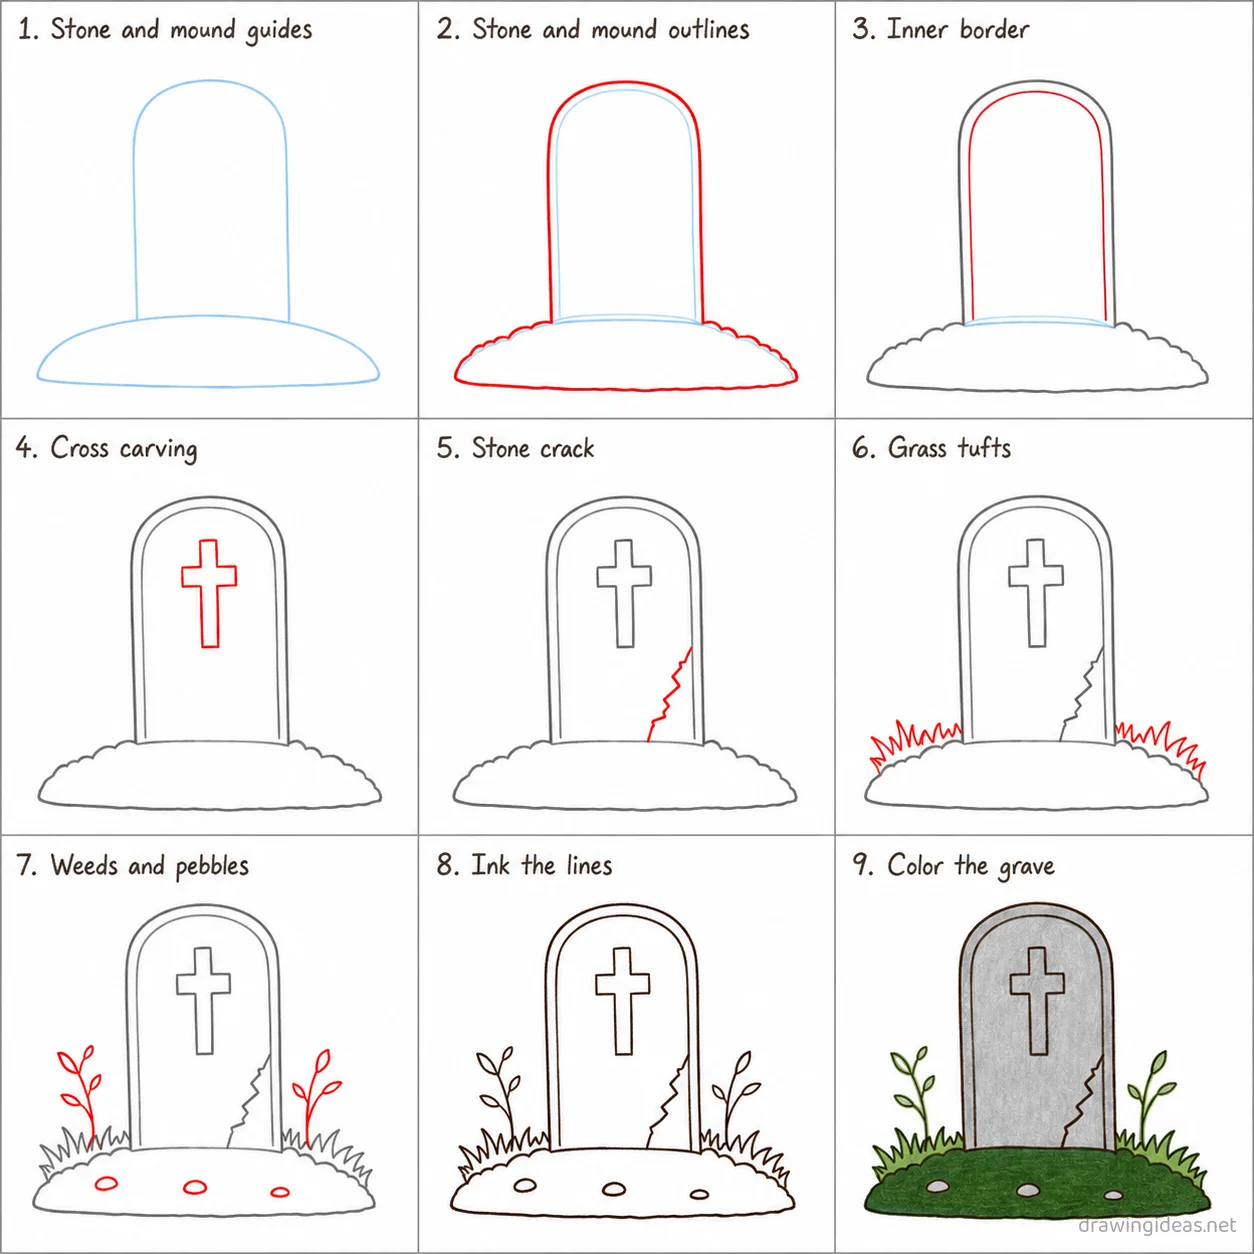
Step 1 of 9
Stone and mound guides
Draw one light rounded-top rectangle in the middle of the page for the tombstone, then a light wide mound shape beneath it.
-
Stone and mound guides
Draw one light rounded-top rectangle in the middle of the page for the tombstone, then a light wide mound shape beneath it.
-
Stone and mound outlines
Trace the stone guide with a bold rounded-arch outline, then trace the mound guide with a bumpy ground outline.
-
Inner border
Add one thin decorative border line running just inside the edge of the tombstone.
-
Cross carving
Carve a simple cross shape into the upper middle of the tombstone.
-
Stone crack
Add one jagged crack line running diagonally across the lower right corner of the stone.
-
Grass tufts
Add a row of small pointed grass tufts along the top of the mound on both sides of the stone.
-
Weeds and pebbles
Add thin curved weeds beside each base of the stone, then three small pebbles scattered in front of it.
-
Ink the lines
Go over every kept line with dark ink, then erase the two light stone and mound guides.
-
Color the grave
Fill the tombstone gray, the mound dark green grass, the weeds a lighter green, and the pebbles light gray.
Grave Drawing Ideas to Try Next
Once the basic grave clicks, run it through these variations — each one practices a different skill while staying on a subject you already know.
-
A grave garland or pattern
Repeat small grave drawings along a string or in rows — decoration you can actually put up.
-
A gift-tag sized mini grave
Design it small and simple enough to draw twenty times on gift tags.
-
A grave greeting-card design
Center the grave, add a hand-lettered greeting and a simple border — an actually usable drawing.
-
Kawaii grave with a face
The cute-ify formula: dot eyes, blush circles, tiny smile on your grave.
-
Grave in a snow globe
Draw a circle, put the grave inside, add a base and floating flakes — instant keepsake feel.
Tips for Better Grave Drawings
- Holiday palettes are part of the drawing: commit to the expected colors boldly rather than muddying them.
- Lean into the classic version first — holiday subjects work through instant recognition. Add your twist after the icon is solid.
Not feeling the grave today?
Let the generator pick your next subject — filtered by mood and difficulty.
🎲 Random Drawing GeneratorGrave Drawing FAQ
How do you draw a grave easily?
Start with two or three simple geometric shapes, keeping your lines light. Refine the outline, add the defining details, then erase the construction shapes. The nine-step method above breaks this down — most people get a recognizable grave on their very first try with it.
How long should it take to draw a grave?
A simple grave drawing takes about 12 minutes following this tutorial. A quick doodle version can be done in two or three minutes, while a detailed, fully-shaded study might take an hour. Speed comes with repetition — the second attempt is always faster than the first.
What supplies do I need for grave drawings?
Just a pencil, an eraser, and any paper. An HB pencil for construction lines and a 2B for final outlines is a nice upgrade, and colored pencils or markers finish it off — but nothing on this page requires special supplies.
Is a grave easy to draw for beginners?
Yes — the grave is one of the friendlier subjects for beginners, and this method was written for first-timers. Kids can follow the same steps; just expect wobblier lines and more charm.