Snowflake Drawing: Step-by-Step Tutorial & Easy Ideas
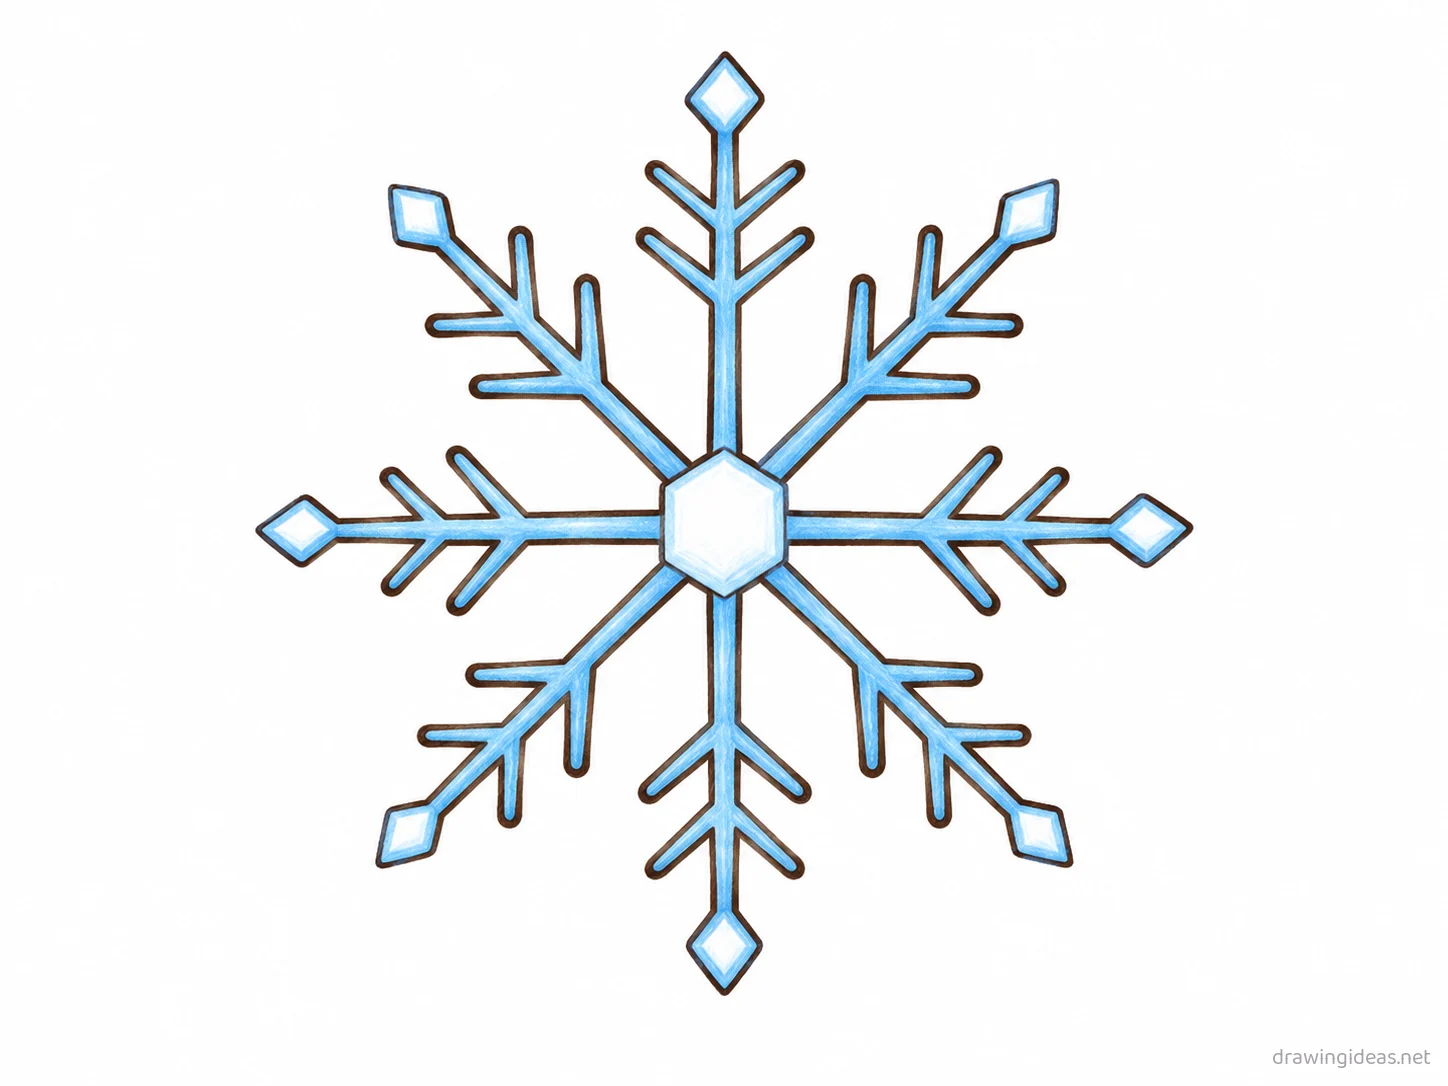
Snowflake drawings are one of the most-loved sketching subjects, and for good reason — the basic version comes together from three crossing lines making a six-point star in just a few minutes. Follow the nine steps below to get the foundations right, then browse the ideas list for your next snowflake sketch.
- Difficulty Easy
- Time ~10 min
- Tools Pencil, eraser, paper
- Starts with three crossing lines making a six-point star
How to Draw a Snowflake Step by Step
Step 1 of 9
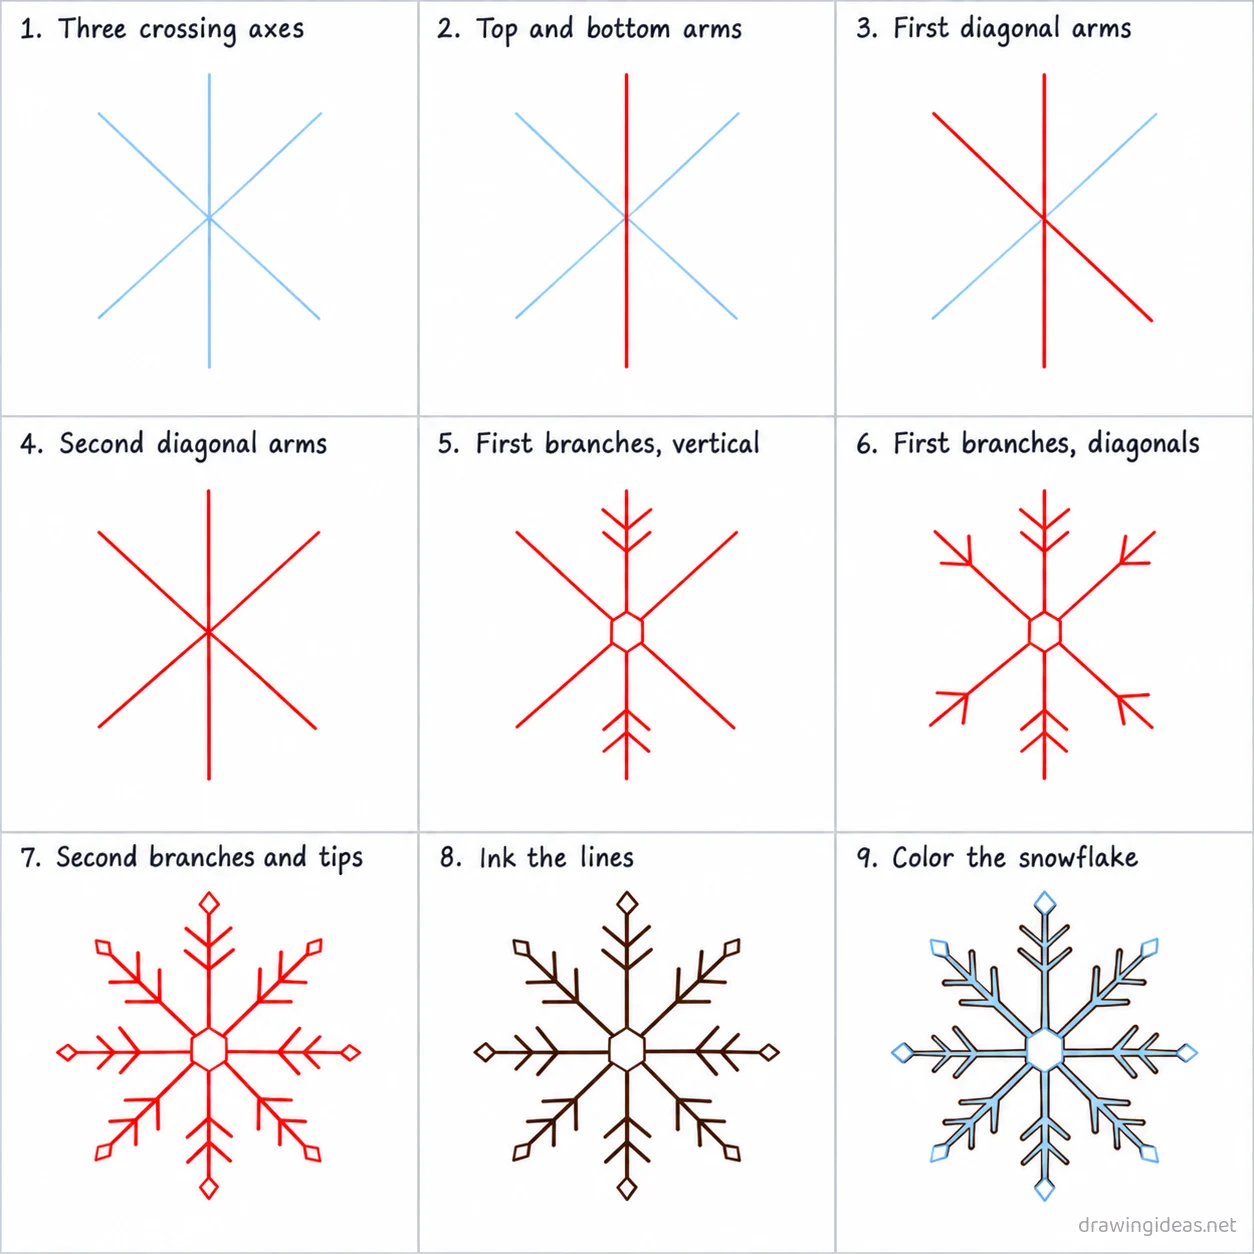
Three crossing axes
Draw three light lines through the center of the page, evenly spaced like slicing a pizza into six equal wedges.
-
Three crossing axes
Draw three light lines through the center of the page, evenly spaced like slicing a pizza into six equal wedges.
-
Top and bottom arms
Trace firm lines over the vertical axis from the center up to the top edge and down to the bottom edge.
-
First diagonal arms
Trace firm lines over one diagonal axis from the center out to the upper left and lower right edges.
-
Second diagonal arms
Trace firm lines over the last axis from the center out to the upper right and lower left edges, completing six even arms.
-
First branches, vertical
On the top and bottom arms, add two short lines angling outward partway along each arm, like fir-tree branches.
-
First branches, diagonals
Add matching angled branch pairs at the same distance from center on all four diagonal arms.
-
Second branches and tips
Add a smaller second pair of branches further out on the remaining arms, and a small diamond at each arm tip.
-
Ink the lines
Go over every kept line with dark ink, then erase the three light axis guides.
-
Color the snowflake
Fill the arms and branches pale blue, and the center hexagon and tip diamonds white with a thin blue outline.
Snowflake Drawing Ideas to Try Next
Once the basic snowflake clicks, run it through these variations — each one practices a different skill while staying on a subject you already know.
-
A snowflake family
Five flakes of different designs falling at different sizes — a full winter-card composition from one repeated skill.
-
A snowflake under a magnifying glass
A hand-held lens with the detailed flake inside it, simple dots outside — a clever detail-vs-suggestion piece.
-
Snowflake mandala
Keep adding branch rows outward until it fills the page — the meditative version.
-
A snowflake greeting-card design
Center the snowflake, add a hand-lettered greeting and a simple border — an actually usable drawing.
-
A snowflake garland or pattern
Repeat small snowflake drawings along a string or in rows — decoration you can actually put up.
-
A gift-tag sized mini snowflake
Design it small and simple enough to draw twenty times on gift tags.
-
Snowflake in a snow globe
Draw a circle, put the snowflake inside, add a base and floating flakes — instant keepsake feel.
-
Kawaii snowflake with a face
The cute-ify formula: dot eyes, blush circles, tiny smile on your snowflake.
Snowflake Drawing Styles: Easy, Cute & More
Easy Snowflake Drawing
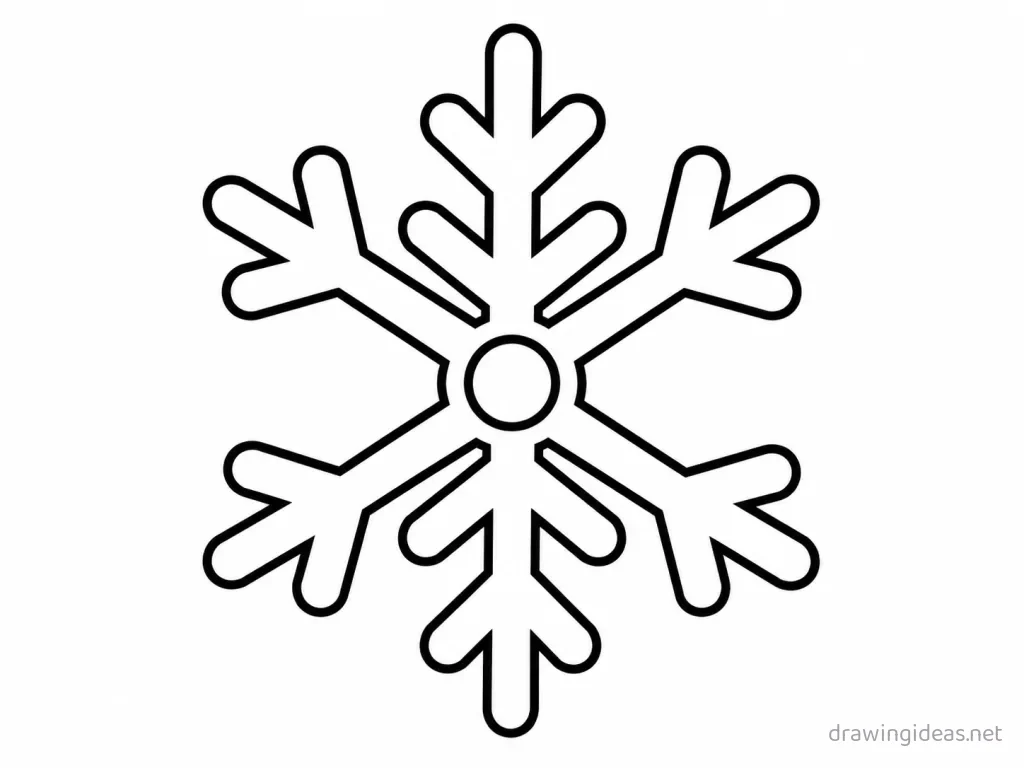
Try a simplified version built from basic shapes — perfect for beginners and kids. Same nine steps as above — simply simplify or stylize the final pass.
Tips for Better Snowflake Drawings
- Six arms, never eight: real snow crystals are hexagonal, and a six-arm flake instantly looks 'right' even if viewers can't say why. Draw the three crossing lines first and the spacing takes care of itself.
- Lean into the classic version first — holiday subjects work through instant recognition. Add your twist after the icon is solid.
Not feeling the snowflake today?
Let the generator pick your next subject — filtered by mood and difficulty.
🎲 Random Drawing GeneratorSnowflake Drawing FAQ
What is the easiest way to draw a snowflake?
Start with three crossing lines making a six-point star, keeping your lines light. Refine the outline, add the defining details, then erase the construction shapes. The nine-step method above breaks this down — most people get a recognizable snowflake on their very first try with it.
How long does a snowflake drawing take?
A simple snowflake drawing takes about 10 minutes following this tutorial. A quick doodle version can be done in two or three minutes, while a detailed, fully-shaded study might take an hour. Speed comes with repetition — the second attempt is always faster than the first.
What supplies do I need for snowflake drawings?
Just a pencil, an eraser, and any paper. An HB pencil for construction lines and a 2B for final outlines is a nice upgrade, and colored pencils or markers finish it off — but nothing on this page requires special supplies.
Is a snowflake easy to draw for beginners?
Yes — the snowflake is one of the friendlier subjects for beginners, and this method was written for first-timers. Kids can follow the same steps; just expect wobblier lines and more charm.