Frankenstein Drawing: Step-by-Step Tutorial & Easy Ideas
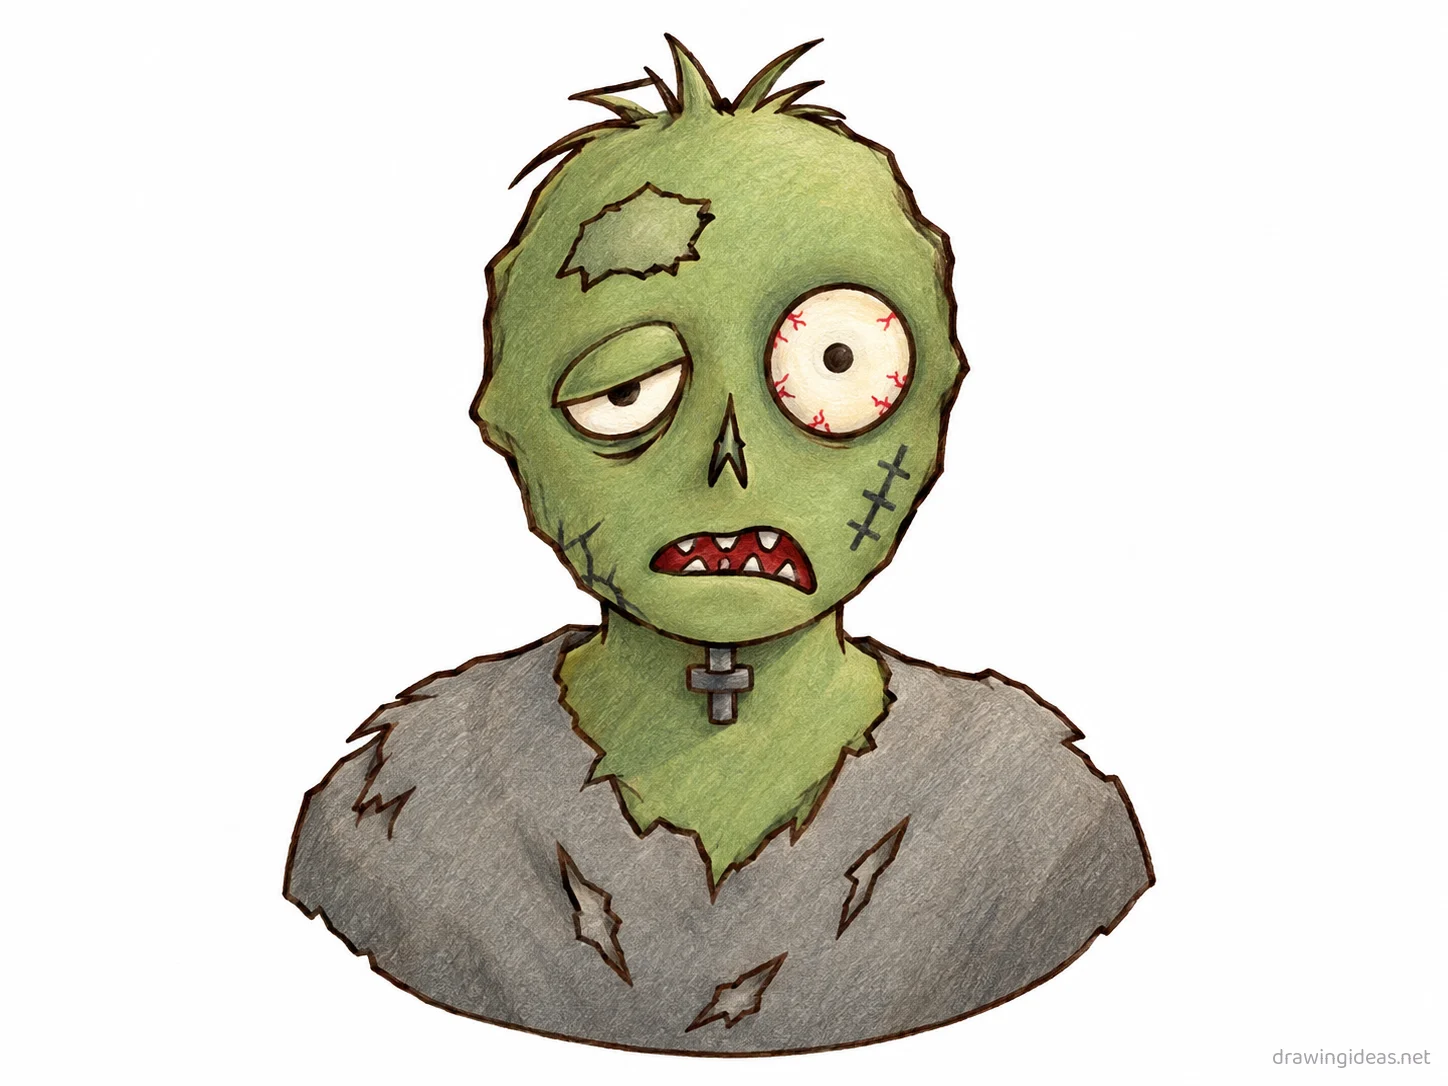
Every good frankenstein drawing starts the same way: two or three simple geometric shapes, refined step by step into a finished piece. Below you'll find a complete step-by-step tutorial you can follow with any pencil and paper, plus easy frankenstein drawing ideas — from quick five-minute doodles to more detailed studies.
- Difficulty Easy
- Time ~12 min
- Tools Pencil, eraser, paper
- Starts with two or three simple geometric shapes
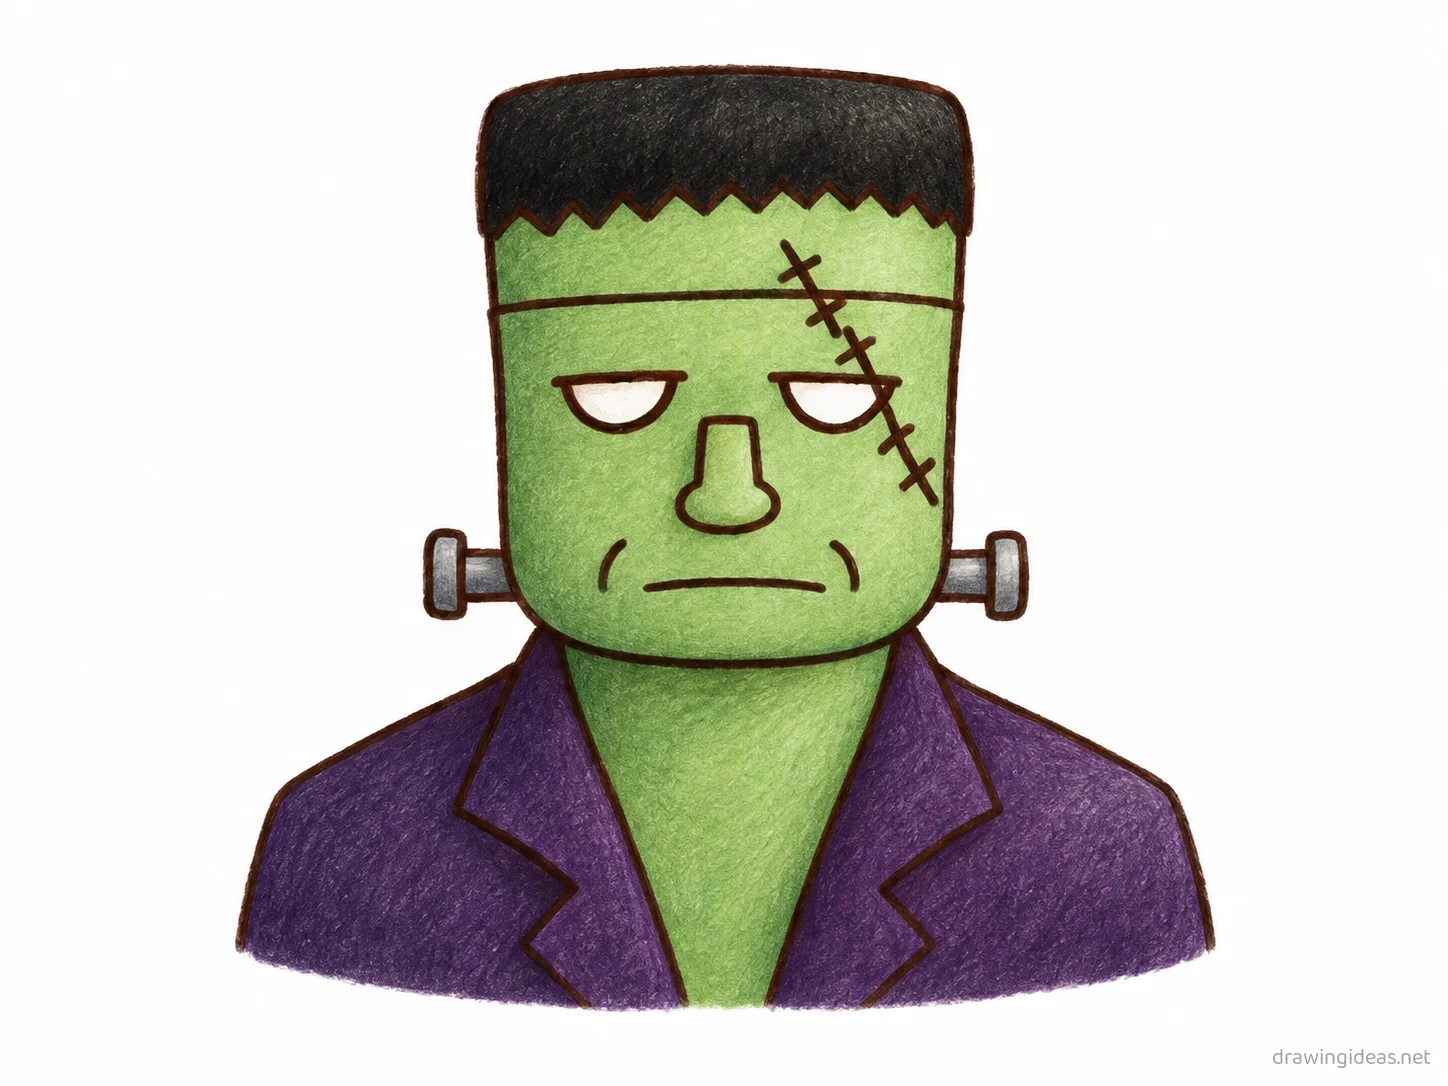
How to Draw a Frankenstein Step by Step
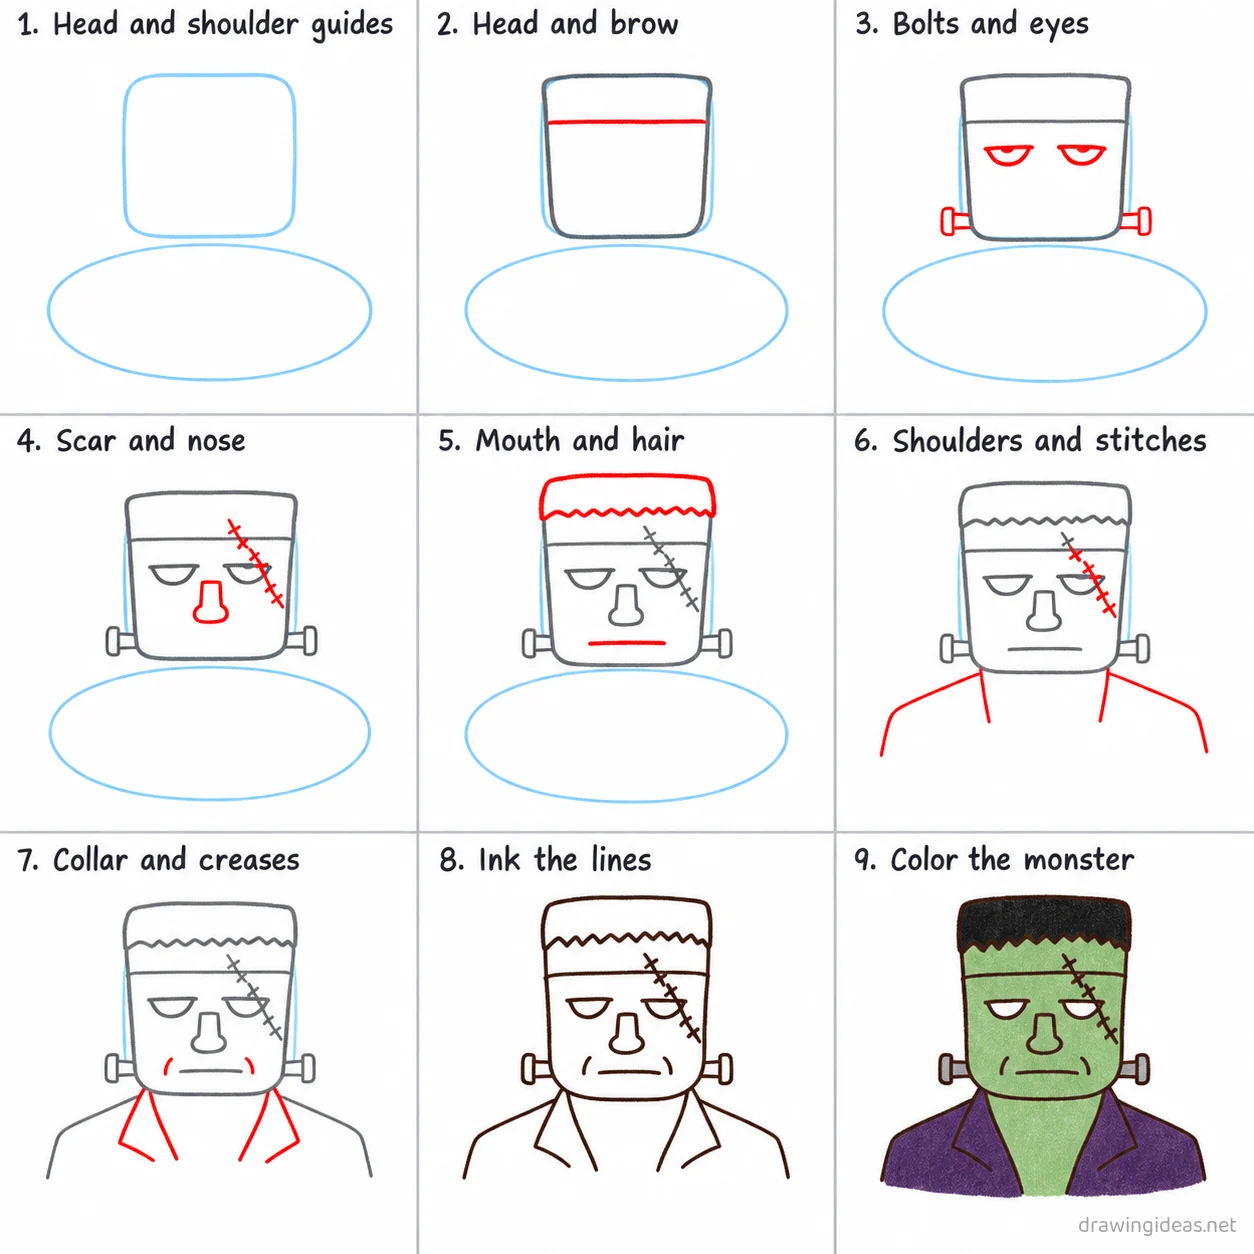
Step 1 of 9
Head and shoulder guides
Draw a light rounded square in the upper middle of the page for the head, then a wide oval below it for the shoulders.
-
Head and shoulder guides
Draw a light rounded square in the upper middle of the page for the head, then a wide oval below it for the shoulders.
-
Head and brow
Trace a flat-topped head outline on the square, then add a thick straight brow line across the forehead.
-
Bolts and eyes
Add a small bolt sticking out on each side of the neck, then two small half-closed eyes below the brow.
-
Scar and nose
Add a jagged stitched scar across the right forehead and cheek, then a short flat-bridged nose in the center.
-
Mouth and hair
Add a wide straight mouth below the nose, then a flat block of hair sitting on top of the head.
-
Shoulders and stitches
Trace the shoulder outline on the oval with squared corners, then add three small cross-stitch marks along the scar.
-
Collar and creases
Add an angled jacket collar below the neck, then two short crease lines beside the mouth.
-
Ink the lines
Go over every kept line with dark ink, then erase the light head square and shoulder oval guides.
-
Color the monster
Fill the skin sickly green, the hair black, the bolts gray, and the jacket dark purple.
Frankenstein Drawing Ideas to Try Next
Once the basic frankenstein clicks, run it through these variations — each one practices a different skill while staying on a subject you already know.
-
Frankenstein in a snow globe
Draw a circle, put the frankenstein inside, add a base and floating flakes — instant keepsake feel.
-
A frankenstein greeting-card design
Center the frankenstein, add a hand-lettered greeting and a simple border — an actually usable drawing.
-
A gift-tag sized mini frankenstein
Design it small and simple enough to draw twenty times on gift tags.
-
A frankenstein garland or pattern
Repeat small frankenstein drawings along a string or in rows — decoration you can actually put up.
-
Kawaii frankenstein with a face
The cute-ify formula: dot eyes, blush circles, tiny smile on your frankenstein.
Tips for Better Frankenstein Drawings
- Lean into the classic version first — holiday subjects work through instant recognition. Add your twist after the icon is solid.
- Holiday palettes are part of the drawing: commit to the expected colors boldly rather than muddying them.
Not feeling the frankenstein today?
Let the generator pick your next subject — filtered by mood and difficulty.
🎲 Random Drawing GeneratorFrankenstein Drawing FAQ
What is the easiest way to draw a frankenstein?
Start with two or three simple geometric shapes, keeping your lines light. Refine the outline, add the defining details, then erase the construction shapes. The nine-step method above breaks this down — most people get a recognizable frankenstein on their very first try with it.
How long should it take to draw a frankenstein?
A simple frankenstein drawing takes about 12 minutes following this tutorial. A quick doodle version can be done in two or three minutes, while a detailed, fully-shaded study might take an hour. Speed comes with repetition — the second attempt is always faster than the first.
What do I need to draw a frankenstein?
Just a pencil, an eraser, and any paper. An HB pencil for construction lines and a 2B for final outlines is a nice upgrade, and colored pencils or markers finish it off — but nothing on this page requires special supplies.
Is a frankenstein easy to draw for beginners?
Yes — the frankenstein is one of the friendlier subjects for beginners, and this method was written for first-timers. Kids can follow the same steps; just expect wobblier lines and more charm.