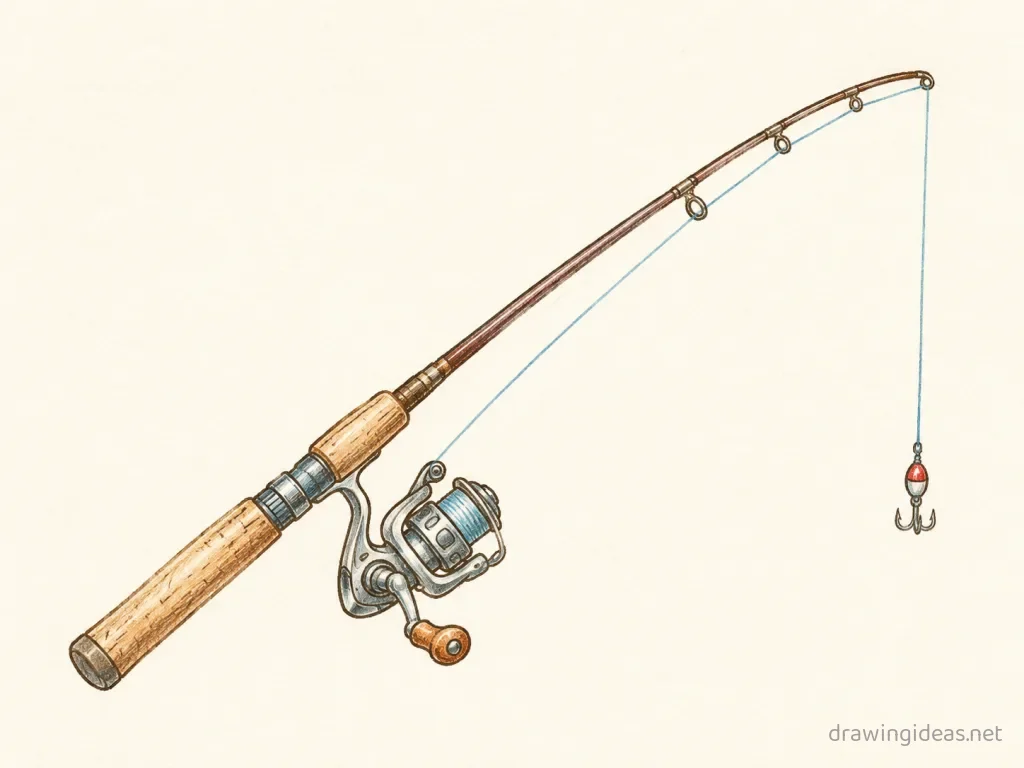
Fishing Rod Drawing: Step-by-Step Tutorial & Easy Ideas
Learning how to draw a fishing rod is easier than it looks — the whole thing starts with precise basic geometry (usually a circle). This guide walks you through a fishing rod drawing in six clear steps, then hands you a set of fishing rod drawing ideas to keep going: easy versions for beginners, cute and cartoon takes, and variations worth sketching when you want more.
- Difficulty Easy
- Time ~10 min
- Tools Pencil, eraser, paper
- Starts with precise basic geometry (usually a circle)
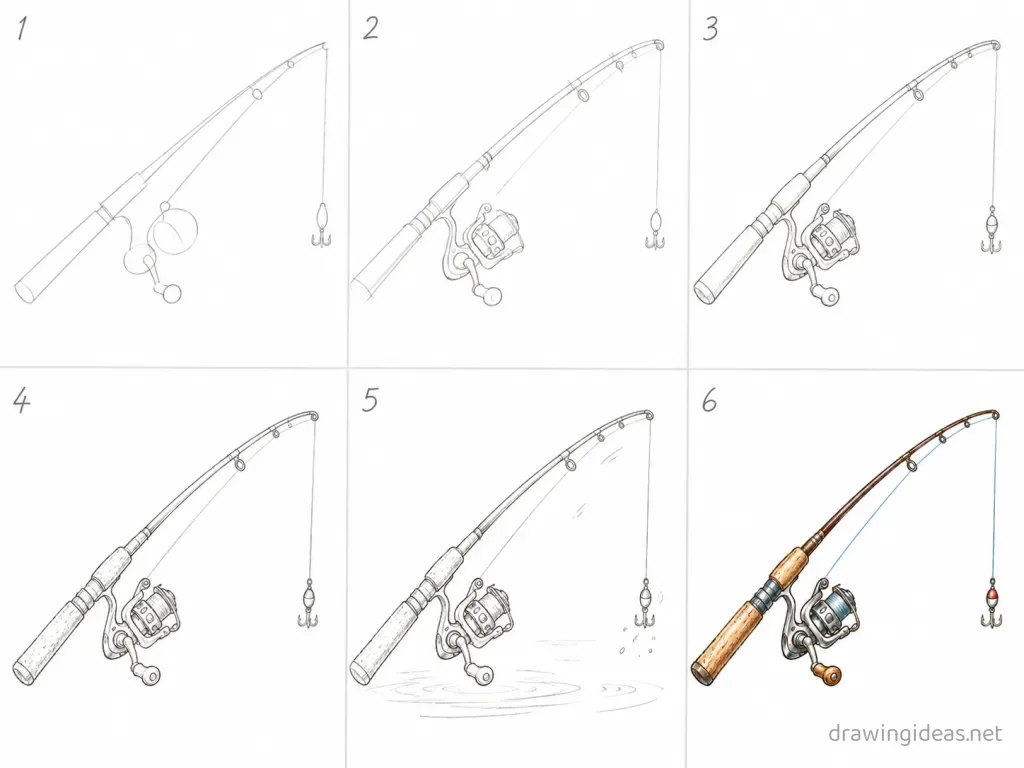
How to Draw a Fishing Rod Step by Step
-
Start with the core geometry
Sports equipment is precision-made, so start with precise shapes: draw the fishing rod's base form carefully — trace a round object if it starts with a circle.
-
Add the structural lines
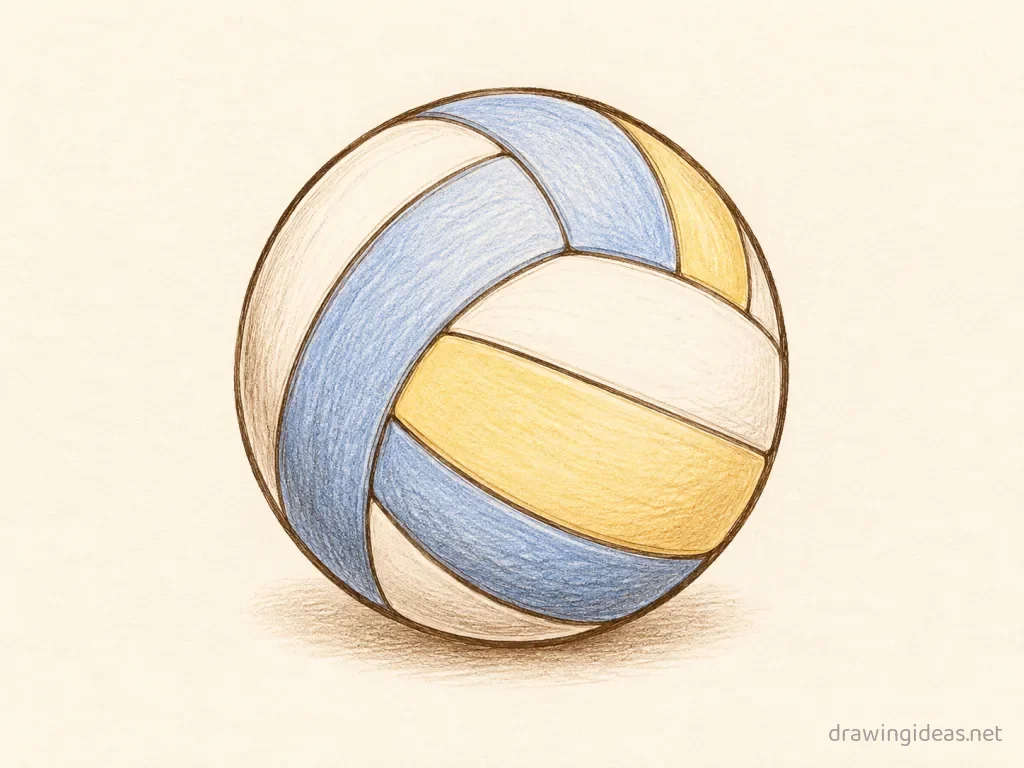
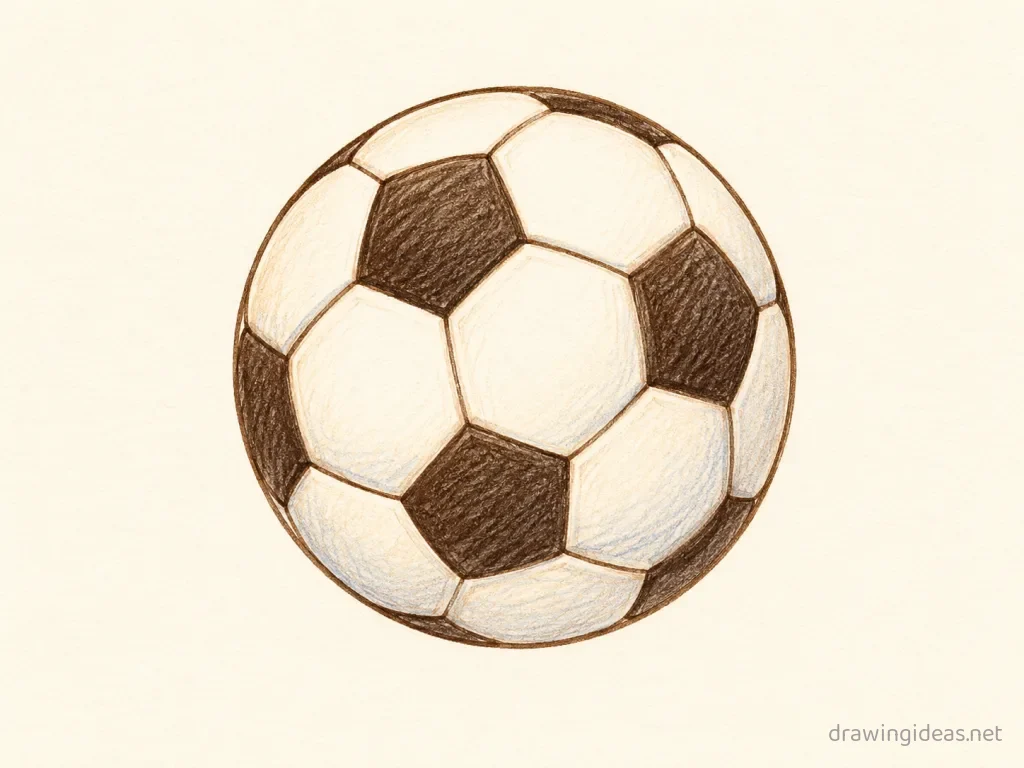
Draw the seams, panels, or structural lines that identify the fishing rod. On balls, every line must curve with the surface — straight lines flatten the sphere.
-
Refine the proportions
Check the key measurements against a reference photo. Athletes and fans know this equipment intimately; small errors are visible.
-
Detail the surface
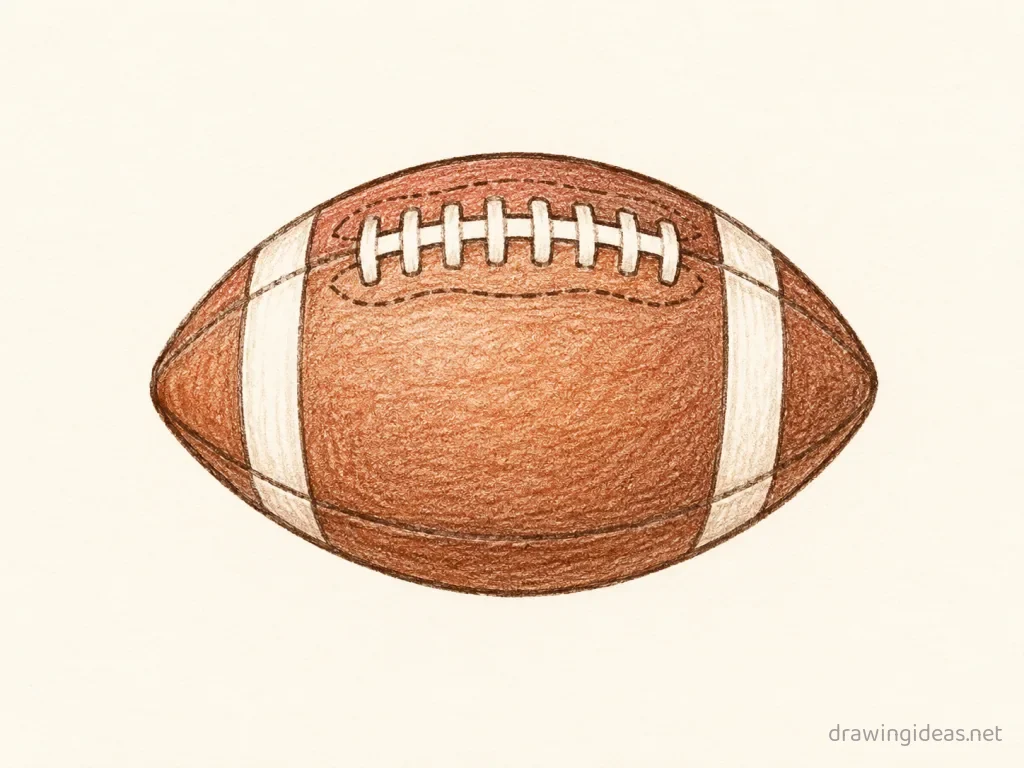
Texture, stitching, branding placeholders, and wear marks — a scuff or two makes gear look used and loved.
-
Add motion or context
A few speed lines, a bounce shadow, a net or field line — sports subjects want energy even in still drawings.
-
Shade the volume
One light direction, a shadow crescent on the far side, a bright highlight near the light, and a contact shadow below.
Fishing Rod Drawing Ideas to Try Next
Once the basic fishing rod clicks, run it through these variations — each one practices a different skill while staying on a subject you already know.
-
A team poster design
The fishing rod plus a banner, a jersey number, and bold lettering — the design players actually want.
-
A trophy-shelf still life
Your fishing rod sitting among medals and a small trophy — the memory-shelf composition.
-
Kawaii fishing rod mascot
Put a determined little face on it and stubby arms — sports equipment makes great characters.
-
Fishing Rod mid-action with motion lines
Draw the equipment in motion — speed lines and a blur trail add energy for free.
Tips for Better Fishing Rod Drawings
- Add a scuff or a grass stain: used equipment has character that showroom equipment doesn’t.
- On any ball, every seam line must curve with the sphere — one straight line flattens it into a sticker.
Not feeling the fishing rod today?
Let the generator pick your next subject — filtered by mood and difficulty.
🎲 Random Drawing GeneratorFishing Rod Drawing FAQ
What is the easiest way to draw a fishing rod?
Start with precise basic geometry (usually a circle), keeping your lines light. Refine the outline, add the defining details, then erase the construction shapes. The six-step method above breaks this down — most people get a recognizable fishing rod on their very first try with it.
How long should it take to draw a fishing rod?
A simple fishing rod drawing takes about 10 minutes following this tutorial. A quick doodle version can be done in two or three minutes, while a detailed, fully-shaded study might take an hour. Speed comes with repetition — the second attempt is always faster than the first.
What supplies do I need for fishing rod drawings?
Just a pencil, an eraser, and any paper. An HB pencil for construction lines and a 2B for final outlines is a nice upgrade, and colored pencils or markers finish it off — but nothing on this page requires special supplies.
Is a fishing rod easy to draw for beginners?
Yes — the fishing rod is one of the friendlier subjects for beginners, and this method was written for first-timers. Kids can follow the same steps; just expect wobblier lines and more charm.