Throne Drawing: Step-by-Step Tutorial & Easy Ideas
If you can draw a dramatic silhouette built on real anatomy, you can draw a throne. That's genuinely the whole secret — the rest is knowing which lines to add in which order, and this tutorial shows you exactly that, step by step, before serving up a full list of throne drawing ideas to practice with.
- Difficulty Medium
- Time ~25 min
- Tools Pencil, eraser, paper
- Starts with a dramatic silhouette built on real anatomy
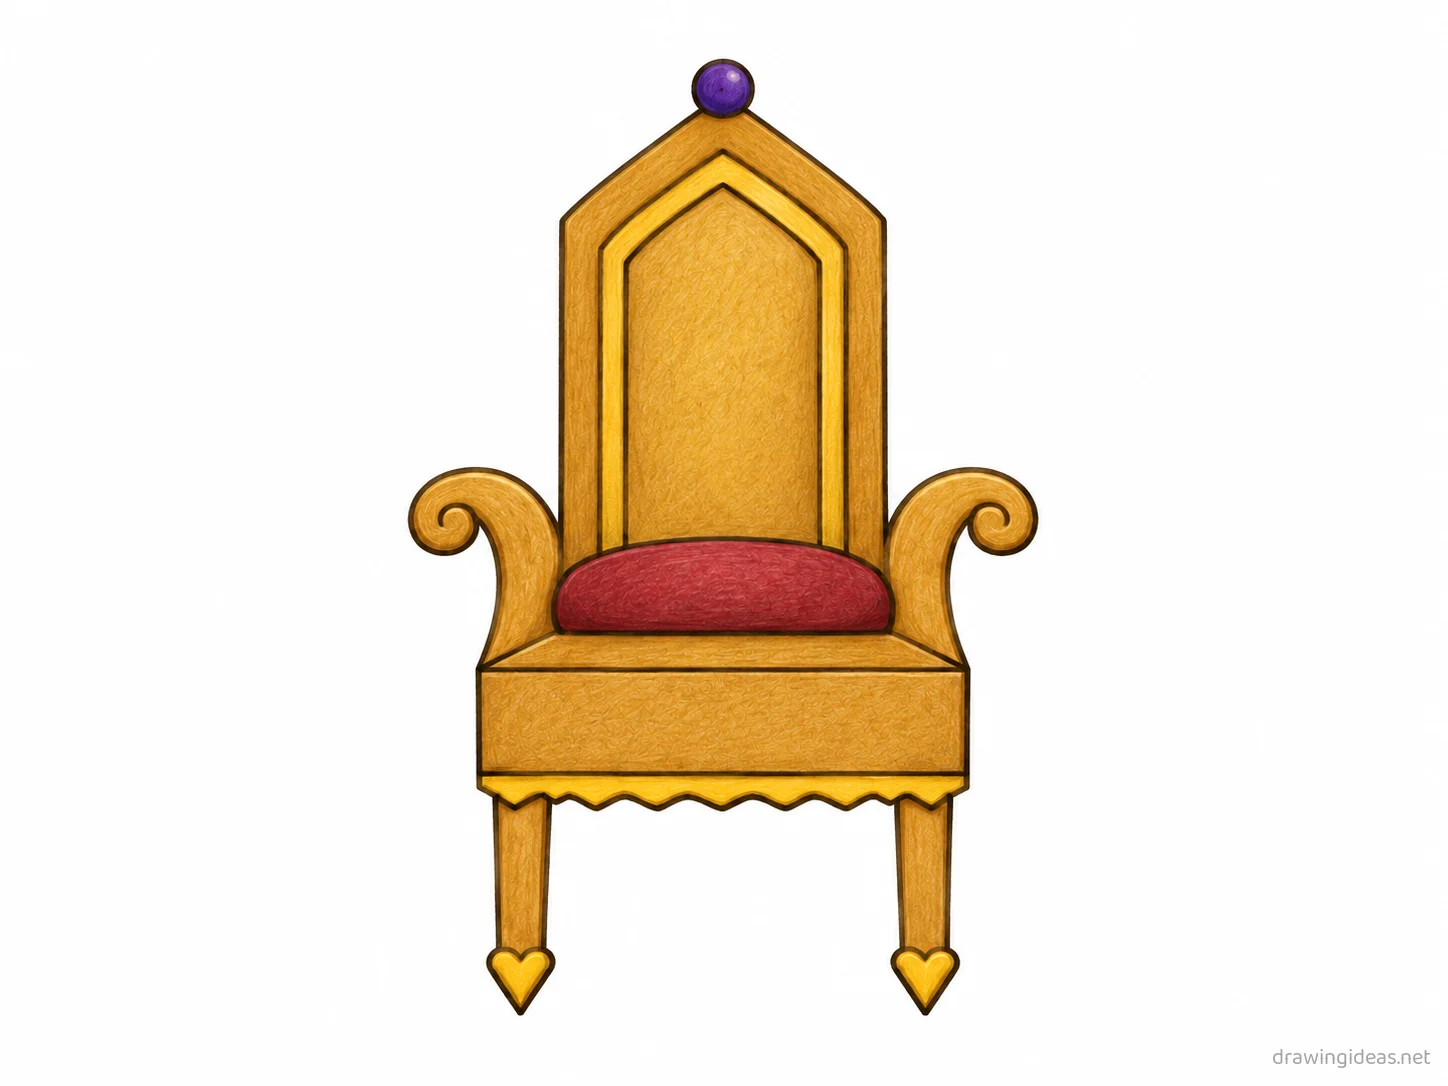
How to Draw a Throne Step by Step
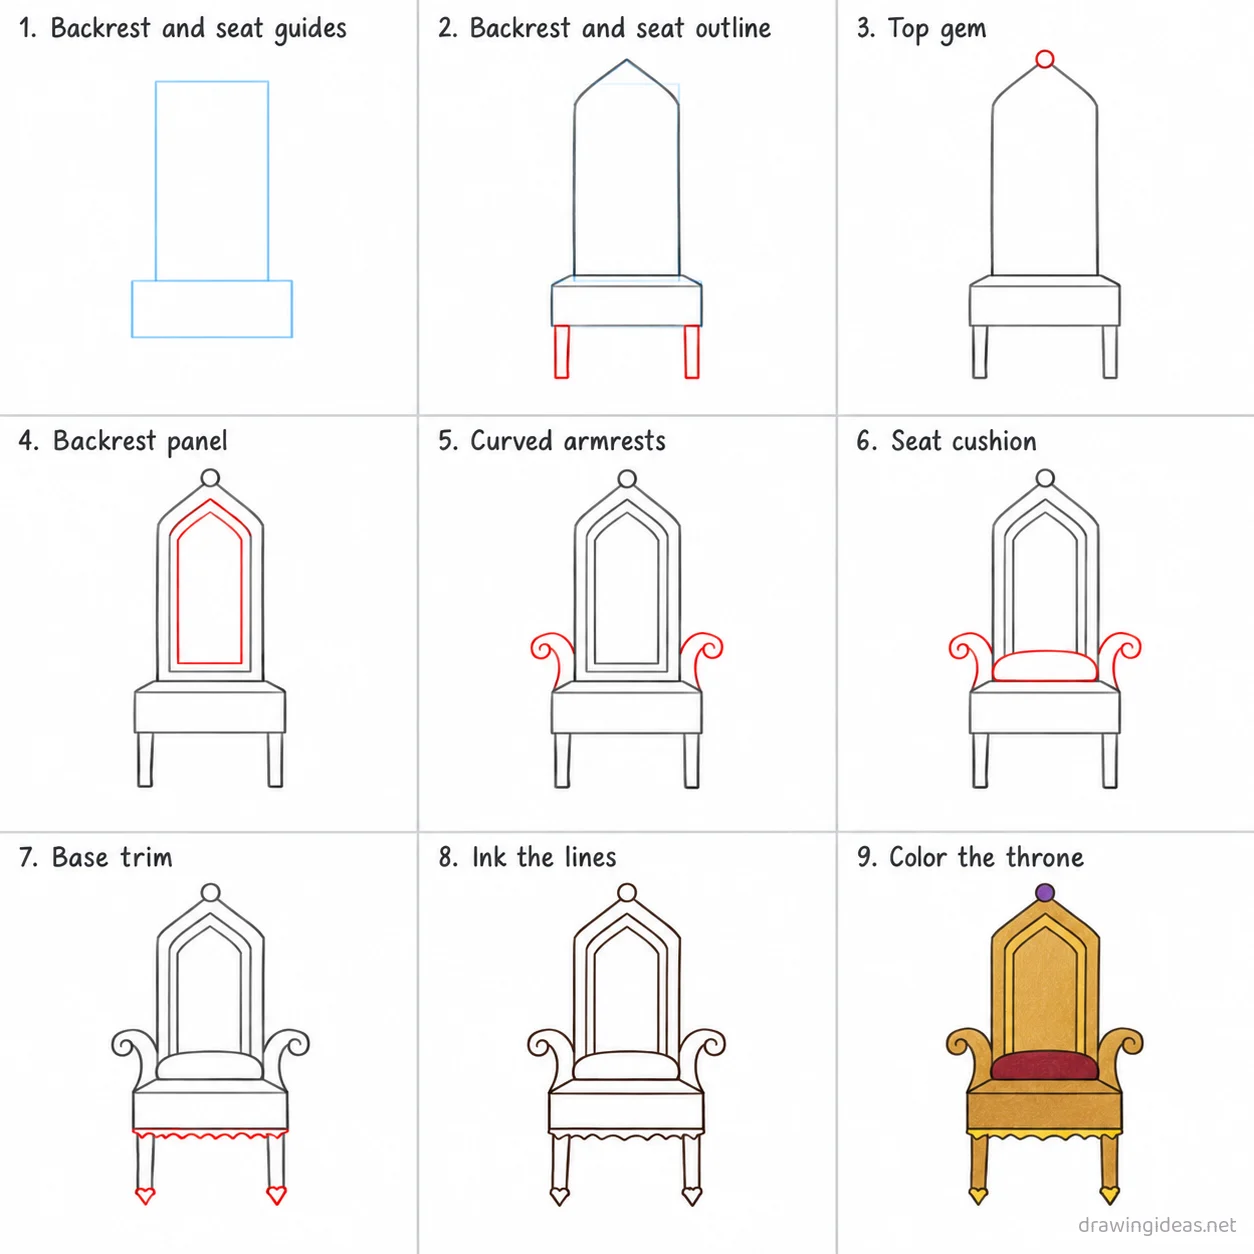
Step 1 of 9
Backrest and seat guides
Draw a tall light rectangle in the upper middle of the page for the backrest, then a wider rectangle below it for the seat.
-
Backrest and seat guides
Draw a tall light rectangle in the upper middle of the page for the backrest, then a wider rectangle below it for the seat.
-
Backrest and seat outline
Trace the backrest with a pointed arch top, then trace the seat base with four short legs beneath it.
-
Top gem
At the very peak of the backrest arch add one small round gem shape.
-
Backrest panel
Inside the backrest draw a second matching outline set slightly in from the outer edge for a decorative panel.
-
Curved armrests
From each side of the seat draw a curved armrest that ends in a small scroll shape.
-
Seat cushion
On top of the seat between the armrests draw a puffy rounded cushion.
-
Base trim
Along the bottom edge of the seat and at the tip of each leg add small decorative trim shapes.
-
Ink the lines
Go over every kept line with dark ink, then erase the light backrest and seat guides.
-
Color the throne
Fill the frame and legs gold, the cushion deep red, the gem purple, and the trim bright yellow.
Throne Drawing Ideas to Try Next
Once the basic throne clicks, run it through these variations — each one practices a different skill while staying on a subject you already know.
-
A throne guarding treasure
Add a small pile of coins and one glowing gem — the scene writes itself.
-
Skeletal or spectral throne
Draw the ghost/bone version with wispy trailing edges — halloween-ready and forgiving of anatomy.
-
A tiny throne familiar on a shoulder
Pocket-sized companion version perched on a simple shoulder line.
-
Throne tattoo flash design
Bold outline, limited shading, designed to fit a shoulder — flash style suits fantasy subjects perfectly.
-
A baby throne
Shrink it, enlarge the eyes and head, add one stubby feature — cuteness transforms any fearsome subject.
Tips for Better Throne Drawings
- Design the silhouette first: fantasy subjects live or die on outline. Fill your sketch with black and check that it still reads.
- Ground the fantasy in real anatomy — borrow joints, weight, and balance from real animals, then exaggerate. Believability comes from the real bones underneath.
Not feeling the throne today?
Let the generator pick your next subject — filtered by mood and difficulty.
🎲 Random Drawing GeneratorThrone Drawing FAQ
How do you draw a throne easily?
Start with a dramatic silhouette built on real anatomy, keeping your lines light. Refine the outline, add the defining details, then erase the construction shapes. The nine-step method above breaks this down — most people get a recognizable throne on their very first try with it.
How long should it take to draw a throne?
A simple throne drawing takes about 25 minutes following this tutorial. A quick doodle version can be done in two or three minutes, while a detailed, fully-shaded study might take an hour. Speed comes with repetition — the second attempt is always faster than the first.
What do I need to draw a throne?
Just a pencil, an eraser, and any paper. An HB pencil for construction lines and a 2B for final outlines is a nice upgrade, and colored pencils or markers finish it off — but nothing on this page requires special supplies.
Is a throne easy to draw for beginners?
Yes — the throne is very manageable once you use construction shapes, and this method was written for first-timers. Kids can follow the same steps; just expect wobblier lines and more charm.