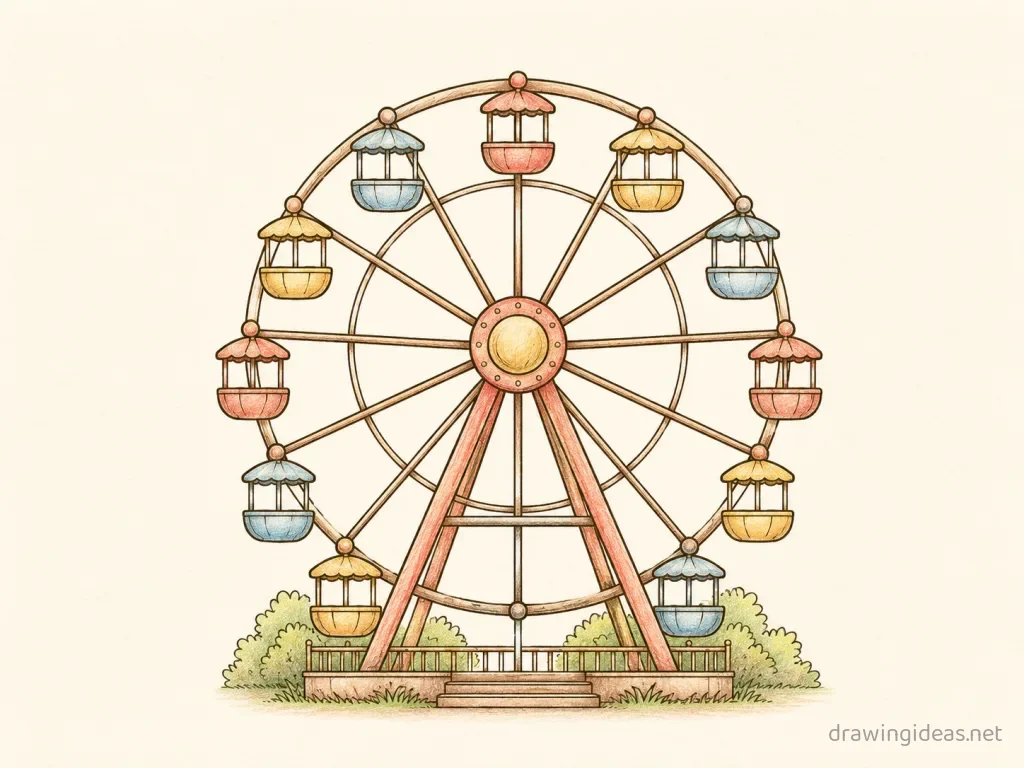
Ferris Wheel Drawing: Step-by-Step Tutorial & Easy Ideas
Every good ferris wheel drawing starts the same way: simple boxes for the body with circles for wheels, refined step by step into a finished piece. Below you'll find a complete step-by-step tutorial you can follow with any pencil and paper, plus easy ferris wheel drawing ideas — from quick five-minute doodles to more detailed studies.
- Difficulty Medium
- Time ~20 min
- Tools Pencil, eraser, paper
- Starts with simple boxes for the body with circles for wheels
How to Draw a Ferris Wheel Step by Step
-
Draw the body volume
Block in the ferris wheel's main body as one or two simple boxes. Vehicles are engineered objects — starting from geometry isn't a shortcut, it's how they were designed.
-
Establish the wheels or base
Place the wheels (or base) with real care: their size and spacing set the vehicle's entire character. Draw them as full circles even where the body overlaps.
-
Carve the profile
Refine the boxes into the vehicle's silhouette — the slopes, curves, and cuts that make this ferris wheel recognizable at a glance.
-
Add windows and structure lines
Draw the windows, doors, and panel seams. Keep these lines parallel to the body's perspective or the whole drawing tilts.
-
Detail the working parts
Lights, grilles, handles, treads — the mechanical jewelry. Pick the recognizable ones and skip the rest.
-
Ground it with shadow
A flat dark shadow under the body and behind the wheels. No vehicle drawing looks finished while it's floating.
Ferris Wheel Drawing Ideas to Try Next
Once the basic ferris wheel clicks, run it through these variations — each one practices a different skill while staying on a subject you already know.
-
A tiny toy version
Squash the proportions, fatten the wheels, round the corners — the die-cast toy look.
-
Ferris Wheel speeding with motion lines
Tilt it forward, trail speed lines, blur the wheels — energy over accuracy.
-
A cutaway ferris wheel interior
Slice the side off and show seats and cargo — the technical-drawing thrill without the precision.
-
A cartoon ferris wheel with a face
Headlights become eyes, the grille becomes a mouth — instant character, forgiving shapes.
-
A rusty abandoned ferris wheel
Overgrown, patched with rust, one plant growing through it — texture practice with atmosphere.
Tips for Better Ferris Wheel Drawings
- Wheels first, body second: wheel size and spacing define the vehicle’s character more than any body detail.
- Keep panel lines and windows obeying the same perspective as the body — one rebellious line tilts the whole machine.
Not feeling the ferris wheel today?
Let the generator pick your next subject — filtered by mood and difficulty.
🎲 Random Drawing GeneratorFerris Wheel Drawing FAQ
How do you draw a ferris wheel easily?
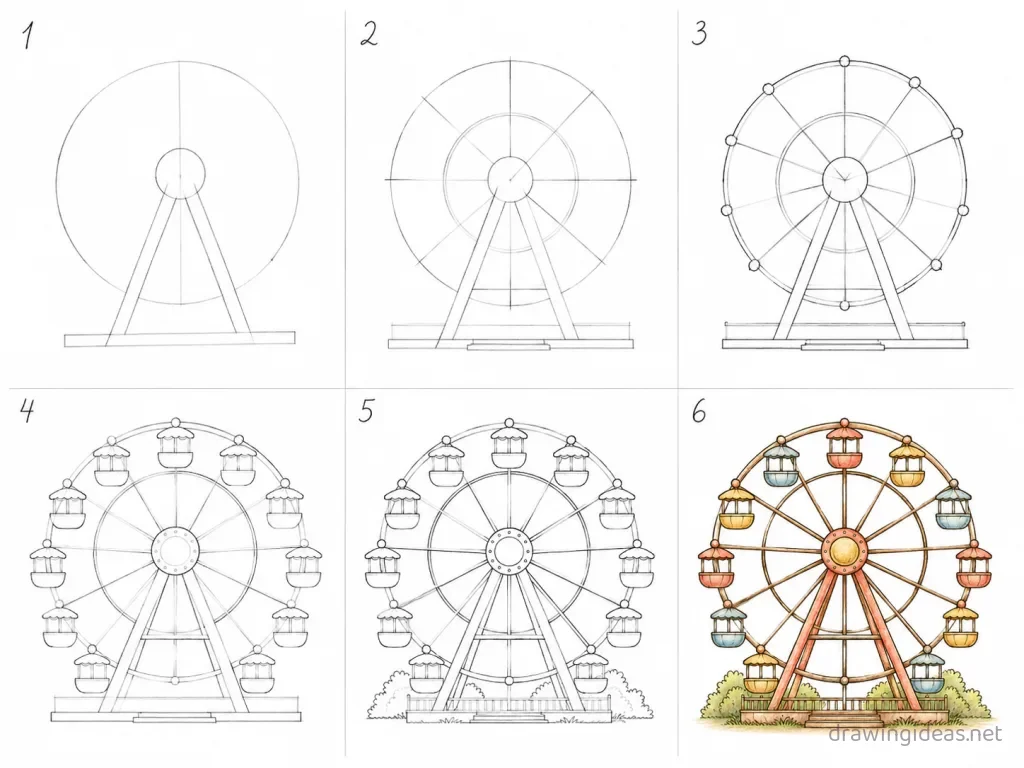
Start with simple boxes for the body with circles for wheels, keeping your lines light. Refine the outline, add the defining details, then erase the construction shapes. The six-step method above breaks this down — most people get a recognizable ferris wheel on their very first try with it.
How long should it take to draw a ferris wheel?
A simple ferris wheel drawing takes about 20 minutes following this tutorial. A quick doodle version can be done in two or three minutes, while a detailed, fully-shaded study might take an hour. Speed comes with repetition — the second attempt is always faster than the first.
What supplies do I need for ferris wheel drawings?
Just a pencil, an eraser, and any paper. An HB pencil for construction lines and a 2B for final outlines is a nice upgrade, and colored pencils or markers finish it off — but nothing on this page requires special supplies.
Can kids draw a ferris wheel?
Yes — the ferris wheel is very manageable once you use construction shapes, and this method was written for first-timers. Kids can follow the same steps; just expect wobblier lines and more charm.