Feather Drawing: Step-by-Step Tutorial & Easy Ideas
Want to draw a feather that actually looks right? Start with a few basic boxes and cylinders and build from there. This page covers the full process — nine steps from first line to finished drawing — followed by feather drawing ideas in every style: easy, cute, realistic, and a few you probably haven't tried.
- Difficulty Easy
- Time ~12 min
- Tools Pencil, eraser, paper
- Starts with a few basic boxes and cylinders
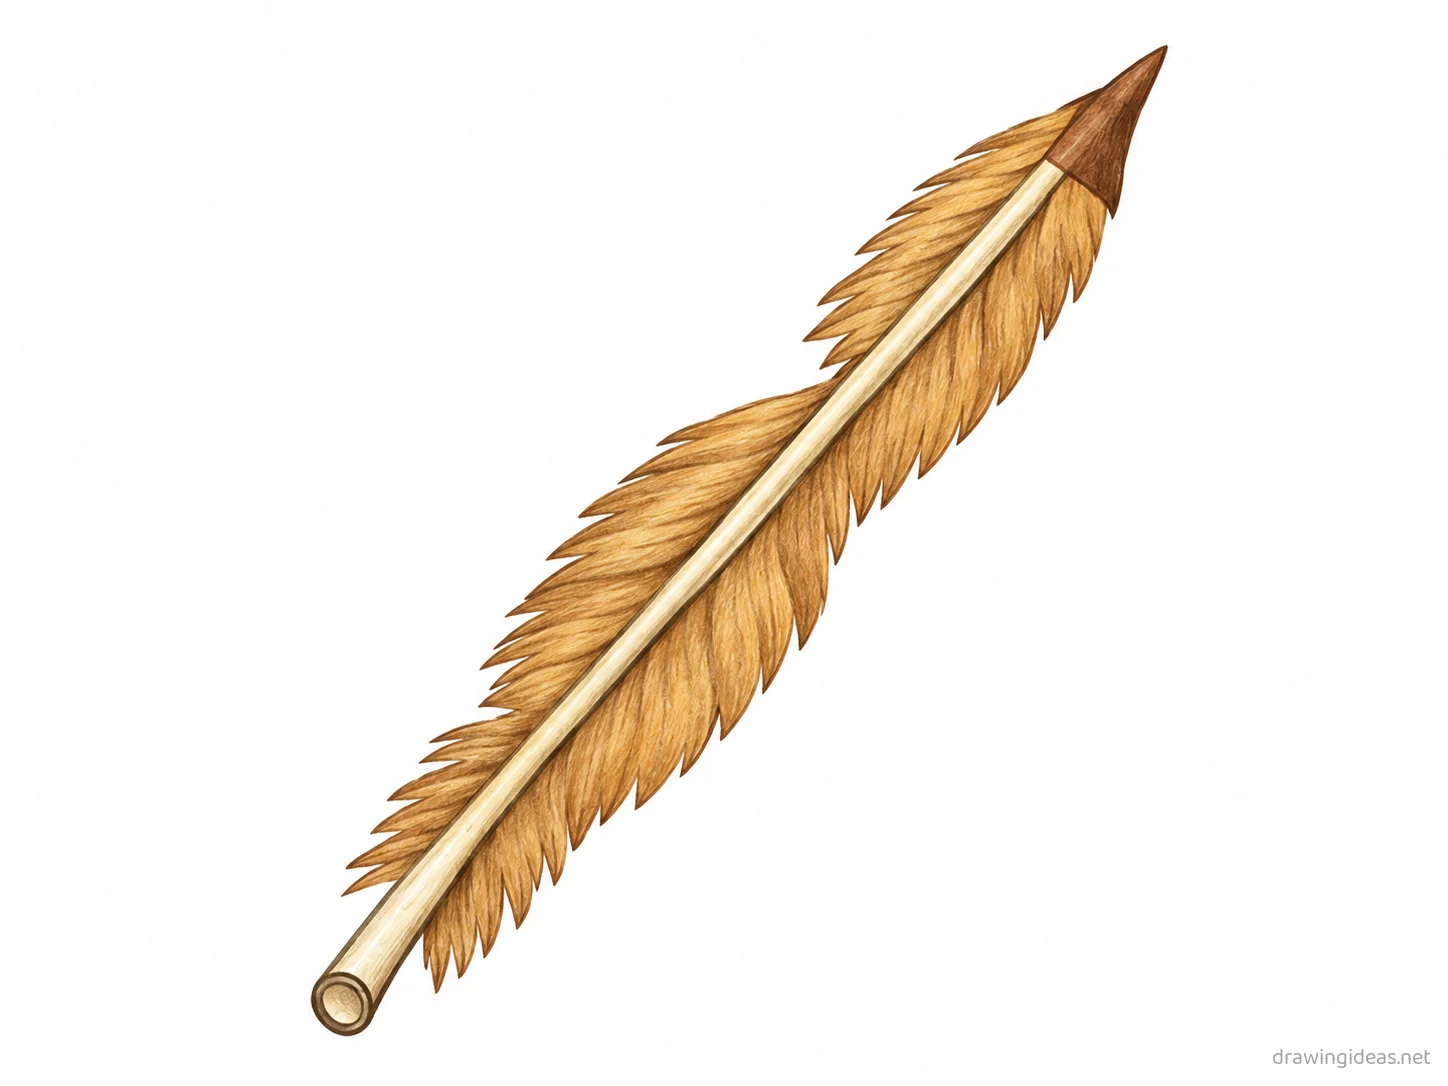
How to Draw a Feather Step by Step
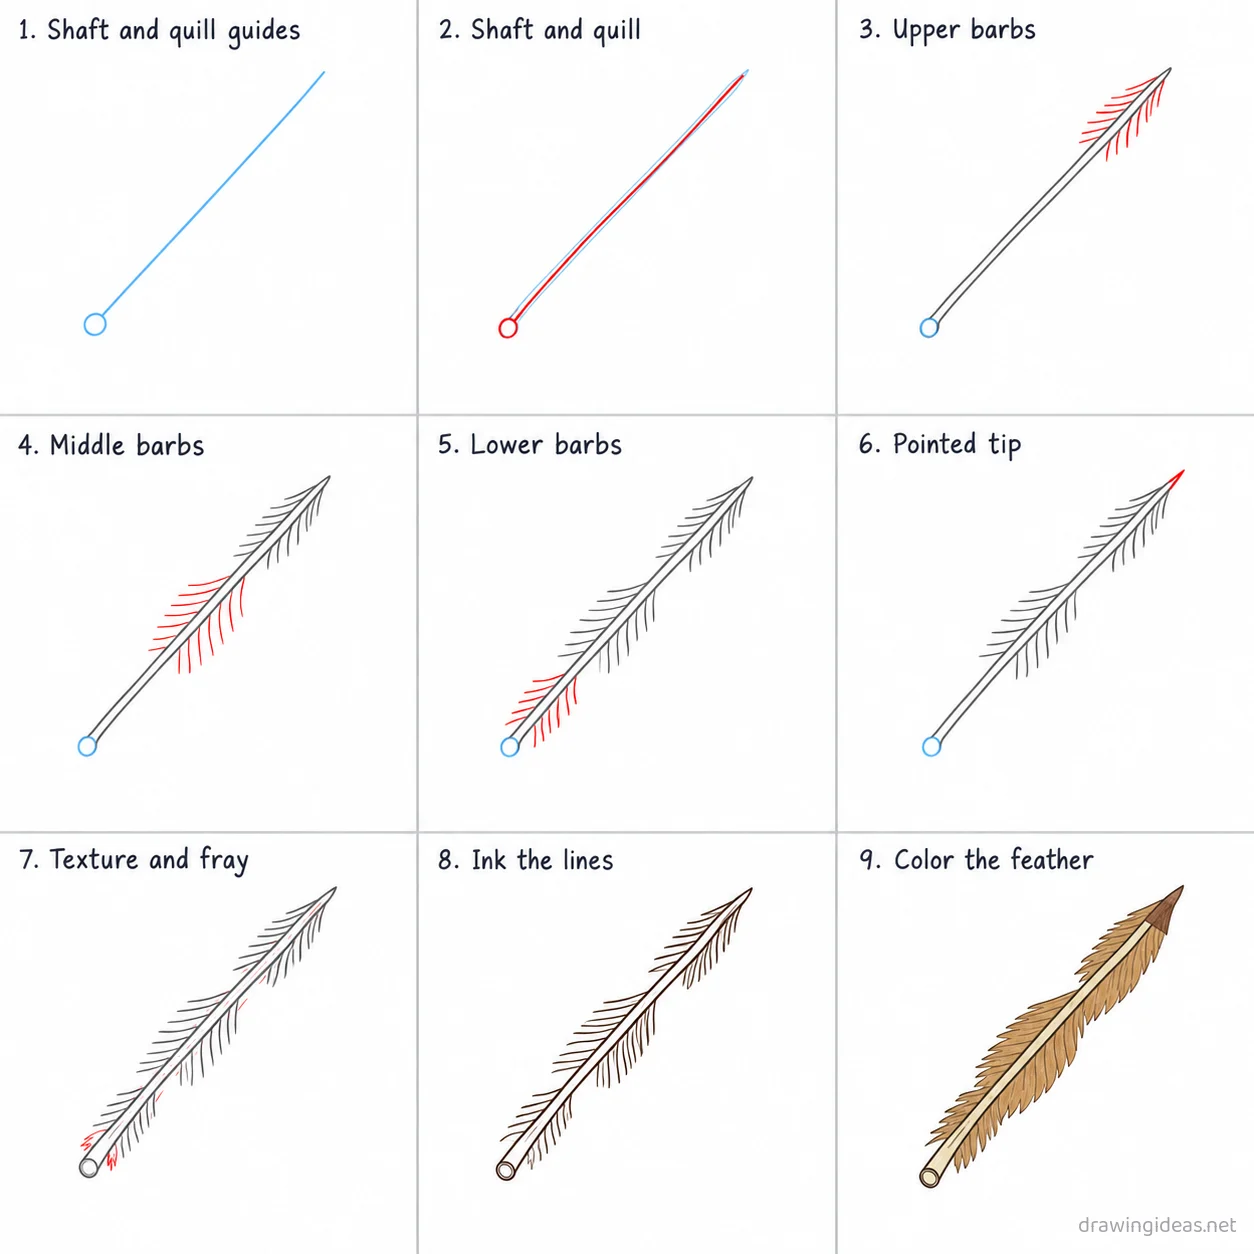
Step 1 of 9
Shaft and quill guides
Draw one light diagonal line from the lower left to the upper right of the page for the shaft, then a small circle at its base for the quill.
-
Shaft and quill guides
Draw one light diagonal line from the lower left to the upper right of the page for the shaft, then a small circle at its base for the quill.
-
Shaft and quill
Trace the central shaft line, then trace the small hollow quill shape at its base.
-
Upper barbs
Add a row of thin diagonal lines branching out on each side of the shaft near its pointed end.
-
Middle barbs
Add a row of thin diagonal lines branching out on each side of the shaft in its middle section.
-
Lower barbs
Add a row of thin diagonal lines branching out on each side of the shaft near its base.
-
Pointed tip
Close the upper end of the shaft with one small pointed tip shape.
-
Texture and fray
Add a few faint lines along the shaft between the barb rows, and a few small ragged marks near the base edge.
-
Ink the lines
Go over every kept line with dark ink, then erase the light shaft line and quill circle guides.
-
Color the feather
Fill the barbs light brown, the shaft and quill cream, with a darker brown band near the tip.
Feather Drawing Ideas to Try Next
Once the basic feather clicks, run it through these variations — each one practices a different skill while staying on a subject you already know.
-
A feather pattern sheet
Fill a page with the feather at different angles and sizes — sticker-sheet style.
-
Cross-hatched vintage feather
Render it in old-encyclopedia pen style: outlines plus patient parallel hatching.
-
A feather as a tiny house
Add a door and windows to the feather as if someone tiny lives inside it.
-
An exploded view of a feather
Separate the parts in mid-air like an instruction manual — deeply satisfying to draw and read.
-
A tiny feather on a big empty page
Miniature drawing with deliberate negative space — composition as the artwork.
-
A worn, well-loved feather
Add scratches, patches, and history — aged objects have stories new ones don't.
Tips for Better Feather Drawings
- A contact shadow grounds everything: a soft dark pool where the object meets the surface is the difference between sitting and floating.
- Find the object’s basic solids first (box, cylinder, sphere) and get their proportions right before any detail — detail on wrong proportions is wasted work.
Not feeling the feather today?
Let the generator pick your next subject — filtered by mood and difficulty.
🎲 Random Drawing GeneratorFeather Drawing FAQ
How do you draw a feather easily?
Start with a few basic boxes and cylinders, keeping your lines light. Refine the outline, add the defining details, then erase the construction shapes. The nine-step method above breaks this down — most people get a recognizable feather on their very first try with it.
How long should it take to draw a feather?
A simple feather drawing takes about 12 minutes following this tutorial. A quick doodle version can be done in two or three minutes, while a detailed, fully-shaded study might take an hour. Speed comes with repetition — the second attempt is always faster than the first.
What supplies do I need for feather drawings?
Just a pencil, an eraser, and any paper. An HB pencil for construction lines and a 2B for final outlines is a nice upgrade, and colored pencils or markers finish it off — but nothing on this page requires special supplies.
Can kids draw a feather?
Yes — the feather is one of the friendlier subjects for beginners, and this method was written for first-timers. Kids can follow the same steps; just expect wobblier lines and more charm.