Eye Drawing: Step-by-Step Tutorial & Easy Ideas
Eye drawings are one of the most-loved sketching subjects, and for good reason — the basic version comes together from an almond (pointed oval) with a circle inside in just a few minutes. Follow the six steps below to get the foundations right, then browse the ideas list for your next eye sketch.
- Difficulty Medium
- Time ~20 min
- Tools Pencil, eraser, paper
- Starts with an almond (pointed oval) with a circle inside
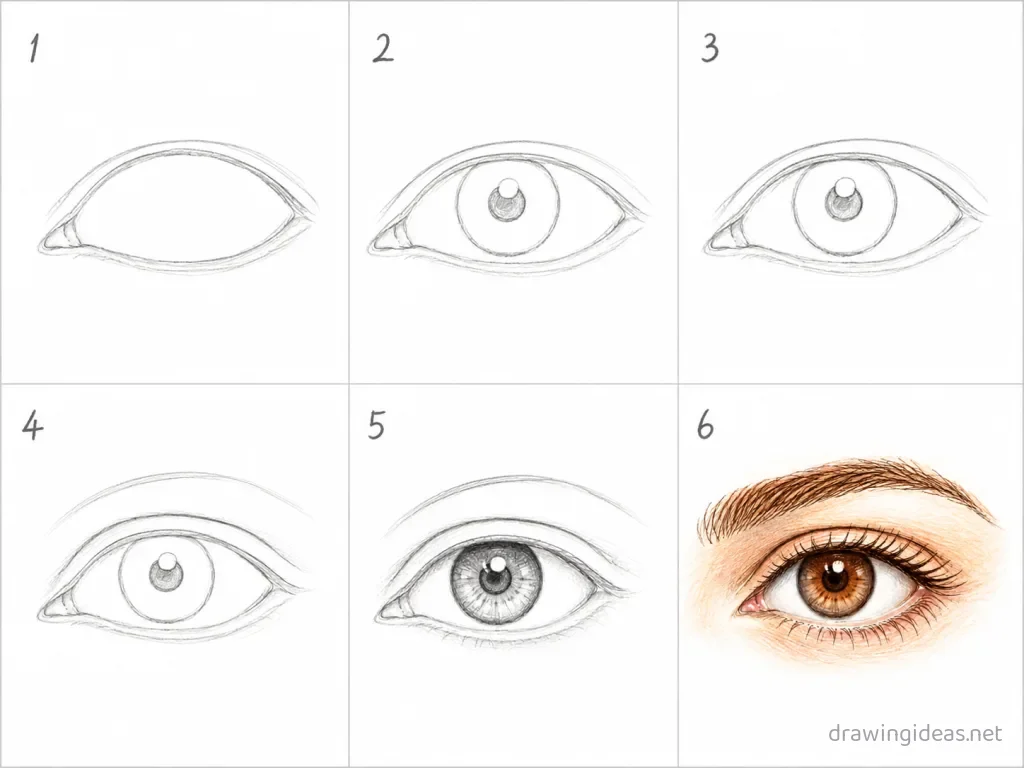
How to Draw an Eye Step by Step
-
Draw the almond
Draw a horizontal almond shape — two curved lines meeting at points. Make the inner corner slightly lower than the outer one.
-
Place the iris and pupil
Draw a large circle for the iris, letting its top edge hide under the upper lid, then a smaller solid circle inside for the pupil.
-
Reserve the highlight
Before shading anything, outline a small circle or square overlapping the pupil edge — this stays pure white and makes the eye look alive.
-
Add the lids and crease
Draw a line following the upper lid a few millimeters above it for the crease, and a subtle short line under the lower lash line.
-
Shade the iris
Darken the pupil fully, add a dark ring around the iris edge, then pull thin spokes from the pupil outward like a sunburst. Keep the highlight untouched.
-
Lashes and soft shadow
Flick lashes outward from the lid line — thicker and denser toward the outer corner — and shade a soft shadow under the upper lid across the white of the eye.
Eye Drawing Ideas to Try Next
Once the basic eye clicks, run it through these variations — each one practices a different skill while staying on a subject you already know.
-
An eye with a galaxy iris
Replace the iris texture with stars and nebula swirls — realism structure with a fantasy fill.
-
A crying eye with one held tear
Add a single teardrop clinging to the lower lash line and a wet reflection along the lid.
-
An animal eye comparison strip
Three panels: human, cat (vertical slit), goat (horizontal bar). Same almond, three alien results.
-
Hands holding something small
A mug, a phone, a flower — drawing hands WITH objects is easier than empty hands, and endlessly useful.
-
A cozy bundled-up figure
Big coat, big scarf, small visible face — winter clothing hides anatomy while you practice everything else.
-
A back-view eye
No face required: hair, shoulders, and posture carry everything. The most confidence-building people drawing there is.
-
A gesture-pose minute study
Set a timer for 60 seconds and capture just the motion line and weight — repeat five times, keep the best.
-
Eye in profile silhouette
One side-view outline filled solid black — profile practice with a dramatic result.
Eye Drawing Styles: Easy, Cute & More
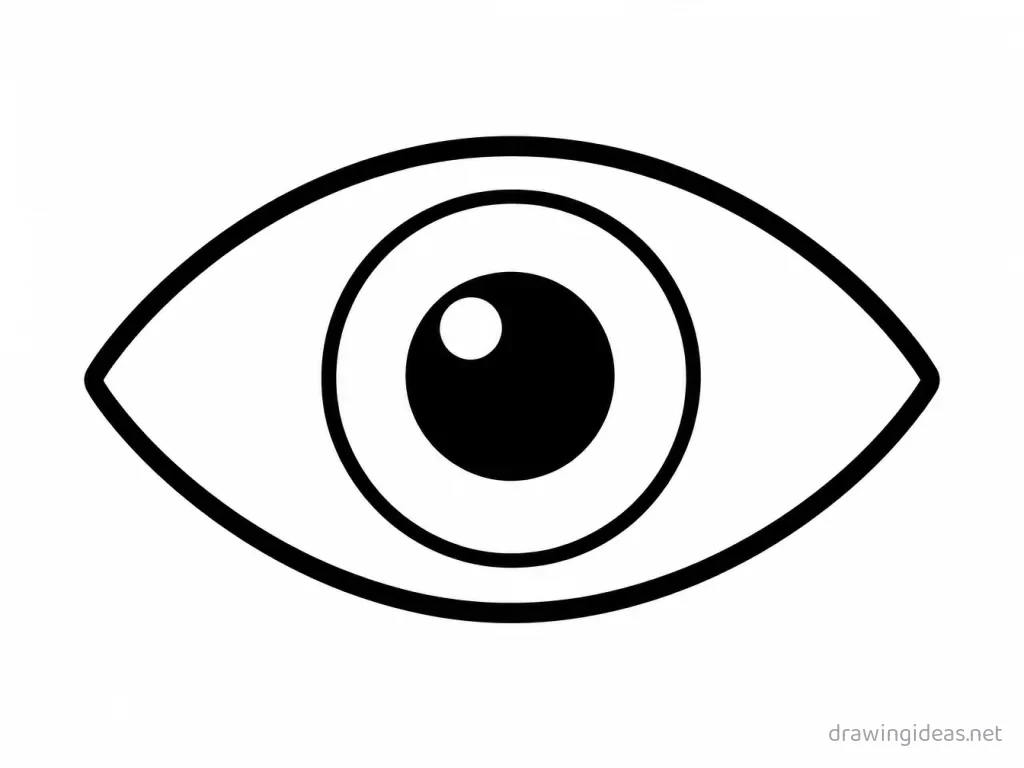
Easy Eye Drawing
Try a simplified version built from basic shapes — perfect for beginners and kids. Same six steps as above — simply simplify or stylize the final pass.
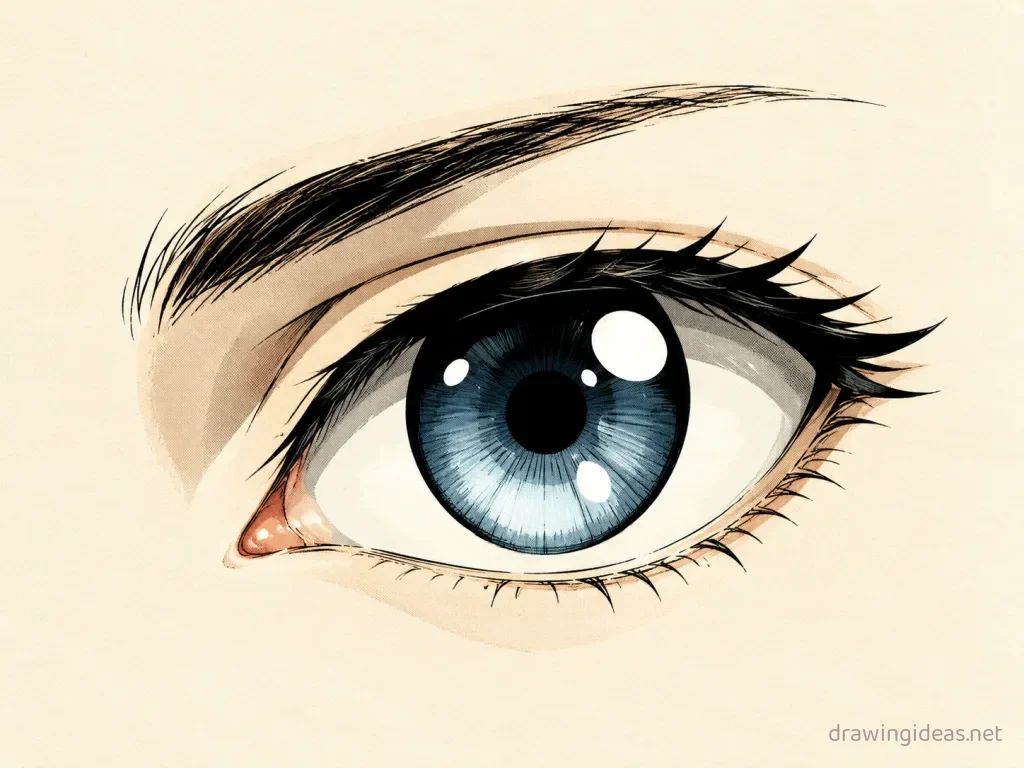
Anime Eye Drawing
Try the manga-inspired style: expressive eyes, dynamic lines, cel-style shading. Same six steps as above — simply simplify or stylize the final pass.
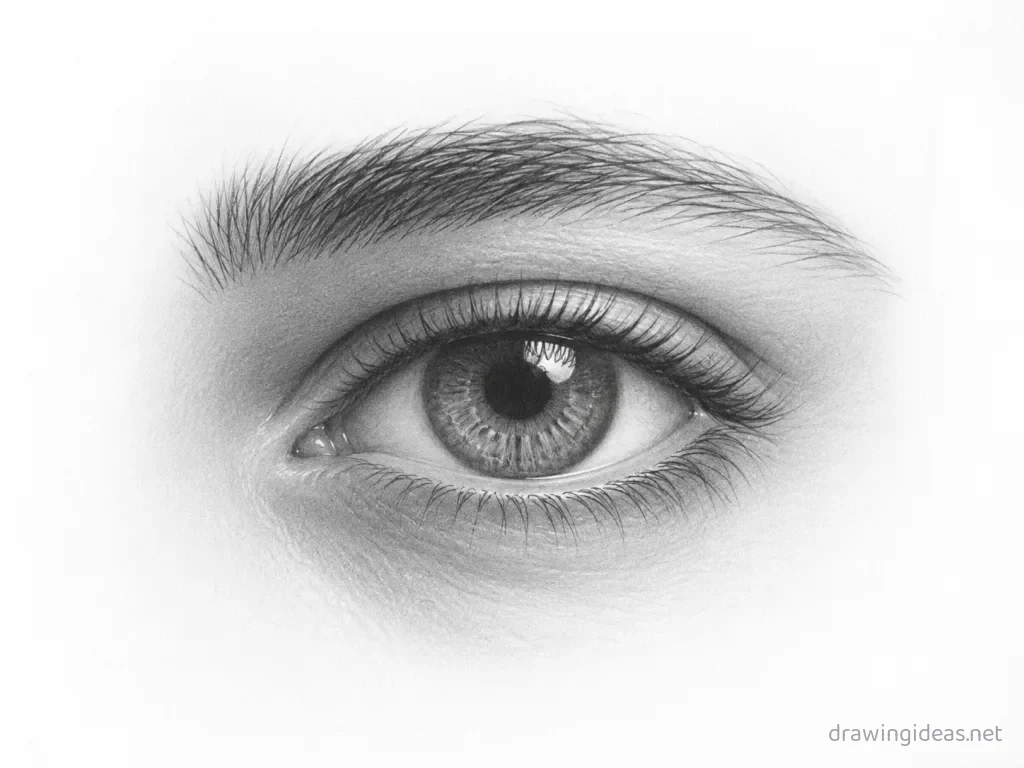
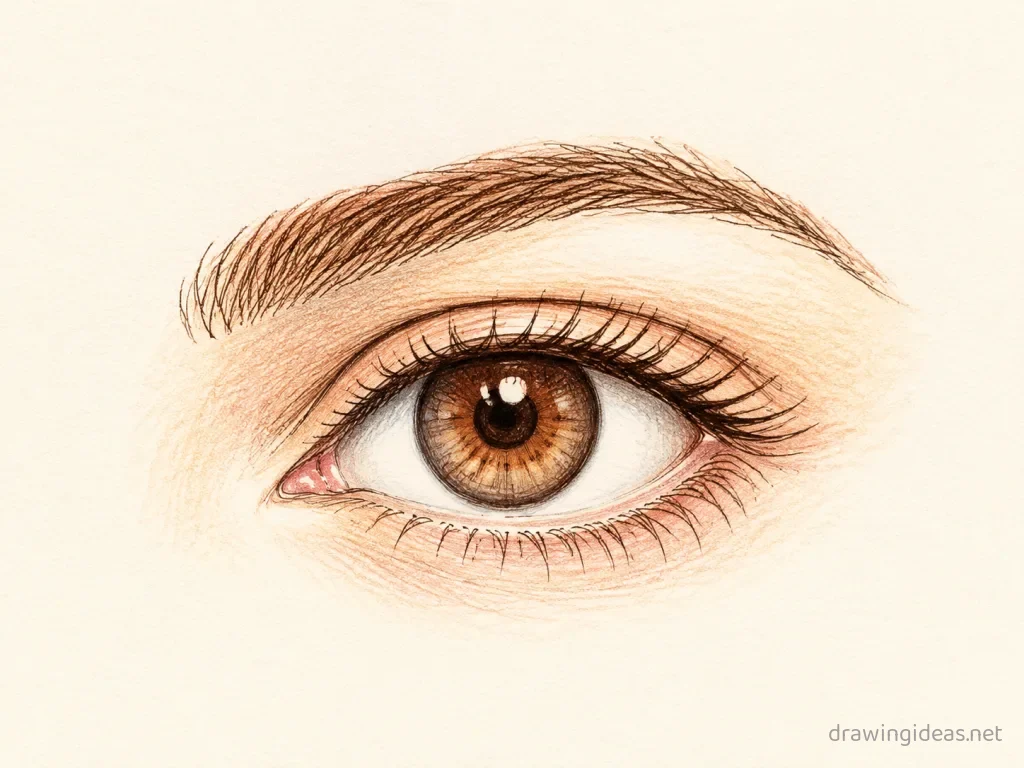
Realistic Eye Drawing
Try careful proportions, layered shading and texture for a lifelike study. Same six steps as above — just budget extra time for the shading and texture pass.
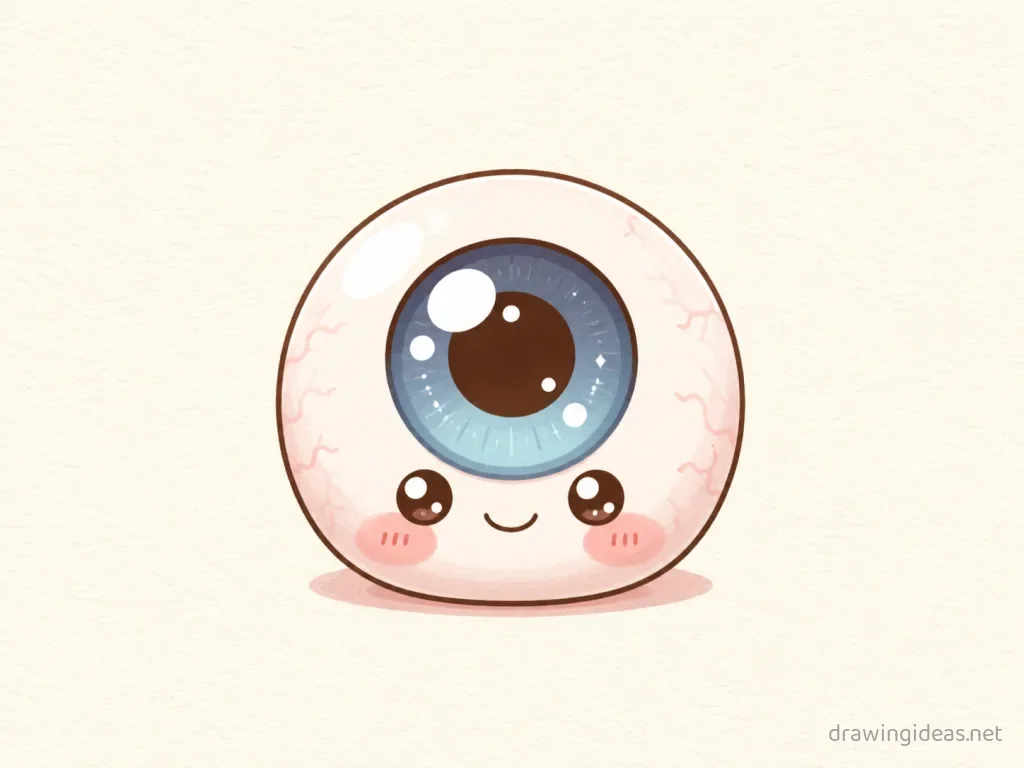
Cute Eye Drawing
Try the kawaii treatment: rounder shapes, bigger eyes, tiny proportions and soft colors. Same six steps as above — simply simplify or stylize the final pass.
Tips for Better Eye Drawings
- The two beginner-killers are lashes and highlights: lashes grow outward from the lid (never straight up), and the highlight must stay pure white — if you shade over it, the eye instantly goes dull.
- Eyes sit at the vertical middle of the head — everyone places them too high at first. Measure it once on any photo and you’ll never unsee it.
Not feeling the eye today?
Let the generator pick your next subject — filtered by mood and difficulty.
🎲 Random Drawing GeneratorEye Drawing FAQ
What is the easiest way to draw an eye?
Start with an almond (pointed oval) with a circle inside, keeping your lines light. Refine the outline, add the defining details, then erase the construction shapes. The six-step method above breaks this down — most people get a recognizable eye on their very first try with it.
How long does an eye drawing take?
A simple eye drawing takes about 20 minutes following this tutorial. A quick doodle version can be done in two or three minutes, while a detailed, fully-shaded study might take an hour. Speed comes with repetition — the second attempt is always faster than the first.
What do I need to draw an eye?
Just a pencil, an eraser, and any paper. An HB pencil for construction lines and a 2B for final outlines is a nice upgrade, and colored pencils or markers finish it off — but nothing on this page requires special supplies.
Can kids draw an eye?
Yes — the eye is very manageable once you use construction shapes, and this method was written for first-timers. Kids can follow the same steps; just expect wobblier lines and more charm.