Easy Skull Drawing: Simple Step-by-Step for Beginners
This is the simplest way to draw a skull — built from a circle over a squared jaw, with every step small enough for total beginners and kids. No shading skills, no special supplies: a pencil, an eraser and five spare minutes get you a finished, recognizable skull drawing.
- Difficulty Easy
- Time ~12 min
- Tools Pencil, eraser, paper
- Starts with a circle over a squared jaw

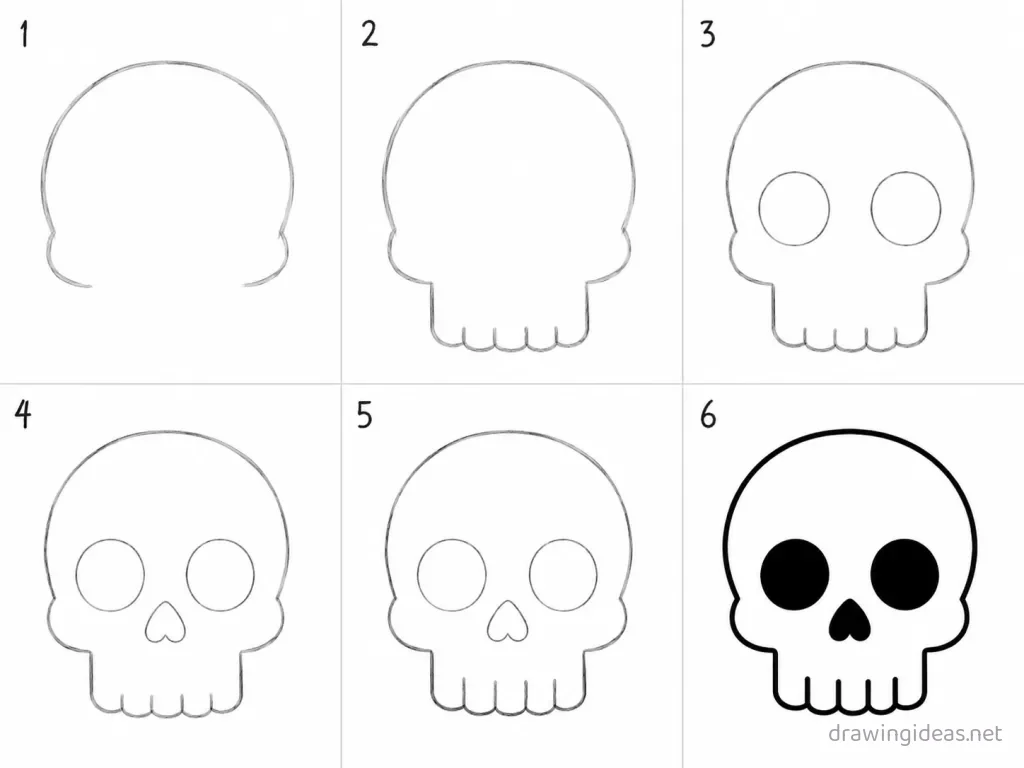
How to Draw an Easy Skull, Step by Step
-
Draw the cranium
A large circle for the braincase. Keep the lines loose — wobbles are fine at this stage.
-
Attach the jaw area
From the circle's lower sides, drop two lines that angle inward and connect with a flat bottom — the upper jaw block sits like a squared U under the circle. Simpler is better here: one confident line beats three careful ones.
-
Cut the eye sockets
Two large rounded-square holes just below the circle's midline, wider apart than eyes on a face. If it looks off, adjust the big shape rather than adding detail.
-
Add the nose cavity
An upside-down heart shape between and slightly below the sockets — pointier at top, two lobes at the bottom. A rough version of this step is good enough — keep moving.
-
Draw the teeth and cheekbones
A row of squarish teeth along the jaw bottom, and cheekbone arcs sweeping from each socket's outer edge back toward the ear area. Draw this bigger than feels natural; big shapes are easier to control.
-
Shade the hollows
Fill the sockets and nose cavity almost black, fading at the edges. Done is better than perfect — finish the step and move on.
Want the full detailed version?
The complete Skull drawing tutorial covers proportions, texture and shading in depth.
Full Skull Drawing Tutorial →Easy Skull Drawing Ideas
Skull tattoo flash design
Bold outline, limited shading, designed to fit a shoulder — flash style suits fantasy subjects perfectly.
A skull guarding treasure
Add a small pile of coins and one glowing gem — the scene writes itself.
A baby skull
Shrink it, enlarge the eyes and head, add one stubby feature — cuteness transforms any fearsome subject.
A tiny skull familiar on a shoulder
Pocket-sized companion version perched on a simple shoulder line.
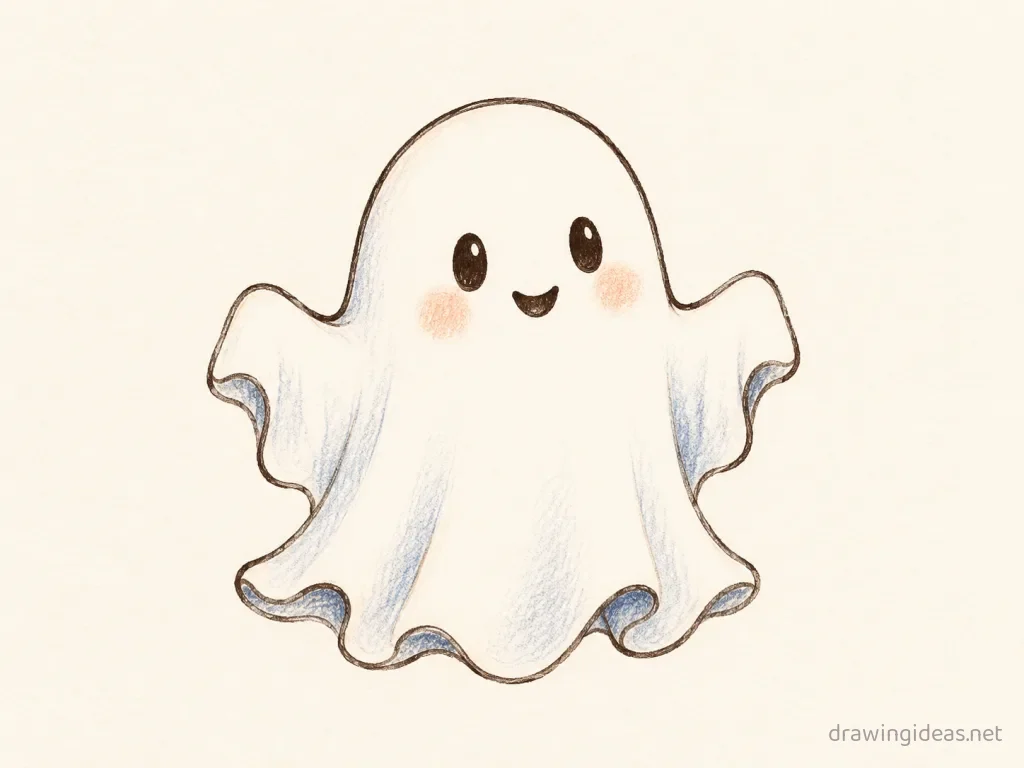
Skeletal or spectral skull
Draw the ghost/bone version with wispy trailing edges — halloween-ready and forgiving of anatomy.
Easy Drawing Tips
- Finish it even if it looks wrong at step 3. Every finished easy drawing teaches the whole sequence; abandoned perfect starts teach nothing.
- Draw big. Beginners instinctively draw tiny, and tiny drawings are actually harder — small curves demand more finger control than big arm strokes. Fill at least half the page.
- Use a light pencil for the shape stage and press harder only on the final outline — being able to erase guide lines is what makes the simple method forgiving.
FAQ
What is the easiest way to draw a skull?
Start with a circle over a squared jaw and keep every line light until the shape looks right — that's the entire method above. Most beginners get a recognizable skull drawing on the first try because each step is one simple move.
Can kids follow this skull drawing tutorial?
Yes — this version was written for young artists: big forgiving shapes, no shading, no fine details. Ages 5-6 and up can usually follow along with a little help reading the steps.
How long does the easy version take?
About five minutes for the basic drawing — roughly half the time of the full tutorial. Adding color takes another few minutes.