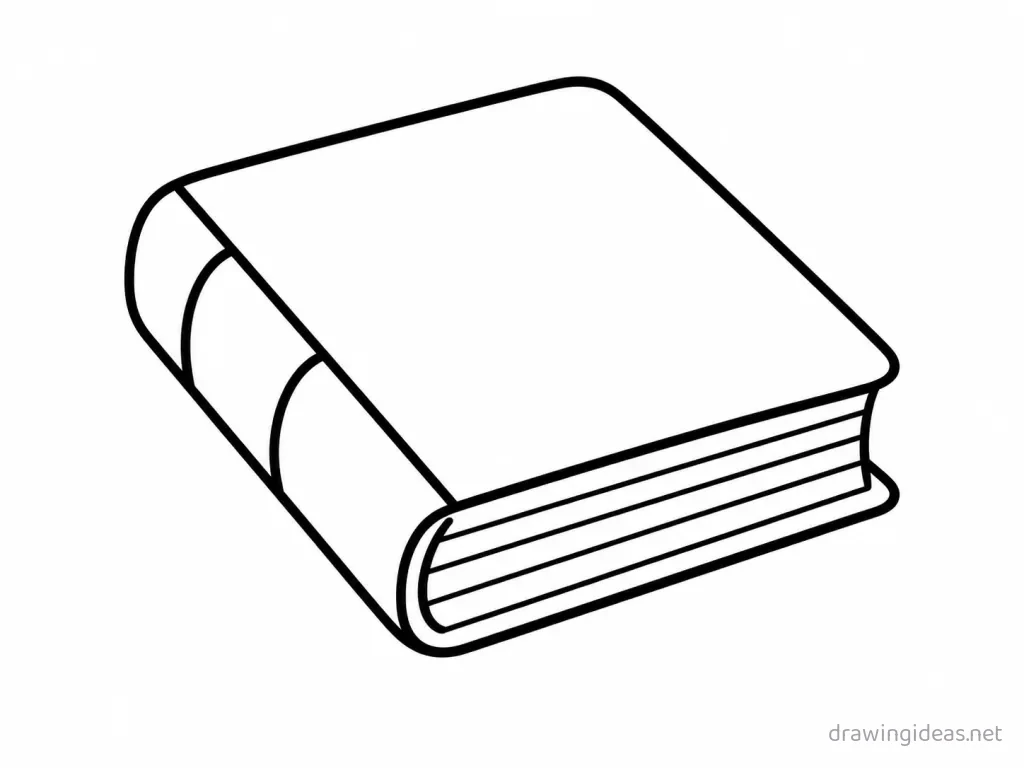
Easy Book Drawing: Simple Step-by-Step for Beginners
Want book drawing without the hard parts? This easy version strips the tutorial down to what matters: two joined parallelograms for the open spread, refined in a few forgiving steps. It's the version we recommend for kids, classrooms, and anyone drawing the book for the first time.
- Difficulty Easy
- Time ~6 min
- Tools Pencil, eraser, paper
- Starts with two joined parallelograms for the open spread
How to Draw an Easy Book, Step by Step
-
Draw the open V
Draw a wide, shallow V — the valley where the two pages meet at the spine. Keep the lines loose — wobbles are fine at this stage.
-
Add the page tops
From the V's center, draw two gentle arcs up and outward, like a bird in flight — these are the top edges of the two open pages. Simpler is better here: one confident line beats three careful ones.
-
Close the outer edges
Drop short vertical lines from the page tops' outer ends down to the V's tips. If it looks off, adjust the big shape rather than adding detail.
-
Add page thickness
Below the spread, echo the bottom edges with two or three closely-spaced lines — the stack of remaining pages — then the cover slightly larger beneath. A rough version of this step is good enough — keep moving.
-
Detail the pages
A few short horizontal text lines on each page (never full words), and one page corner lifting as if mid-turn. Draw this bigger than feels natural; big shapes are easier to control.
-
Shade the gutter
Darken the center valley where pages curve into the spine, fading up each page — that gradient is what makes it look truly open. Done is better than perfect — finish the step and move on.
Want the full detailed version?
The complete Book drawing tutorial covers proportions, texture and shading in depth.
Full Book Drawing Tutorial →Easy Book Drawing Ideas
A worn, well-loved book
Add scratches, patches, and history — aged objects have stories new ones don't.
A book pattern sheet
Fill a page with the book at different angles and sizes — sticker-sheet style.
A book as a tiny house
Add a door and windows to the book as if someone tiny lives inside it.
An exploded view of a book
Separate the parts in mid-air like an instruction manual — deeply satisfying to draw and read.
A tiny book on a big empty page
Miniature drawing with deliberate negative space — composition as the artwork.
Cross-hatched vintage book
Render it in old-encyclopedia pen style: outlines plus patient parallel hatching.
Easy Drawing Tips
- Finish it even if it looks wrong at step 3. Every finished easy drawing teaches the whole sequence; abandoned perfect starts teach nothing.
- Use a light pencil for the shape stage and press harder only on the final outline — being able to erase guide lines is what makes the simple method forgiving.
- Trace your own drawing once. Tracing something you already drew builds muscle memory twice as fast as starting over.
FAQ
What is the easiest way to draw a book?
Start with two joined parallelograms for the open spread and keep every line light until the shape looks right — that's the entire method above. Most beginners get a recognizable book drawing on the first try because each step is one simple move.
Can kids follow this book drawing tutorial?
Yes — this version was written for young artists: big forgiving shapes, no shading, no fine details. Ages 5-6 and up can usually follow along with a little help reading the steps.
How long does the easy version take?
About five minutes for the basic drawing — roughly half the time of the full tutorial. Adding color takes another few minutes.