Cute Bunny Drawing: Kawaii Step-by-Step Tutorial
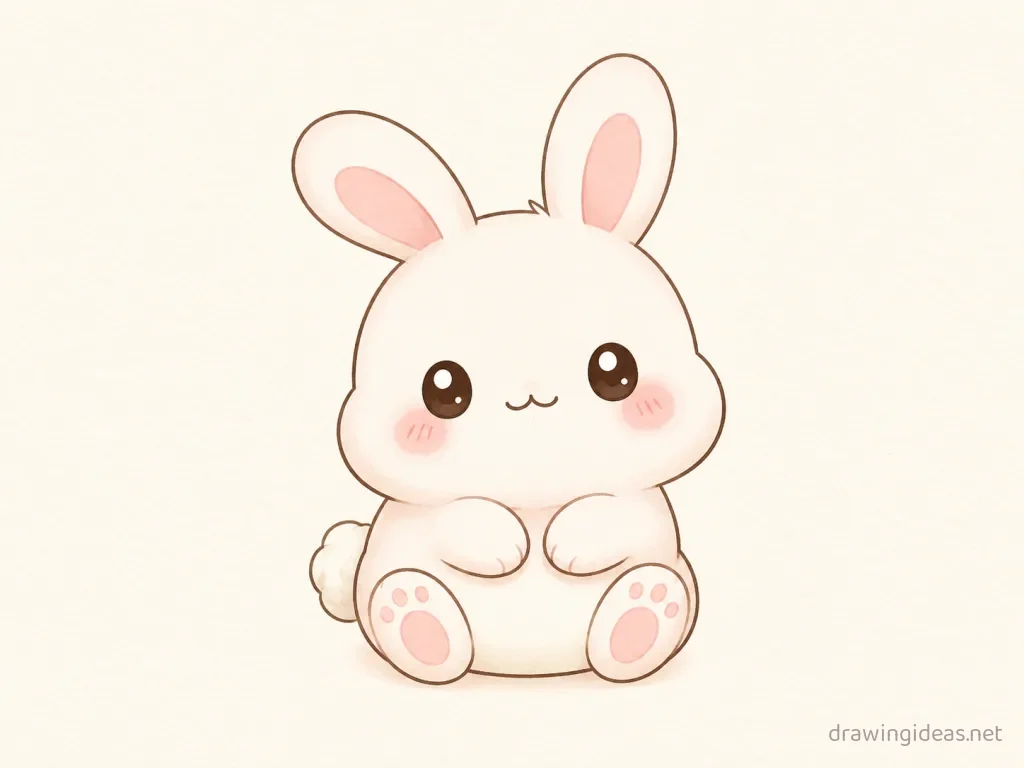
This tutorial turns a bunny into its most adorable self: chibi proportions, big sparkly eyes, soft rounded shapes. It starts from the same a small circle head on an egg-shaped body with two long ears as the classic version — then applies the kawaii formula on top. Perfect for journals, stickers and cards.
- Difficulty Easy
- Time ~6 min
- Tools Pencil, eraser, paper
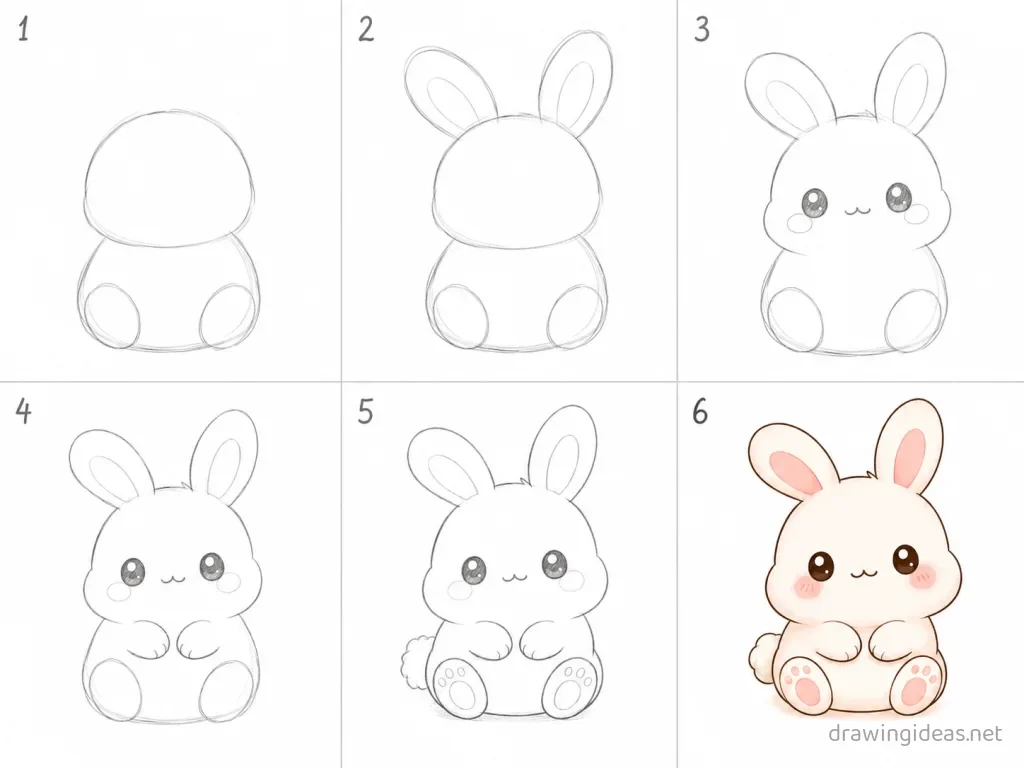
- Starts with a small circle head on an egg-shaped body with two long ears
How to Draw a Cute Bunny, Step by Step
-
Draw the head and body
A circle for the head overlapping the top of a larger egg shape for the body — a sitting bunny is nicely compact. Rounder is cuter — soften every corner you just drew.
-
Add the long ears
Two tall, narrow leaf shapes rising from the head, one tilted or folded for charm. Exaggerate: whatever you just drew, make it 20% chubbier.
-
Draw the face
Two round dot eyes wide apart, a small Y-shaped nose-and-mouth in the center, and a hint of round cheeks. Keep details minimal; cuteness lives in the big shapes.
-
Tuck the front paws
Two small bumps at the front base of the body — sitting bunnies barely show their front paws. Curves only — replace any straight line with a gentle arc.
-
Add the haunch and tail
A big round haunch curve on the body's side with a hind foot peeking forward, and a fluffy cotton-ball tail on the back. Shrink this detail smaller than the realistic version would have it.
-
Whiskers and fluff
Erase guides, flick short whiskers from the cheeks, and break the outline with tiny fur strokes on the chest and haunch. Finish with softness: light pressure, rounded ends on every stroke.
Want the full detailed version?
The complete Bunny drawing tutorial covers proportions, texture and shading in depth.
Full Bunny Drawing Tutorial →Cute Bunny Drawing Ideas
A geometric low-poly bunny
Build the bunny from straight-edged triangles only — a modern design look that secretly teaches structure.
Continuous one-line bunny
Draw the whole bunny without lifting your pen. Great warm-up, and the wobbles are the style.
A sleeping bunny curled up
Sleeping poses tuck away the legs and face details — draw one restful curve and let the pose forgive the anatomy.
Bunny face close-up portrait
Crop to just the face and make the eyes the star. Big expressive eyes carry the whole piece.
A baby bunny next to its parent
Same drawing twice at two sizes with bigger eyes on the little one — instant "aww" with skills you already have.
A bunny in its natural habitat
Add two or three environment elements behind your bunny — the scene sells the story without needing a full background.
Cute Drawing Tips
- The cuteness formula is proportions, not details: bigger head, smaller body, larger eyes set lower on the face. Push each further than feels reasonable.
- Keep the mouth tiny. A small "w" or dot mouth reads sweeter than a big smile on chibi proportions.
- Round every corner. Anywhere your drawing has a sharp angle, blend it into a curve — softness reads as cute at any skill level.
FAQ
How do you make bunny drawing look cute?
Three moves: enlarge the head relative to the body, enlarge the eyes and place them lower on the face, and round off every corner. Finish with blush marks and a white highlight dot in each eye.
What are kawaii bunny drawings used for?
Journals, planner decorations, stickers, greeting cards and phone doodles — the style is compact and works at small sizes, which is why it dominates sticker sheets.
Do I need to follow the regular bunny tutorial first?
No — this page stands alone. But if you want the anatomy behind the cuteness, the full bunny drawing tutorial covers the realistic construction in six steps.