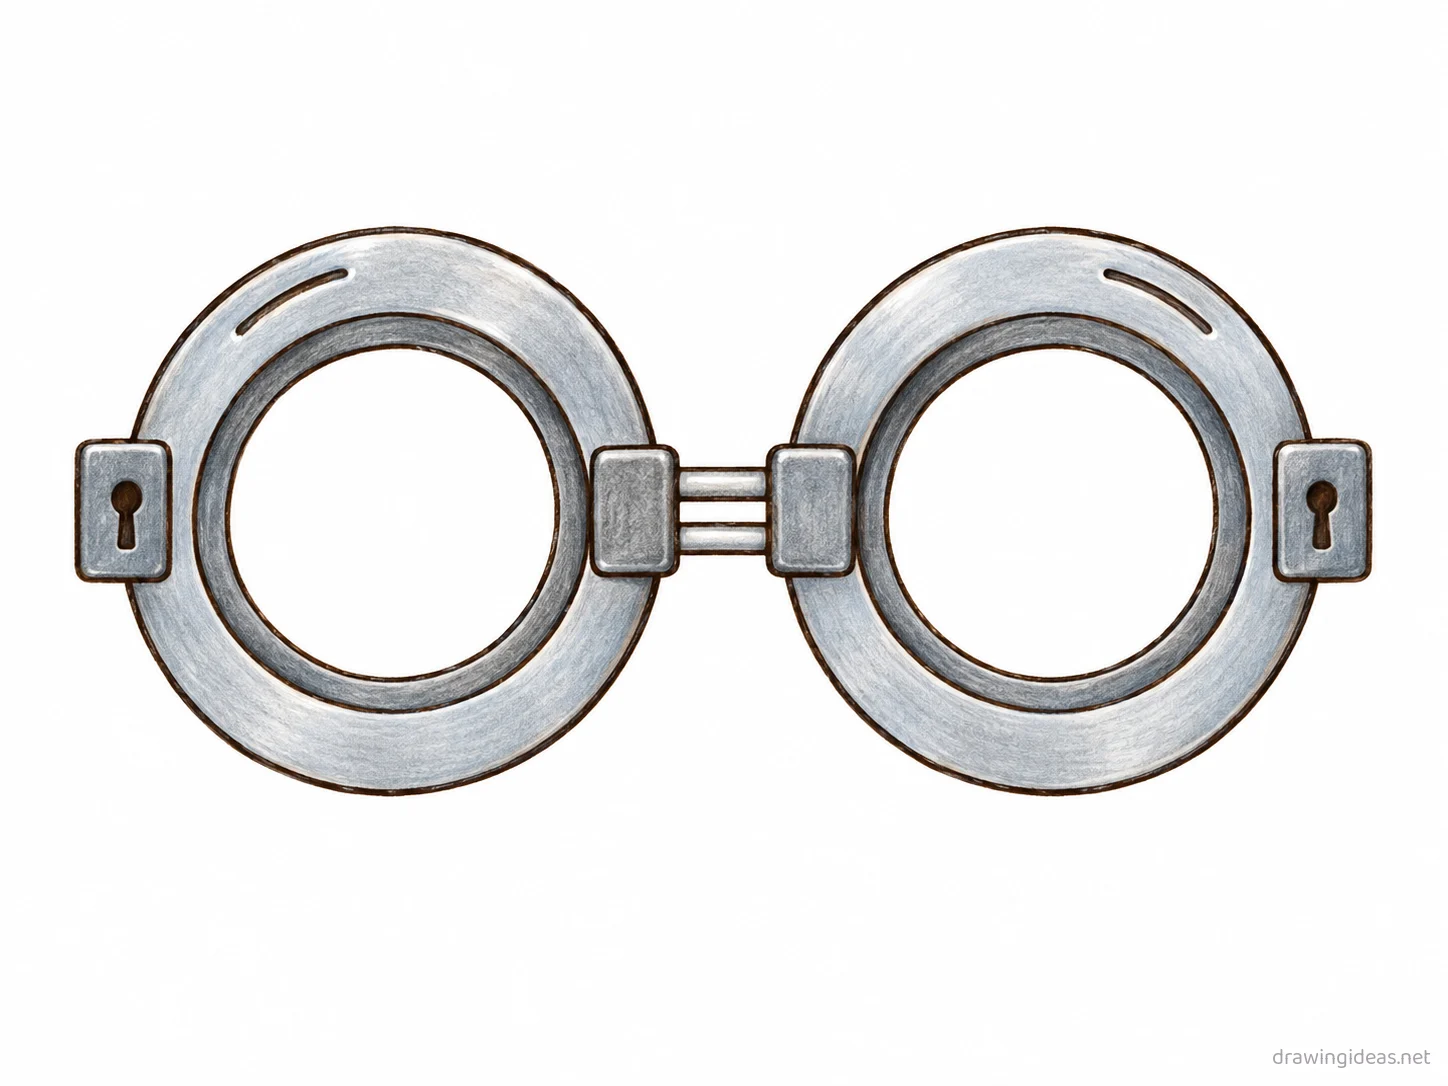
10th Amendment Drawing: Step-by-Step Tutorial & Easy Ideas
Every good 10th Amendment drawing starts the same way: one clear outline divided into labeled regions, refined step by step into a finished piece. Below you'll find a complete step-by-step tutorial you can follow with any pencil and paper, plus easy 10th Amendment drawing ideas — from quick five-minute doodles to more detailed studies.
- Difficulty Medium
- Time ~15 min
- Tools Pencil, eraser, paper
- Starts with one clear outline divided into labeled regions

How to Draw the 10th Amendment Step by Step
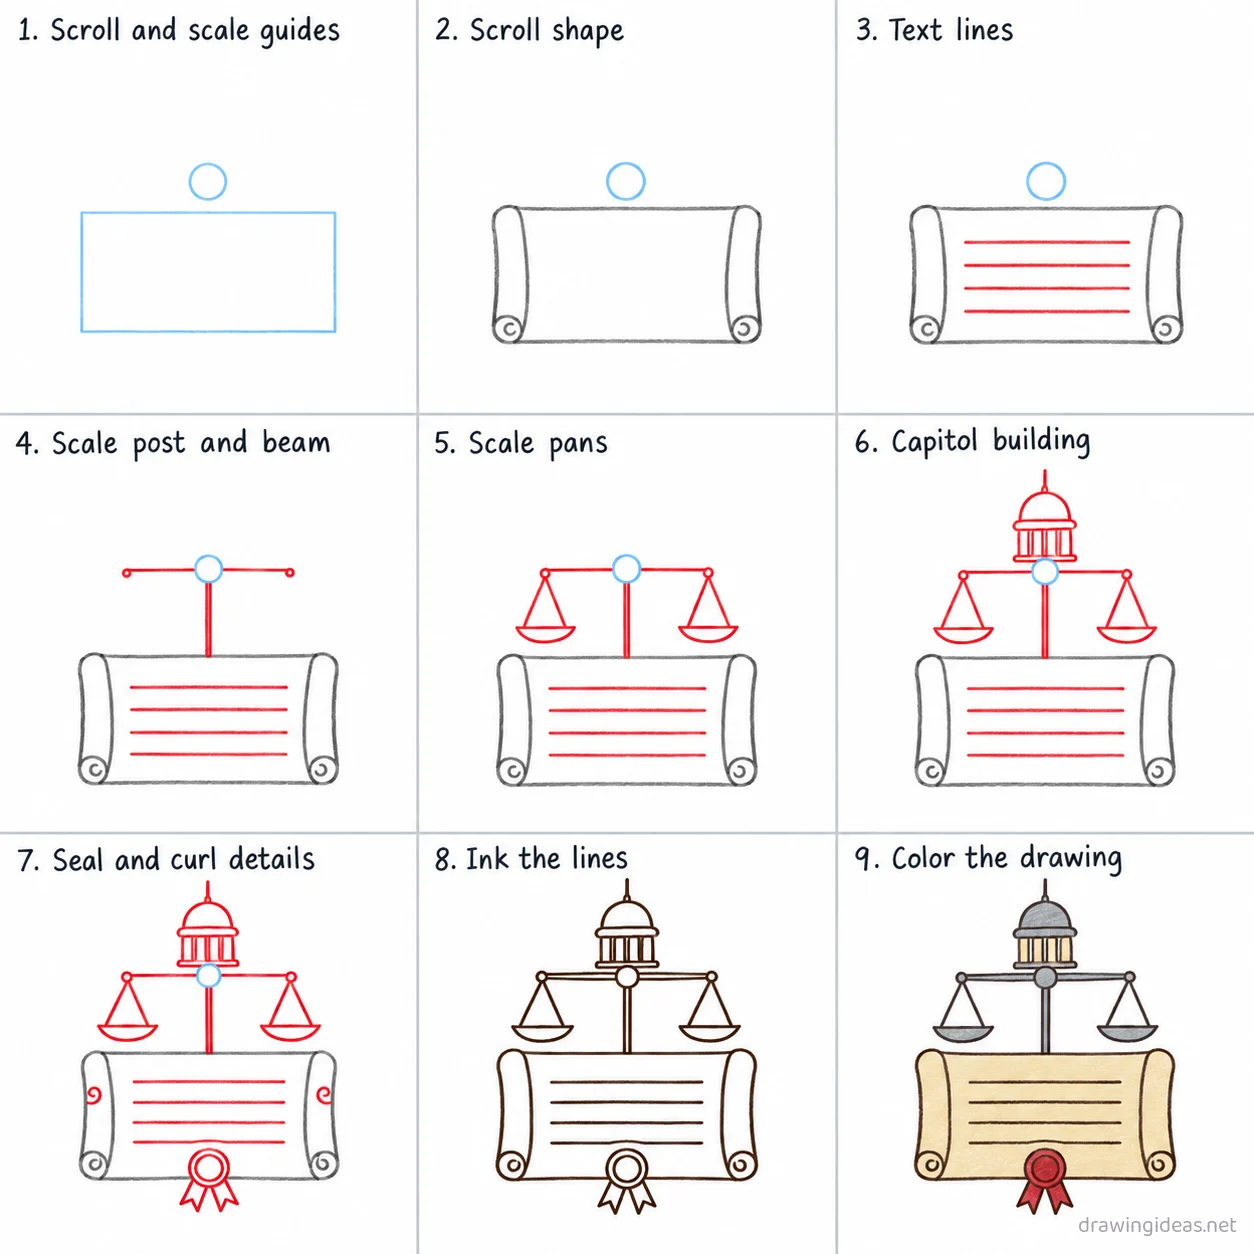
Step 1 of 9
Scroll and scale guides
Draw a light wide rectangle low on the page for the scroll, then a small light circle above its top edge for the scale's balance point.
-
Scroll and scale guides
Draw a light wide rectangle low on the page for the scroll, then a small light circle above its top edge for the scale's balance point.
-
Scroll shape
Trace the scroll outline on the rectangle, rounding the left and right edges like rolled paper.
-
Text lines
Add four straight horizontal lines across the middle of the scroll to suggest written text.
-
Scale post and beam
From the balance point draw a straight post down to the scroll top, and a horizontal beam through the balance point.
-
Scale pans
Hang a shallow curved pan from each end of the beam using a short thin chain.
-
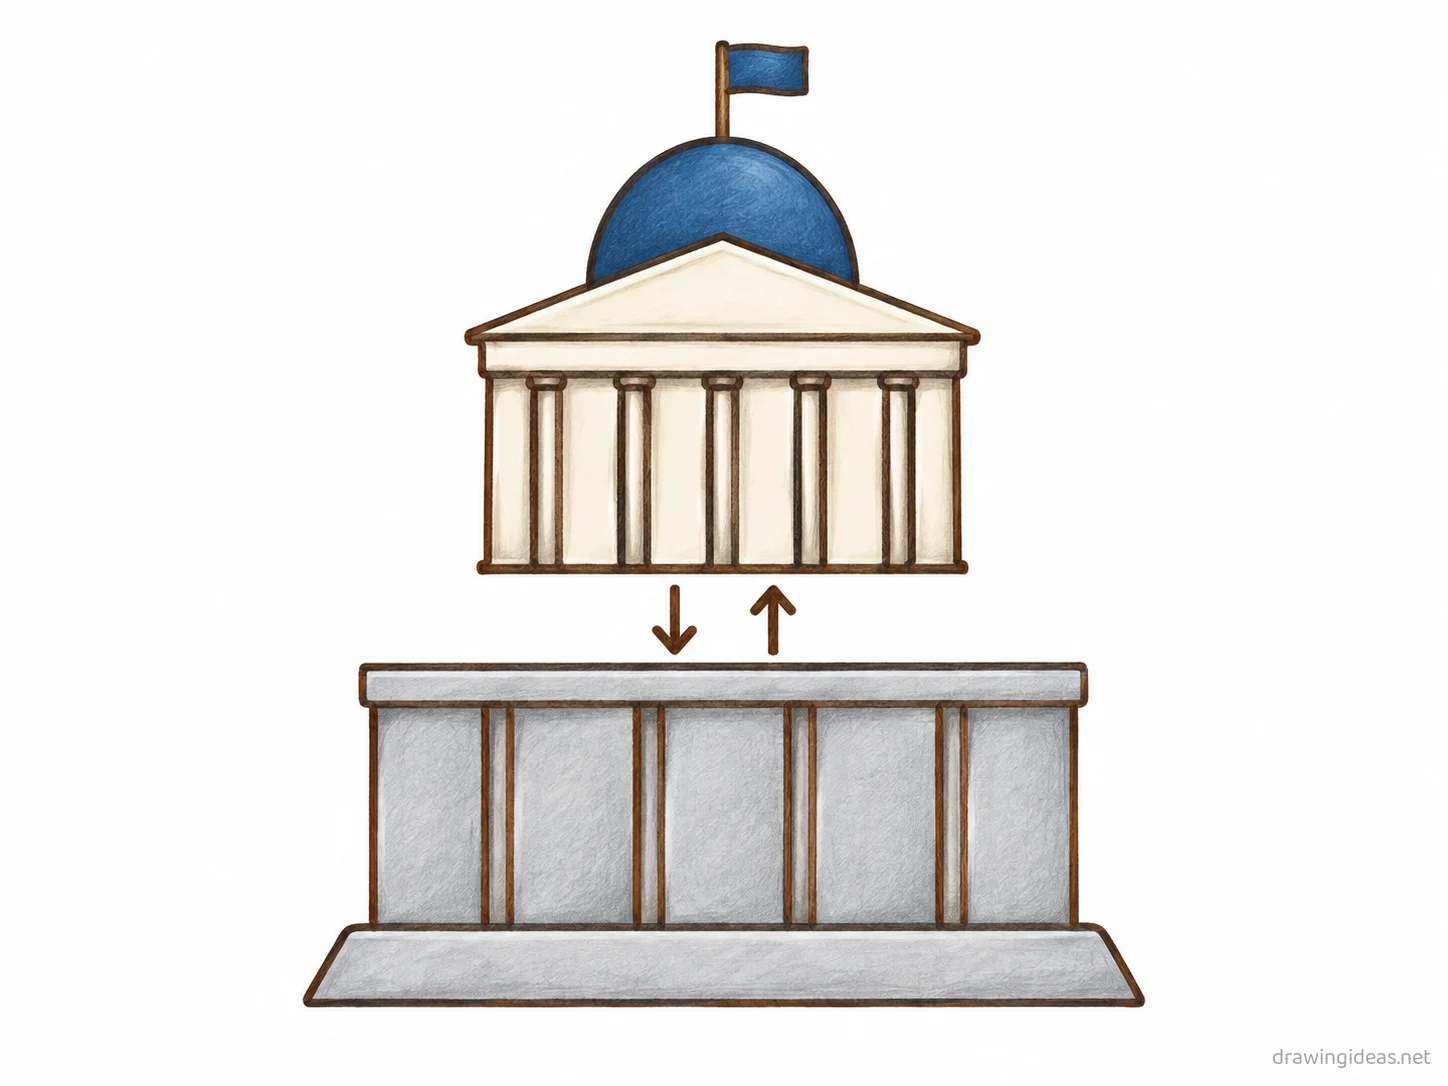
Capitol building
Above the balance point draw a small rounded dome with a thin spire, then a small rectangle base with three columns below it.
-
Seal and curl details
Add a small ribbon and circular seal at the bottom of the scroll, then small curl marks on both rolled edges.
-
Ink the lines
Go over every kept line with dark ink, then erase the light scroll and scale guides.
-
Color the drawing
Fill the scroll cream, the scale and capitol gray, the seal red, and the columns light tan.
10th Amendment Drawing Ideas to Try Next
Once the basic 10th Amendment clicks, run it through these variations — each one practices a different skill while staying on a subject you already know.
-
10th Amendment as a friendly cartoon
Give it eyes and a smile — the memorable-mnemonic style that makes studying stick.
-
A poster-style 10th Amendment with title lettering
Big title, the 10th Amendment center-stage, two or three fact callouts — the class-project format.
-
A step-by-step process strip
Show the 10th Amendment in stages across three or four panels, with arrows — perfect for processes and cycles.
-
A labeled diagram of the 10th Amendment
The classic homework version: clean outline, distinct regions, straight pointer lines to printed labels.
Tips for Better 10th Amendment Drawings
- Accuracy first: check a textbook diagram before you stylize. A beautiful but wrong diagram loses marks and teaches nothing.
- Label lines should never cross each other — plan label positions around the drawing before writing any text.
Not feeling the 10th Amendment today?
Let the generator pick your next subject — filtered by mood and difficulty.
🎲 Random Drawing Generator10th Amendment Drawing FAQ
How do you draw the 10th Amendment easily?
Start with one clear outline divided into labeled regions, keeping your lines light. Refine the outline, add the defining details, then erase the construction shapes. The nine-step method above breaks this down — most people get a recognizable 10th Amendment on their very first try with it.
How long should it take to draw the 10th Amendment?
A simple 10th Amendment drawing takes about 15 minutes following this tutorial. A quick doodle version can be done in two or three minutes, while a detailed, fully-shaded study might take an hour. Speed comes with repetition — the second attempt is always faster than the first.
What supplies do I need for 10th Amendment drawings?
Just a pencil, an eraser, and any paper. An HB pencil for construction lines and a 2B for final outlines is a nice upgrade, and colored pencils or markers finish it off — but nothing on this page requires special supplies.
Can kids draw the 10th Amendment?
Yes — the 10th Amendment is very manageable once you use construction shapes, and this method was written for first-timers. Kids can follow the same steps; just expect wobblier lines and more charm.